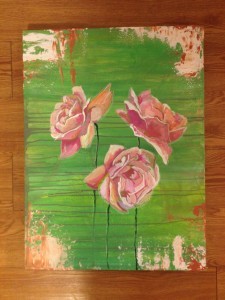
Rose Painting
Detailed below is the step by step process of a recent rose painting. It is always such an honor when someone commissions me to create a painting for them or a family member. It can be an incredibly rewarding process to capture a client's vision and help it come to life in a painting. So, there is no denying how much fun it was to create a painting for my own grandmother. Her instructions were simple (roses and the color green), so I had a lot of creative freedom to dive in and play with the background and style.
Here is the step by step process of my flower painting:
1. Background. I created a modern green background with different shades of green and white.
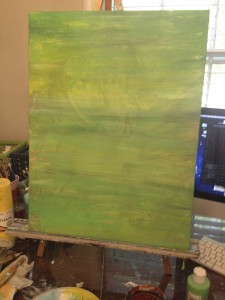
2. Accents. I dripped paint from the left side of the painting and added in some texture to the edges with speckling paste and a pallet knife.
3. Reference Photo. I found an image of large peach roses from an online blog by J.Q. Rose (jqrose.com). The flowers reminded me ones I knew my grandmother liked and so after receiving permission from J.Q. Rose, I used this picture as my reference photo. 
4. Outline. I love using chalk to outline what I plan to draw. Whether its rose petals or lettering, chalk allows me the ability to pre-plan and scale my subject without the permanency of using paint. If I don't have my scale just right…I erase and start over! 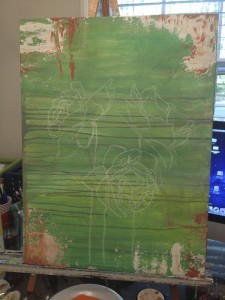
5. Begin Color blocking. I start filling in my chalk drawing with shades of pink. I try to use a bigger brush to get the flower petals filled in.
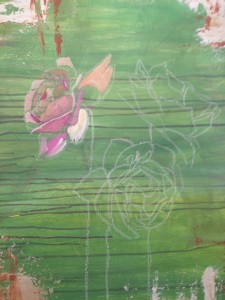
6. Details and shading. After coloring in my chalk drawing I go back with a smaller brush and add additional shading to the petals and fine details around the edges to account for shadows.
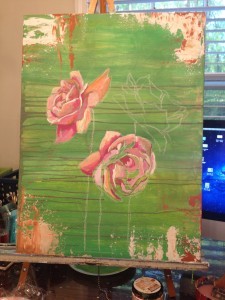
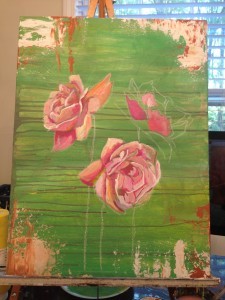
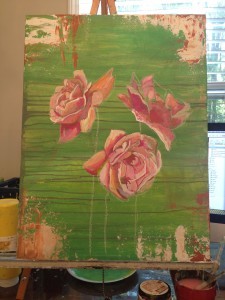
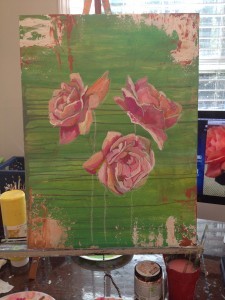
7. Paint the Stems. I was using a bit of my imagination when I decided to have the flowers floating in the middle with tiny stems coming down. I wanted to mimic the paint drips I did earlier.

