Monterey Bay Ocean Mural for a Nursery
IMG_1083
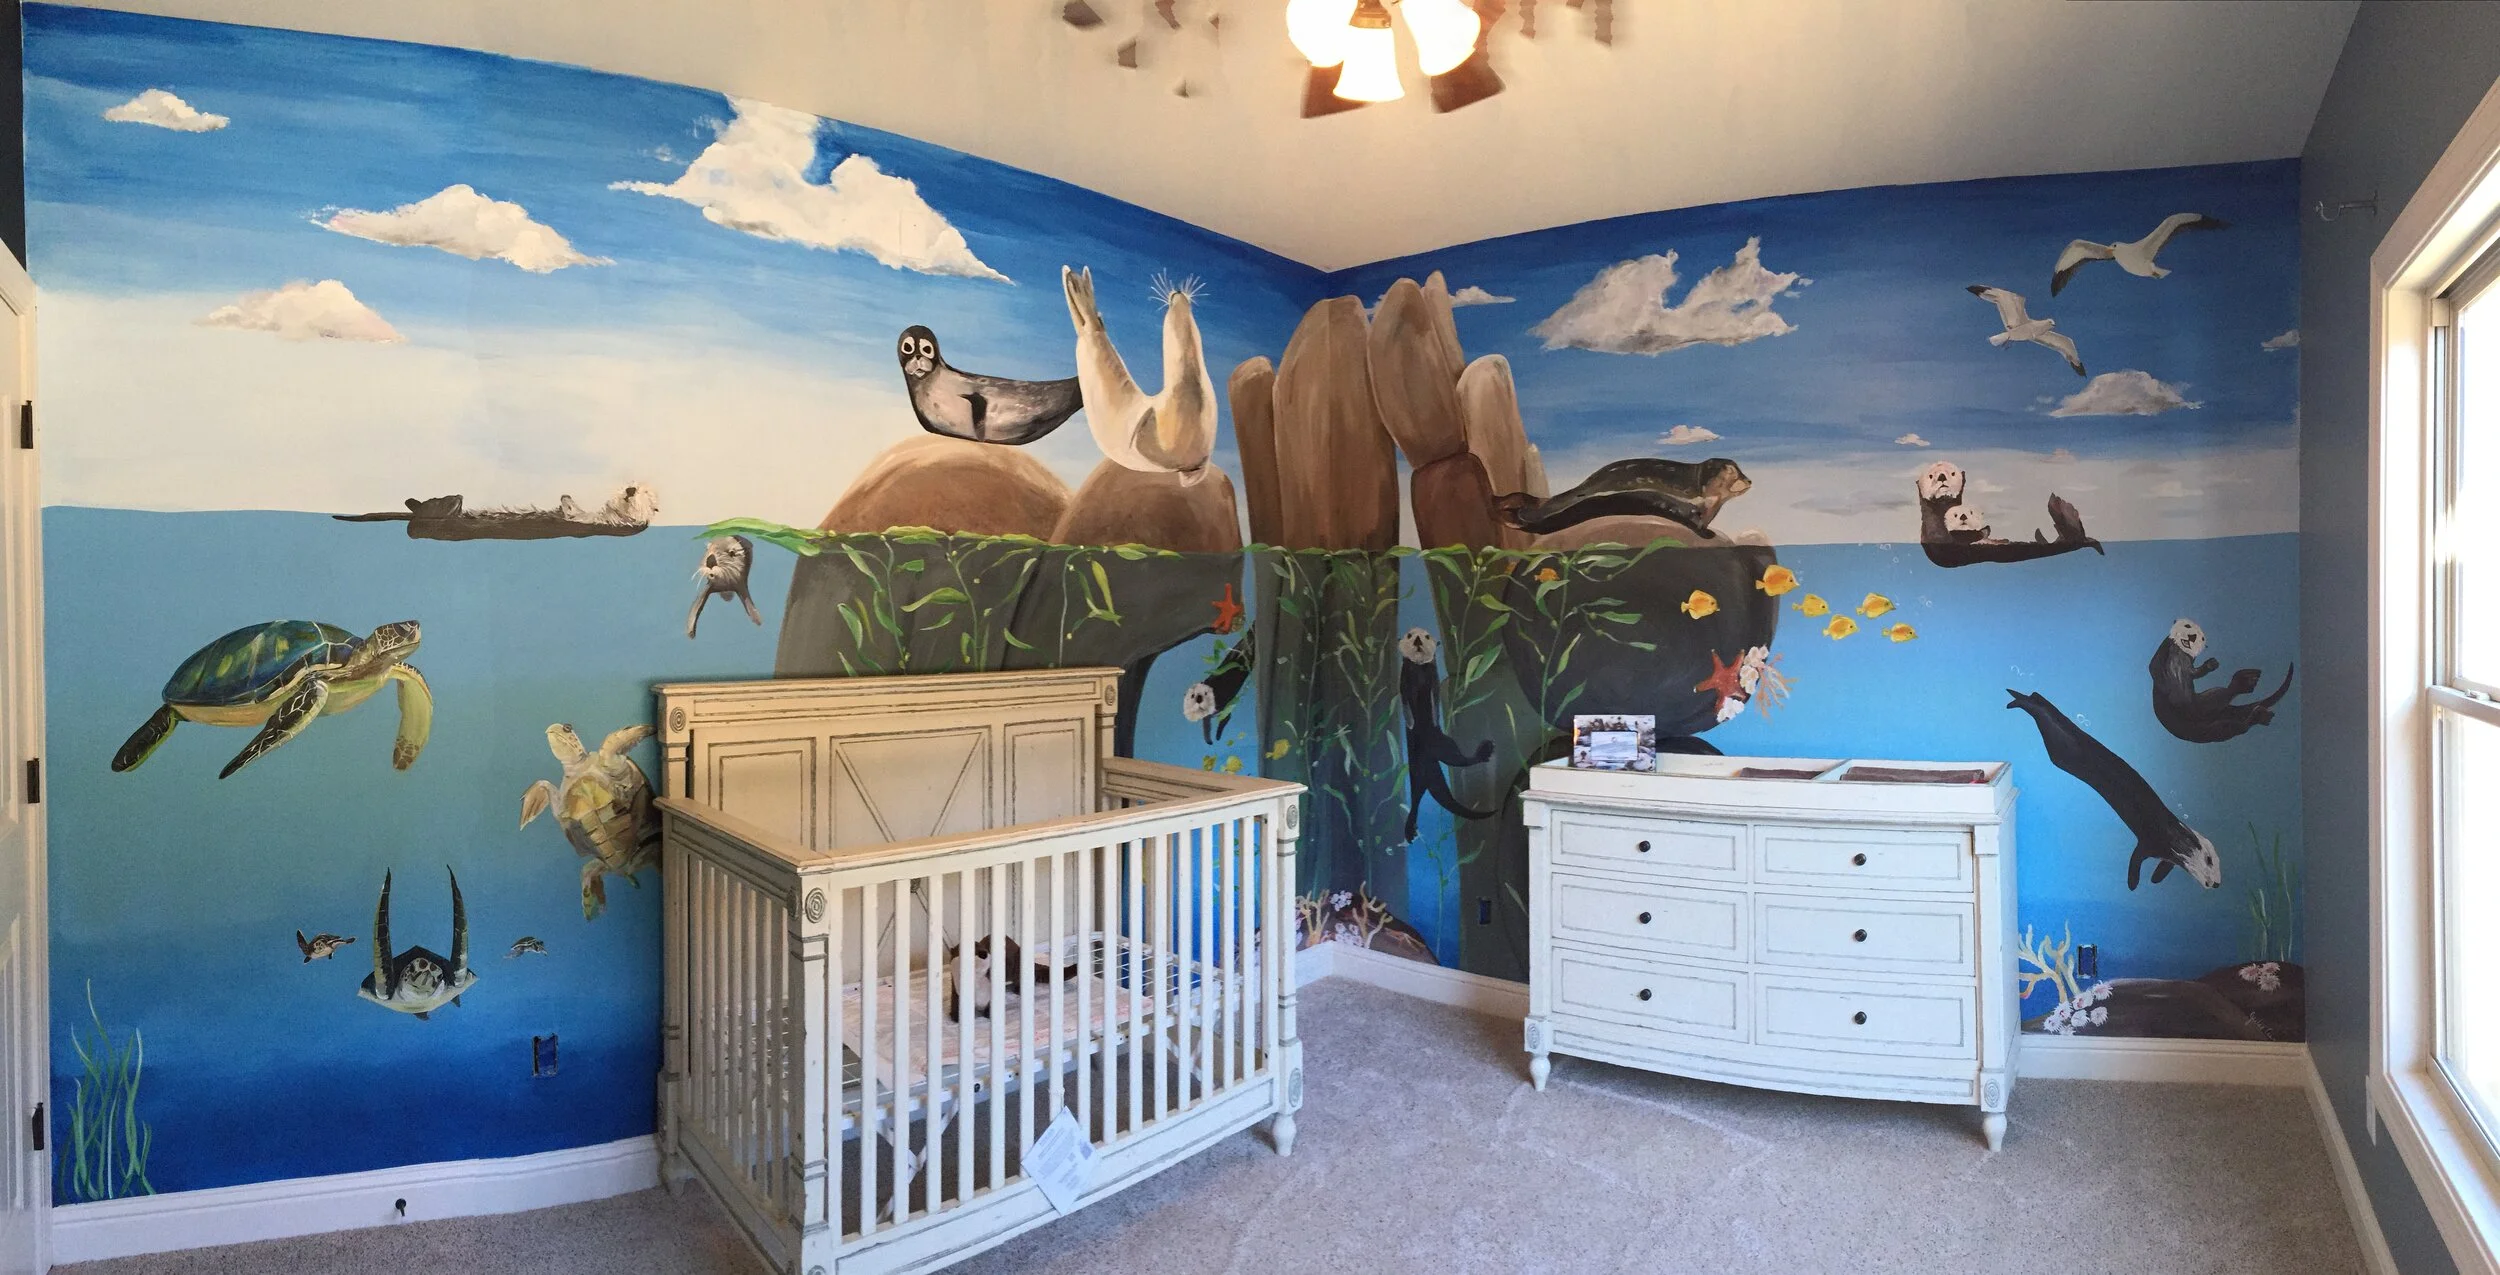
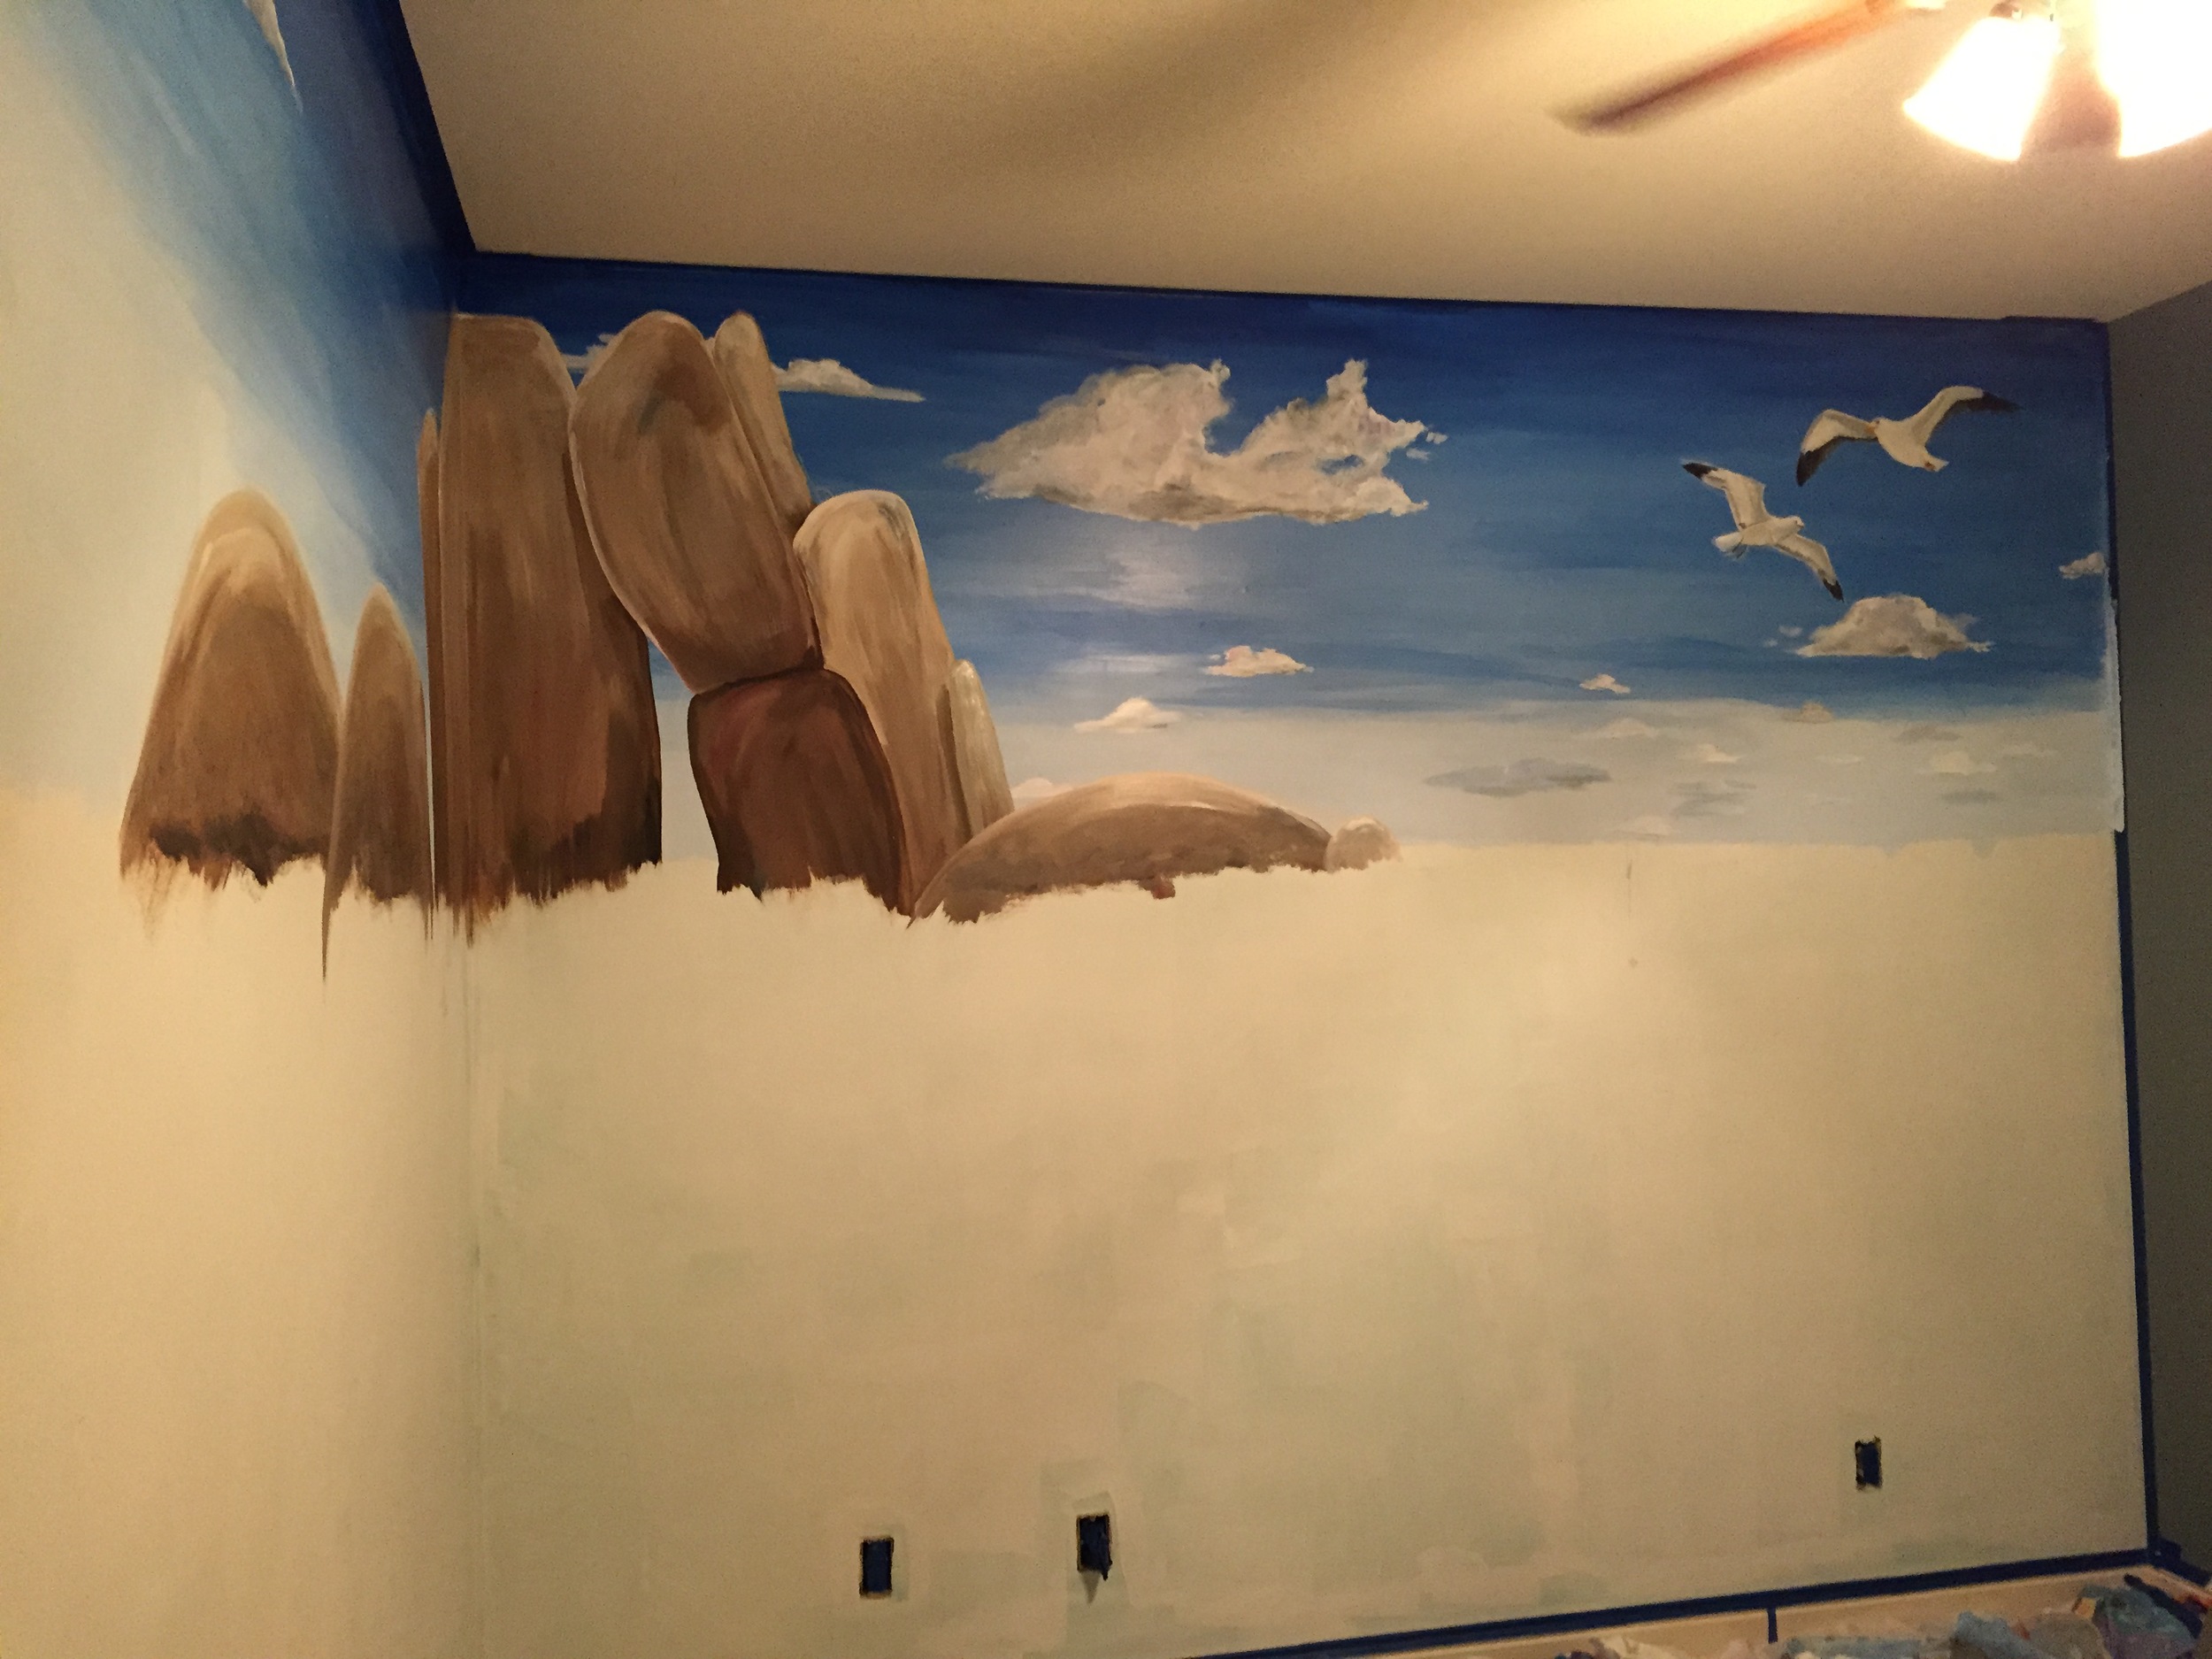
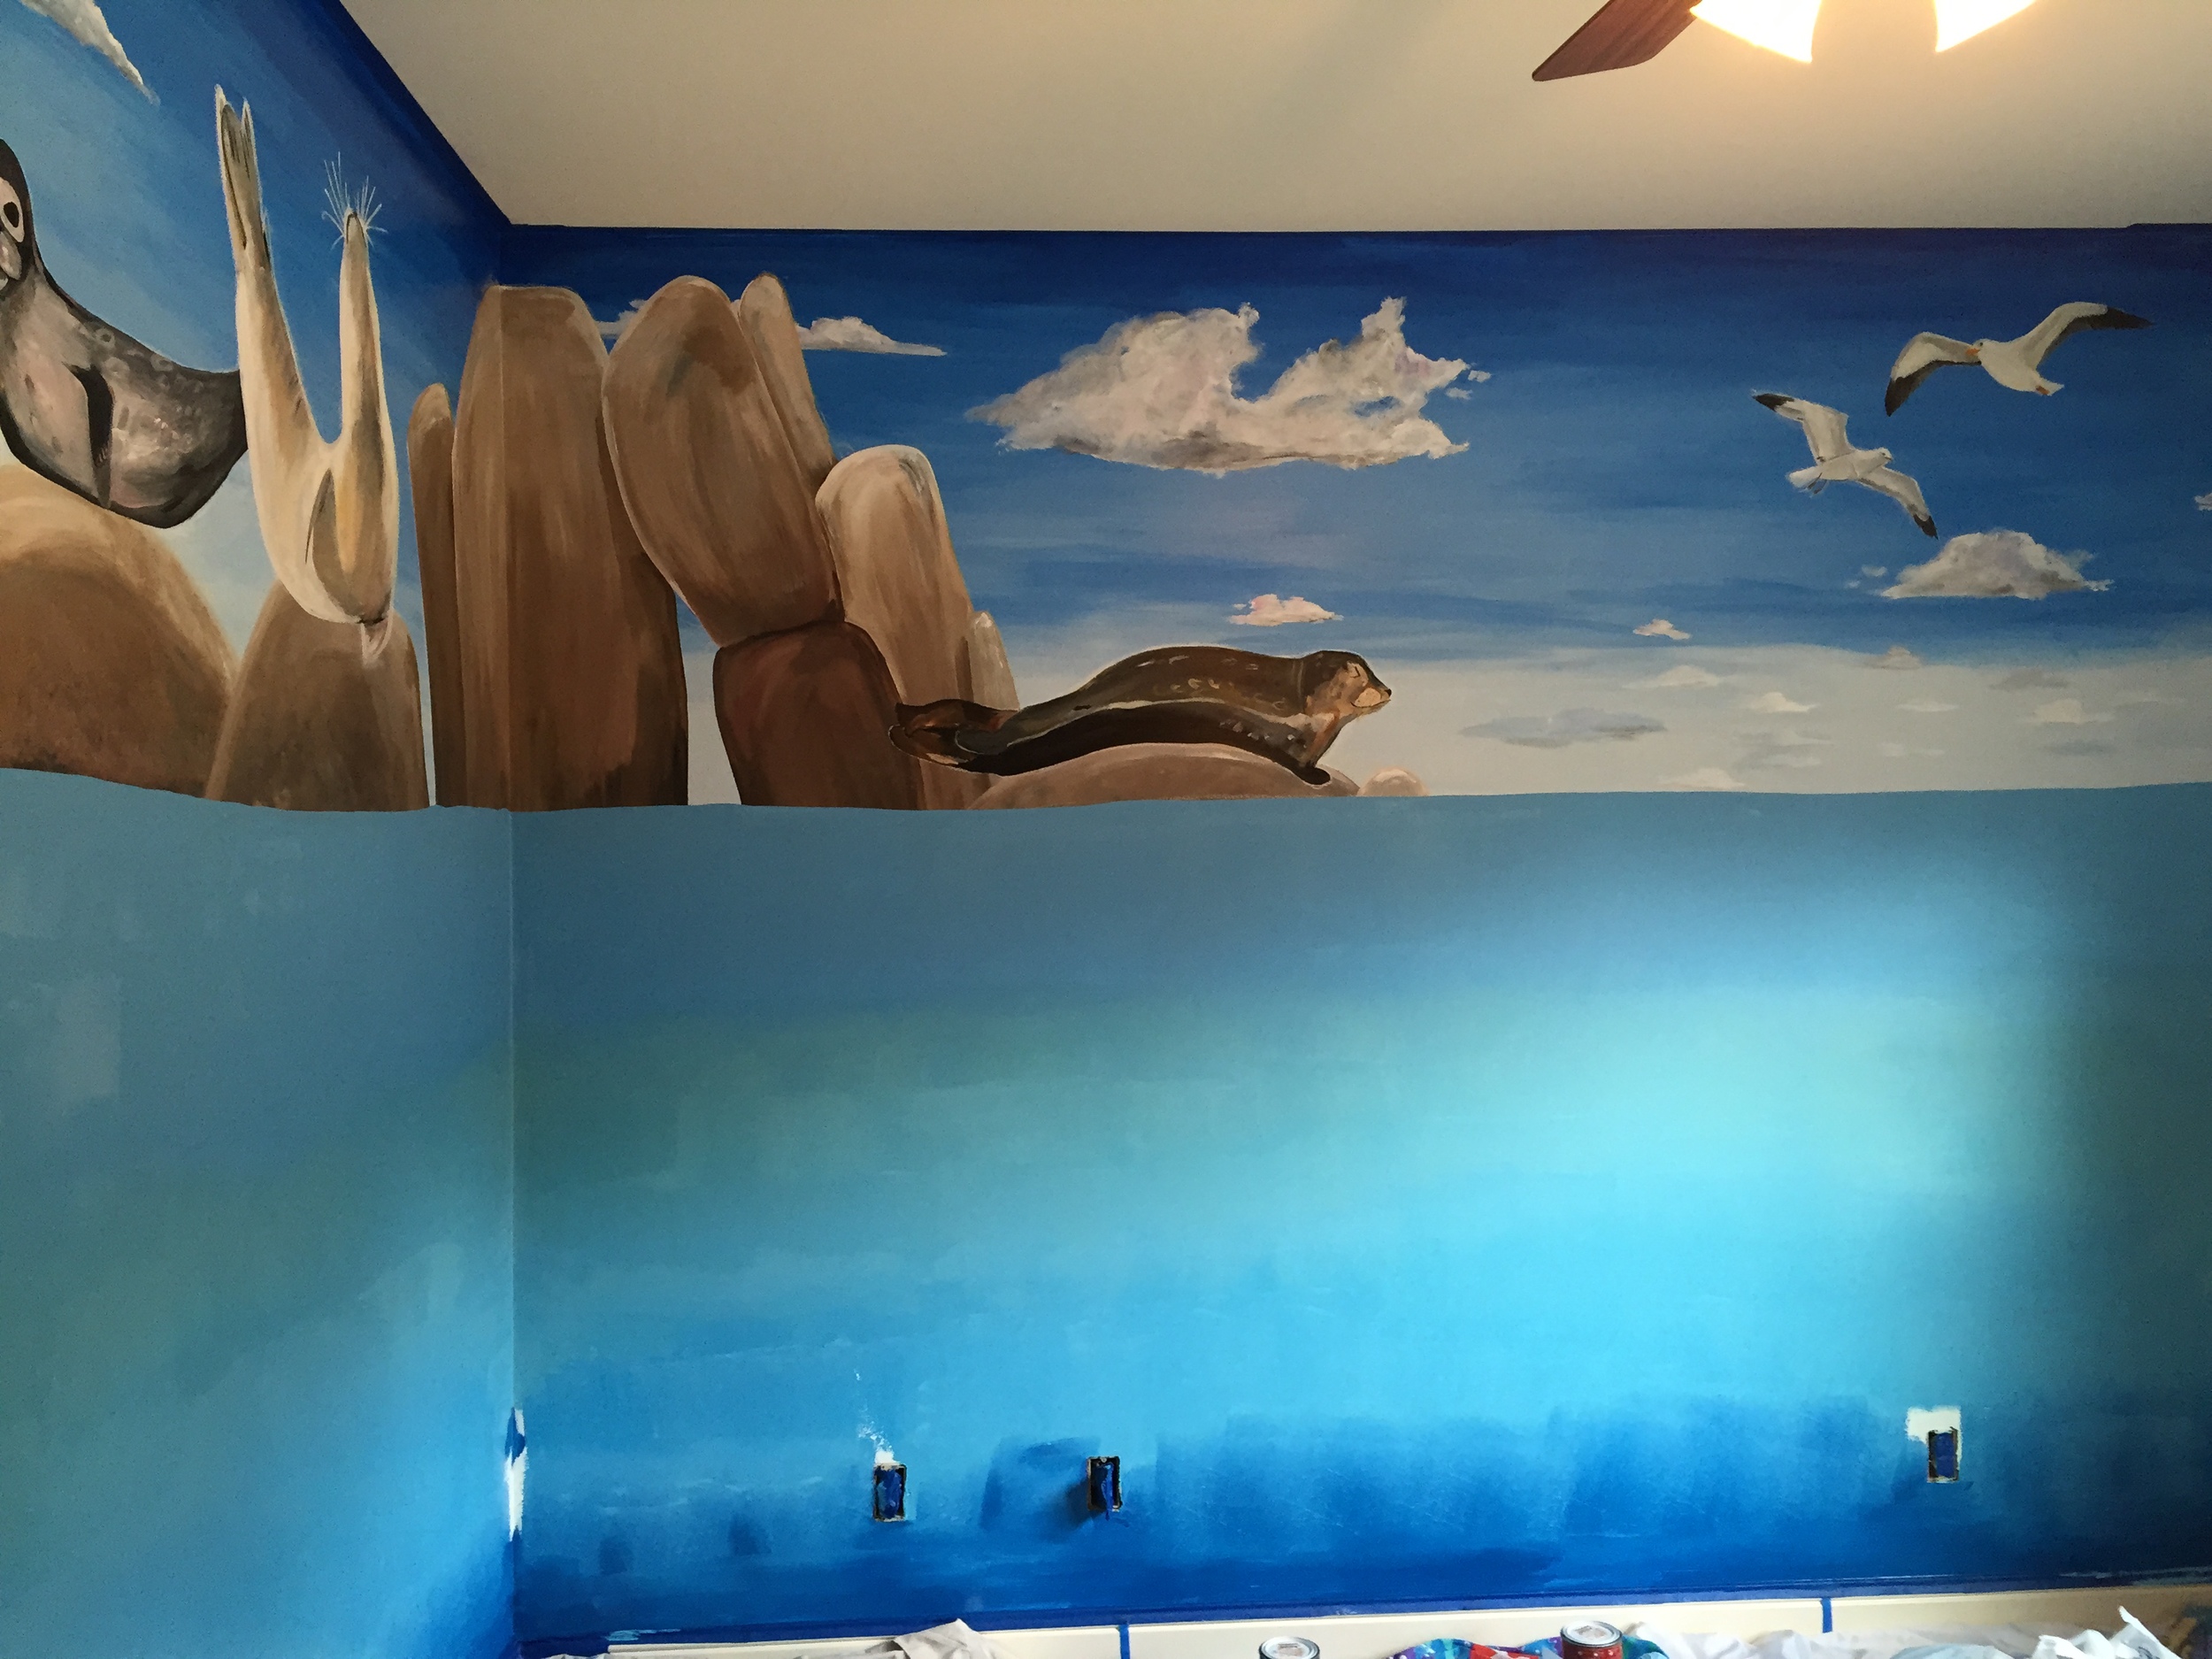
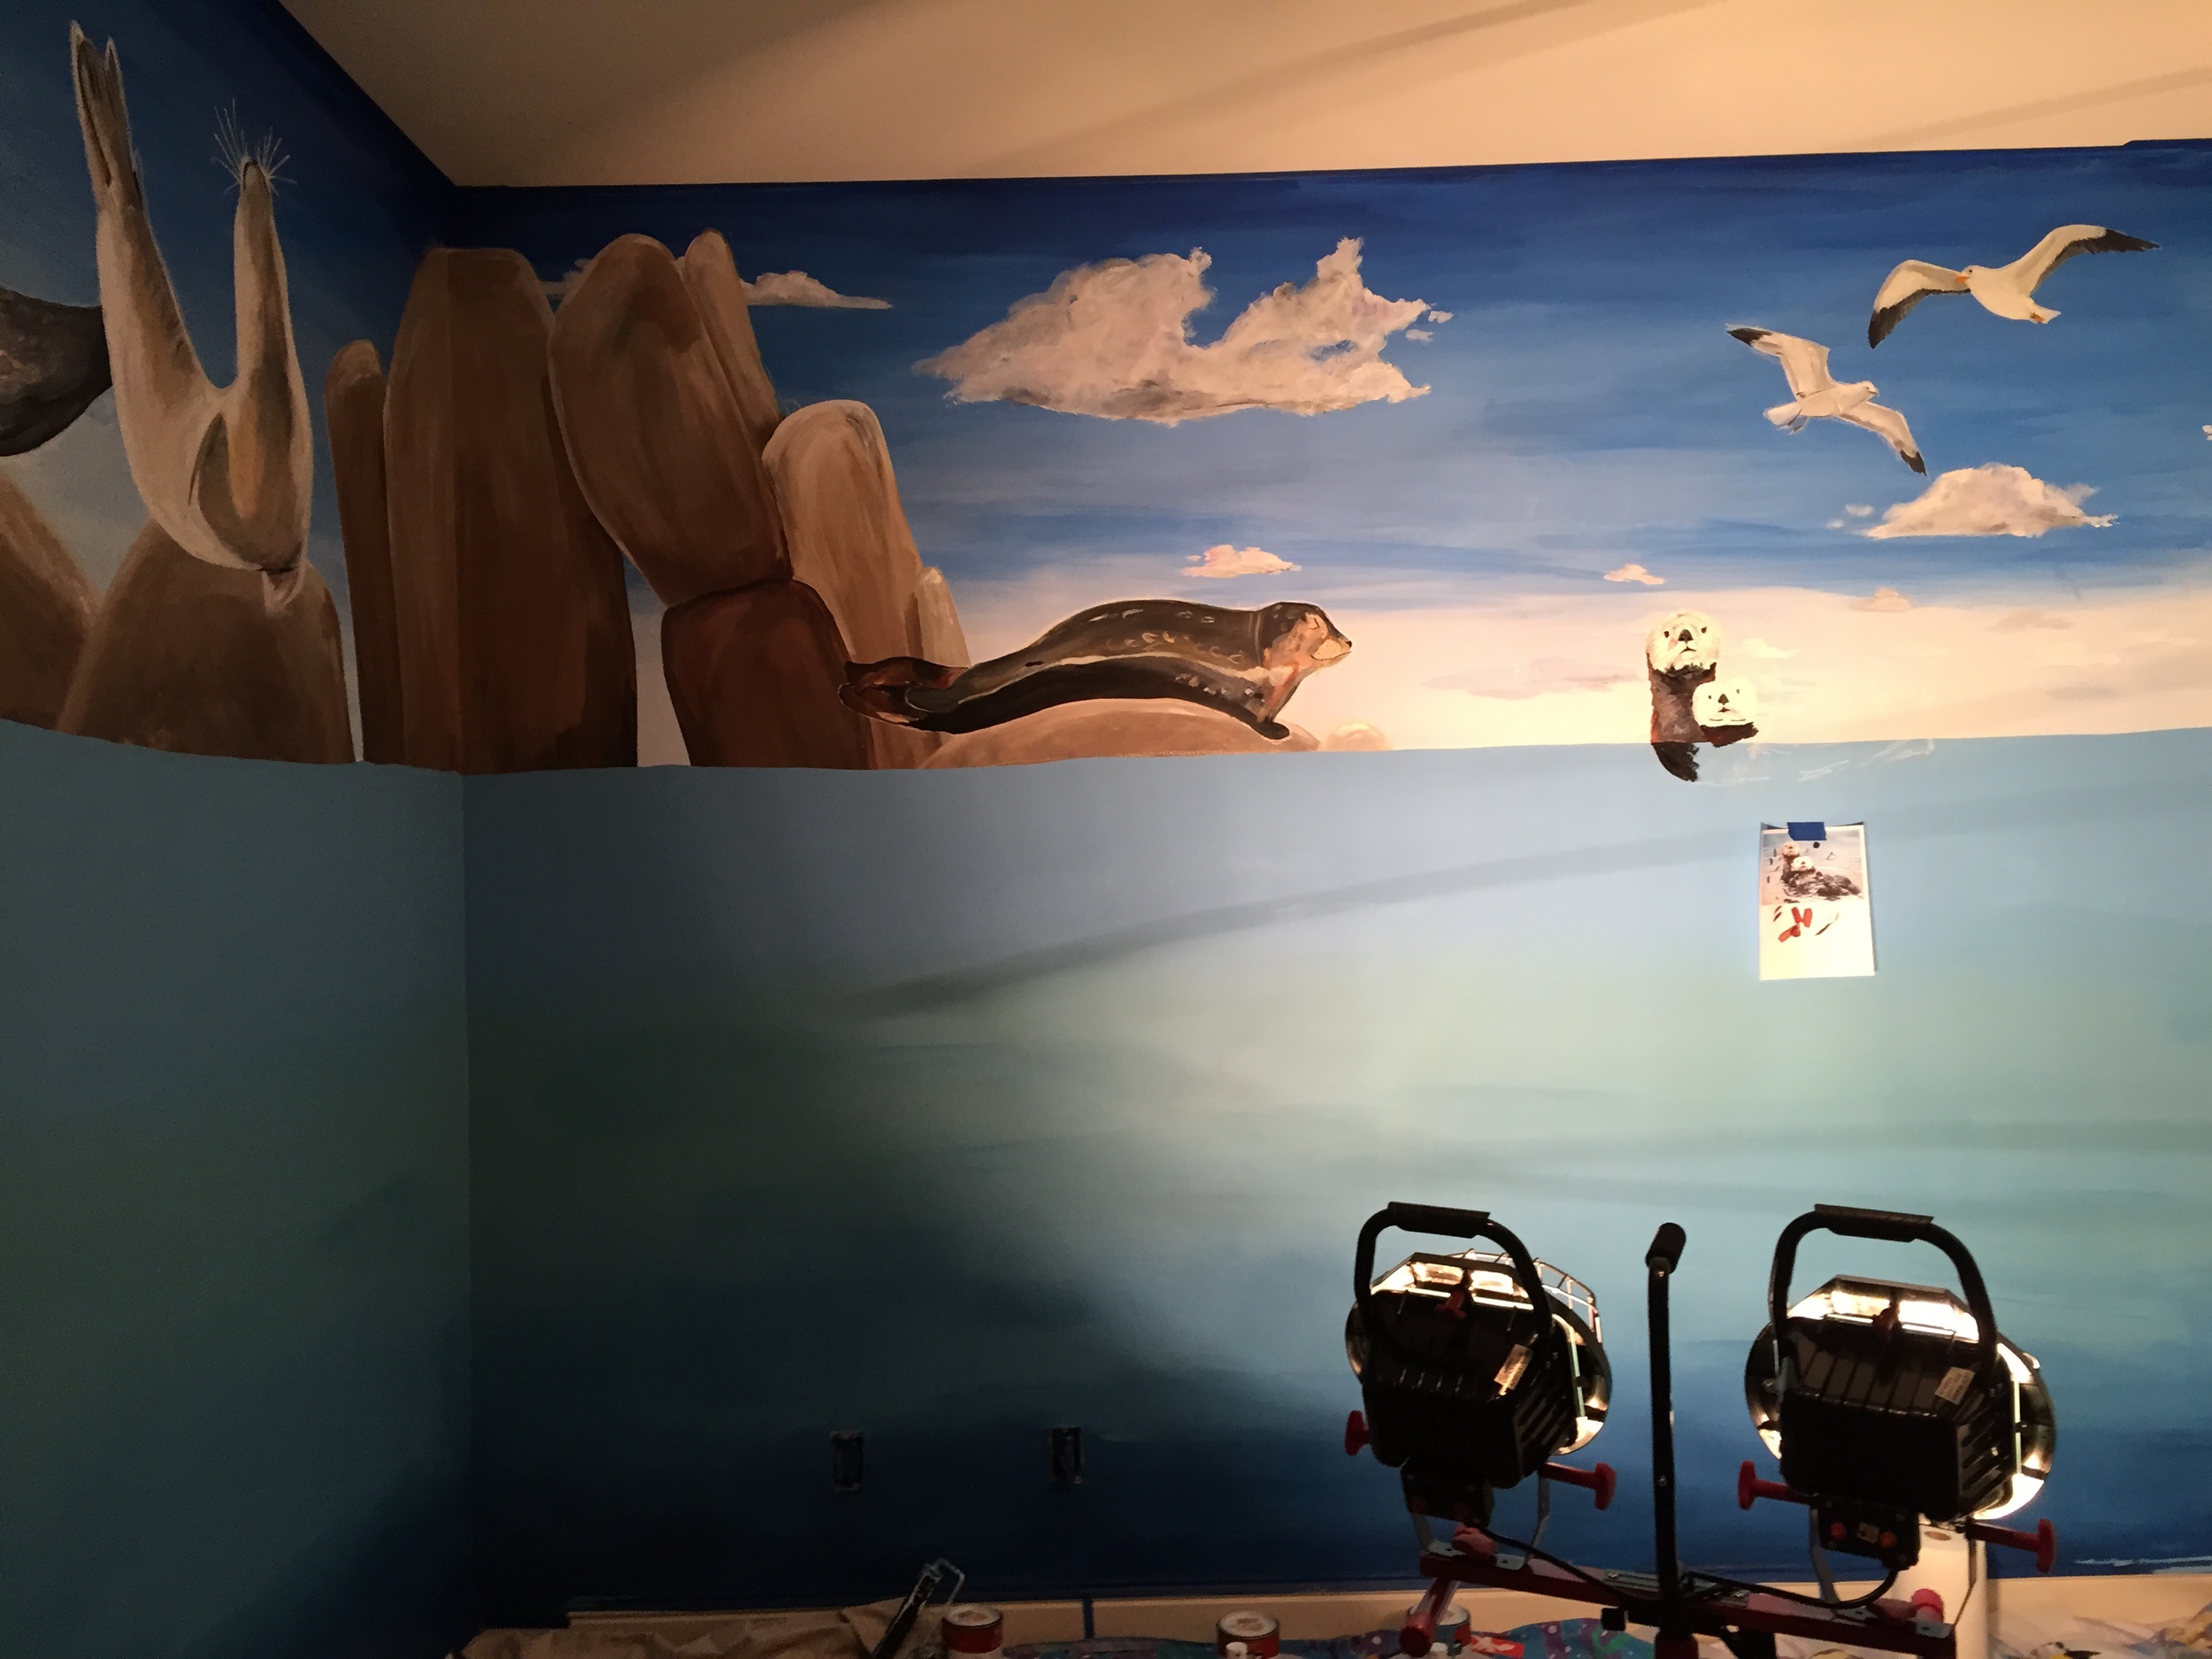
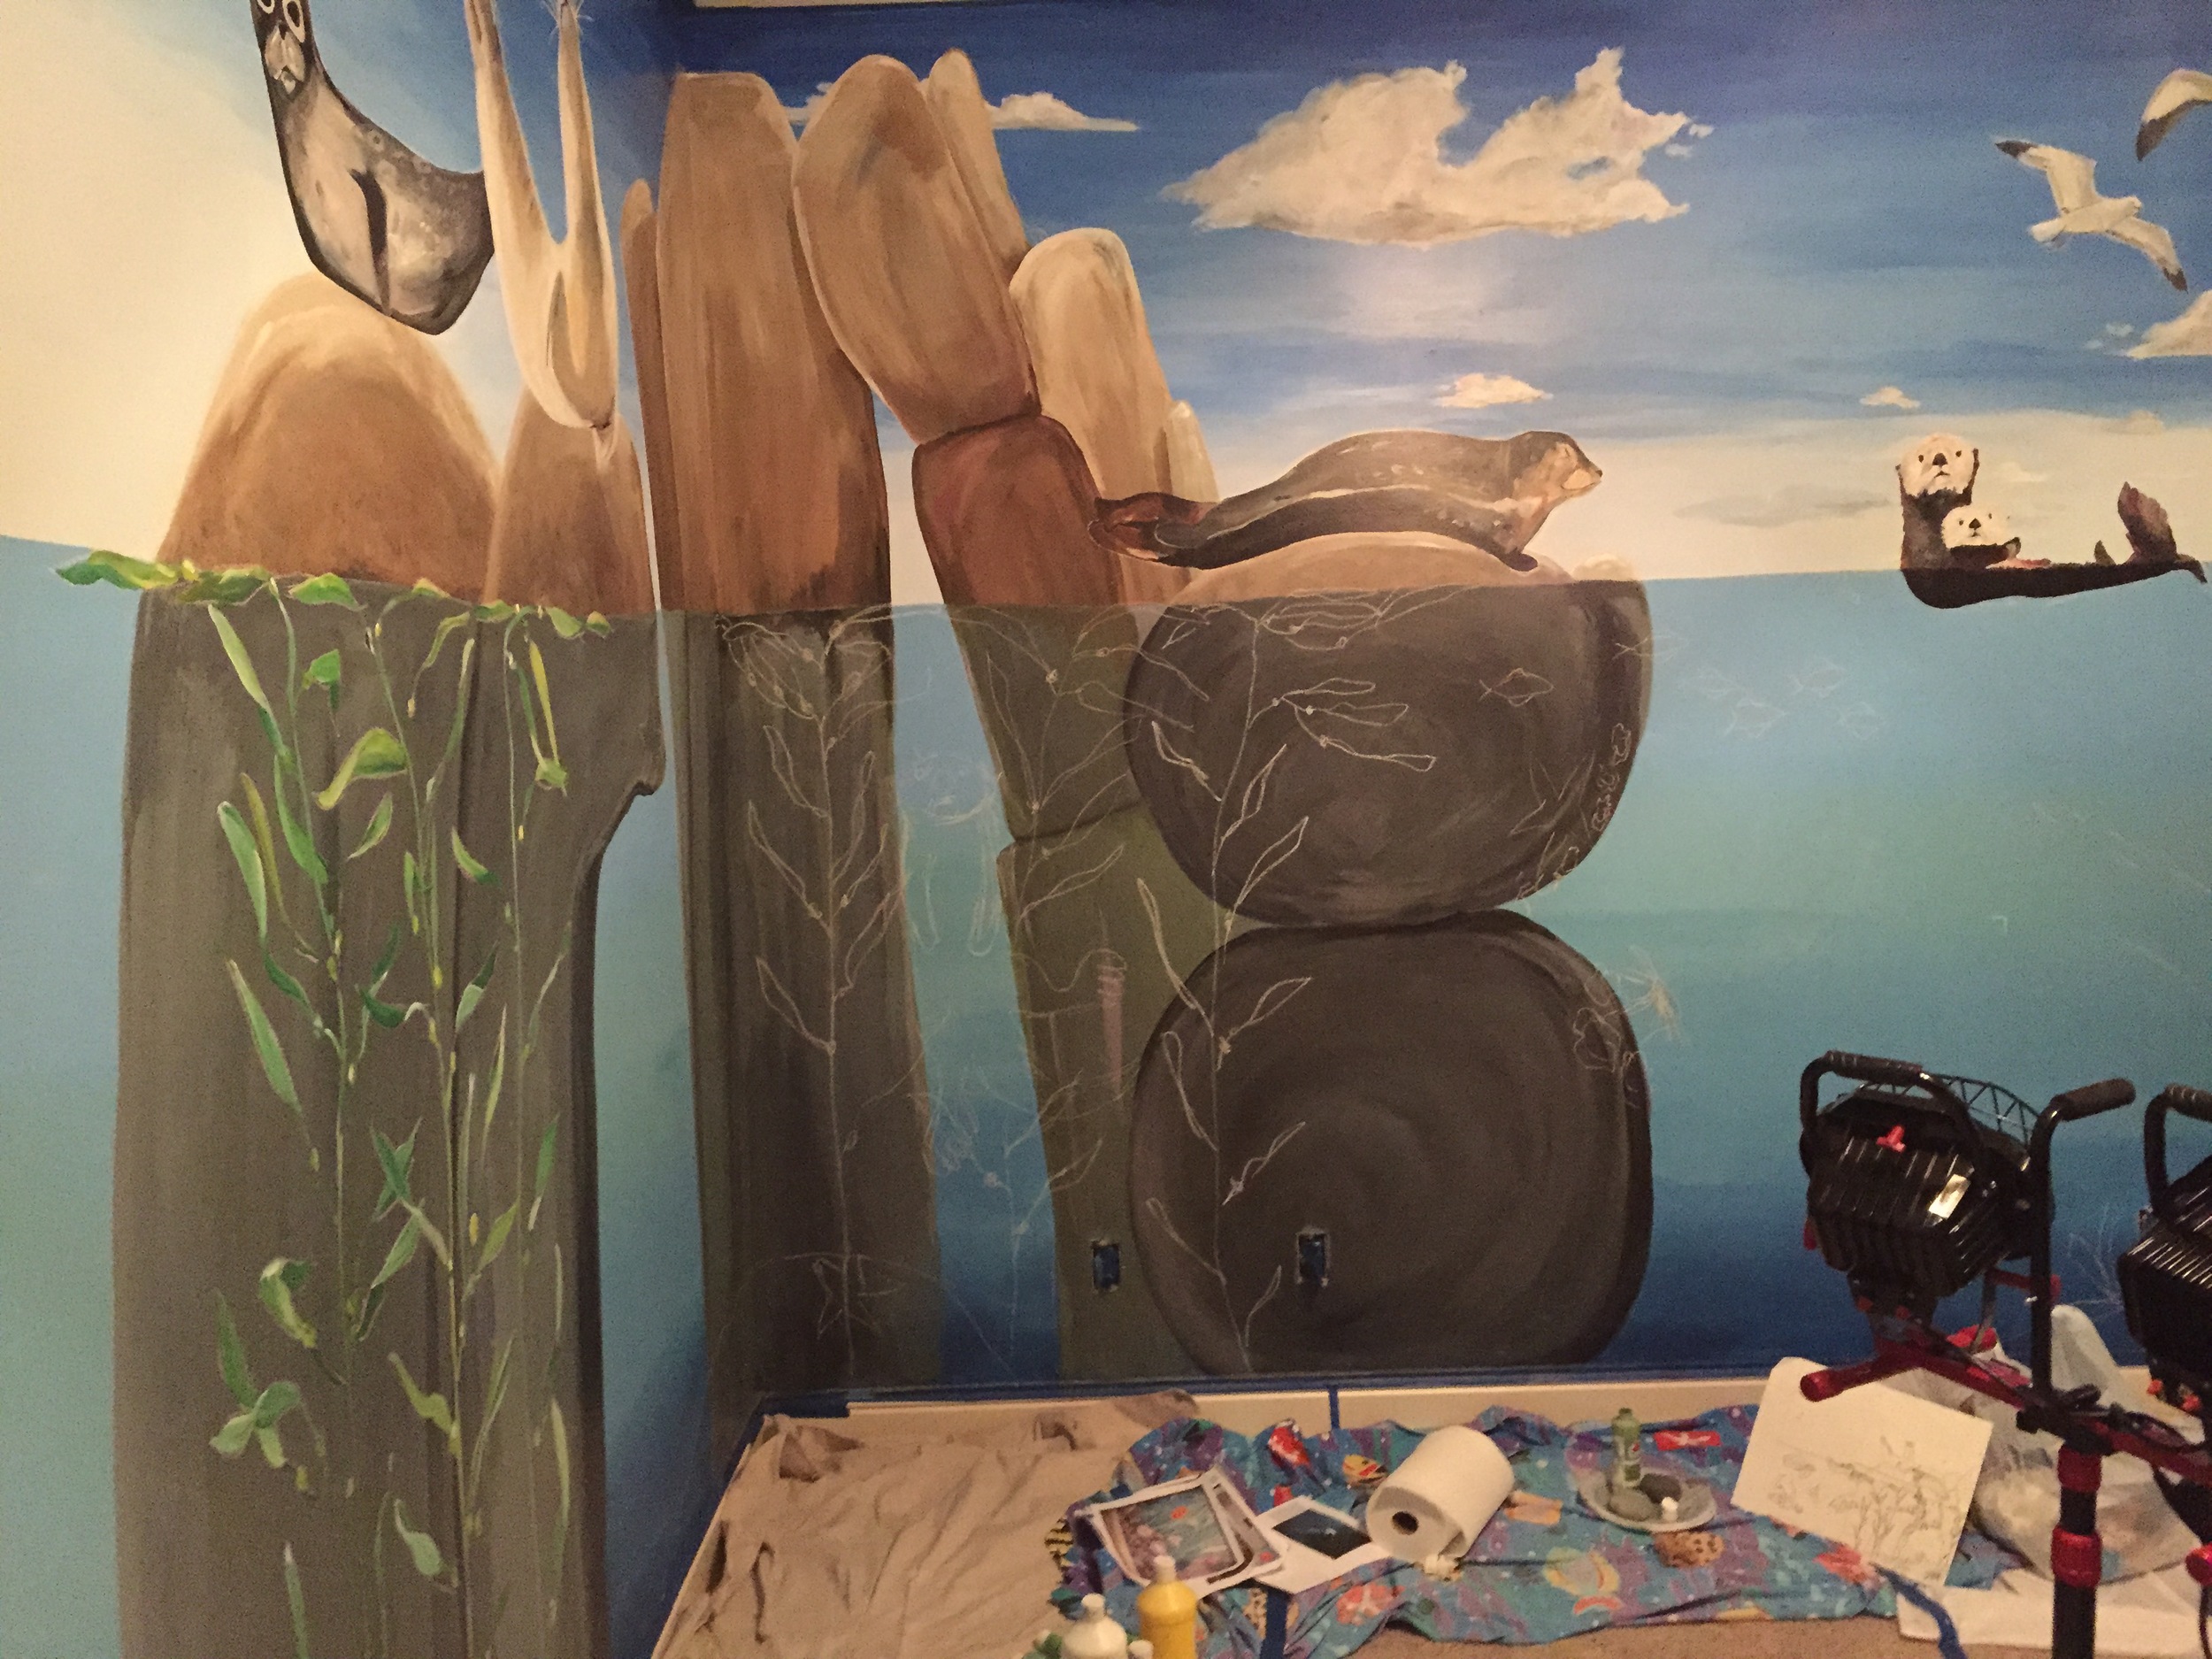
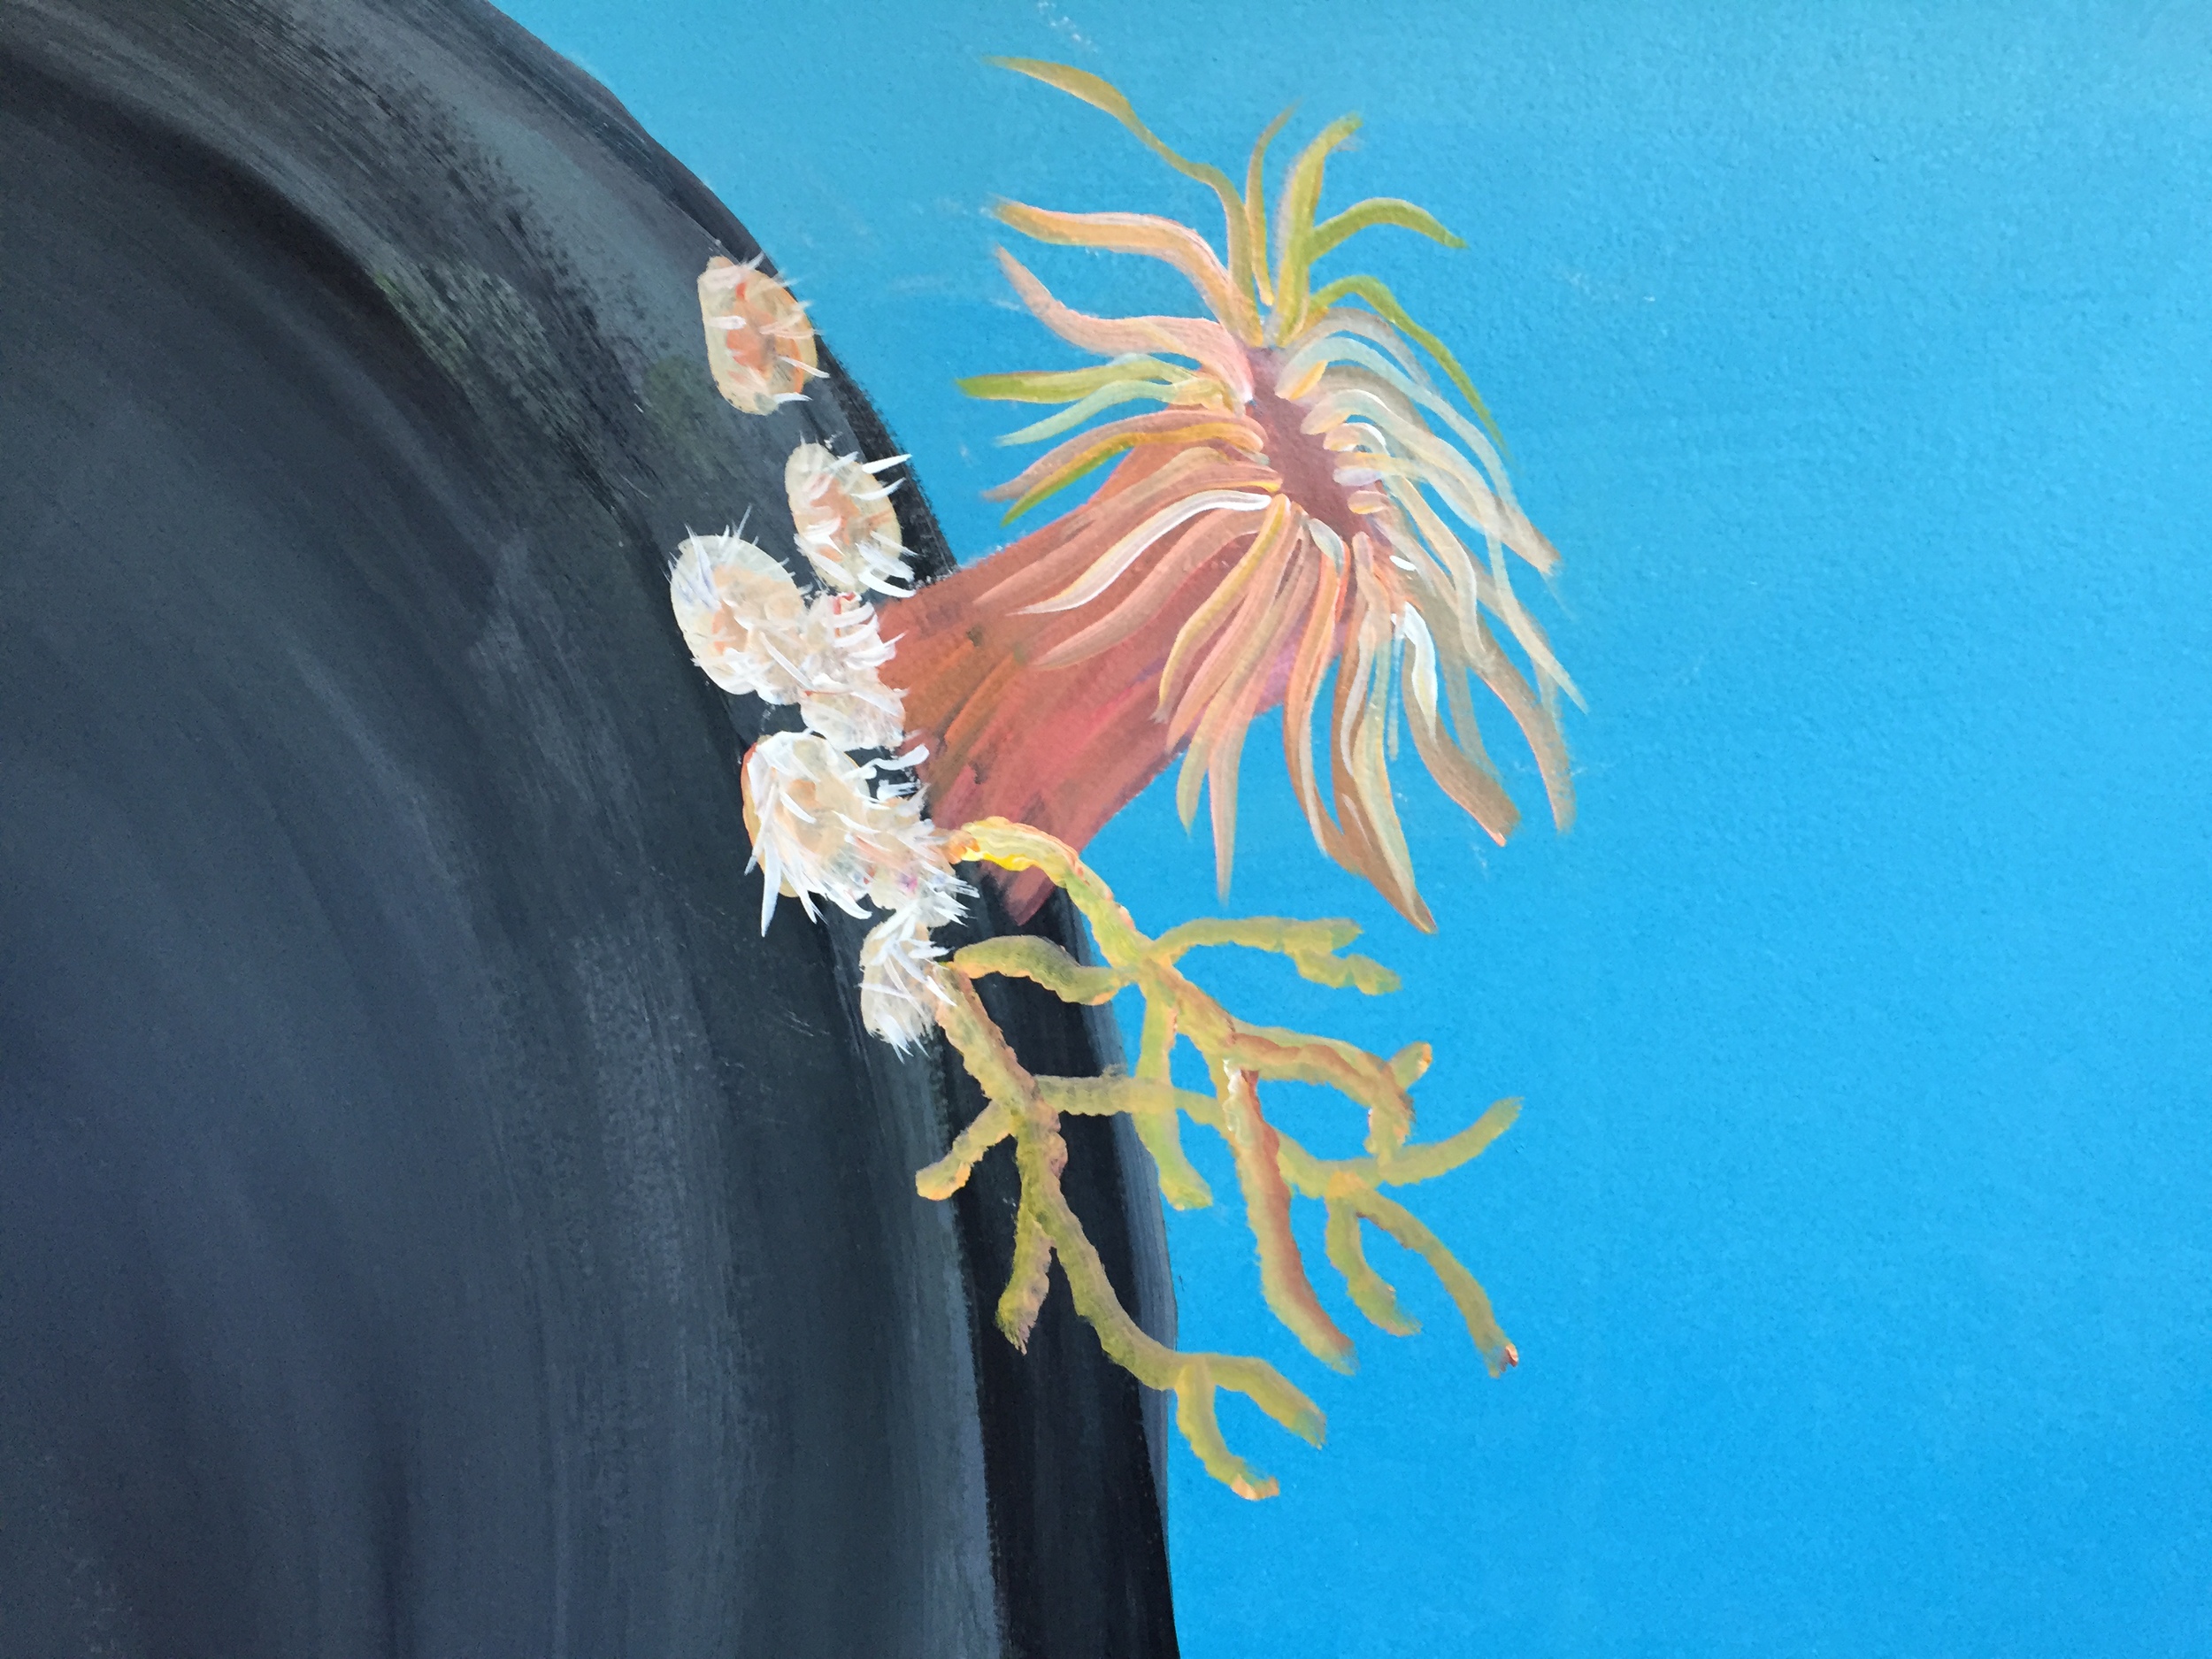
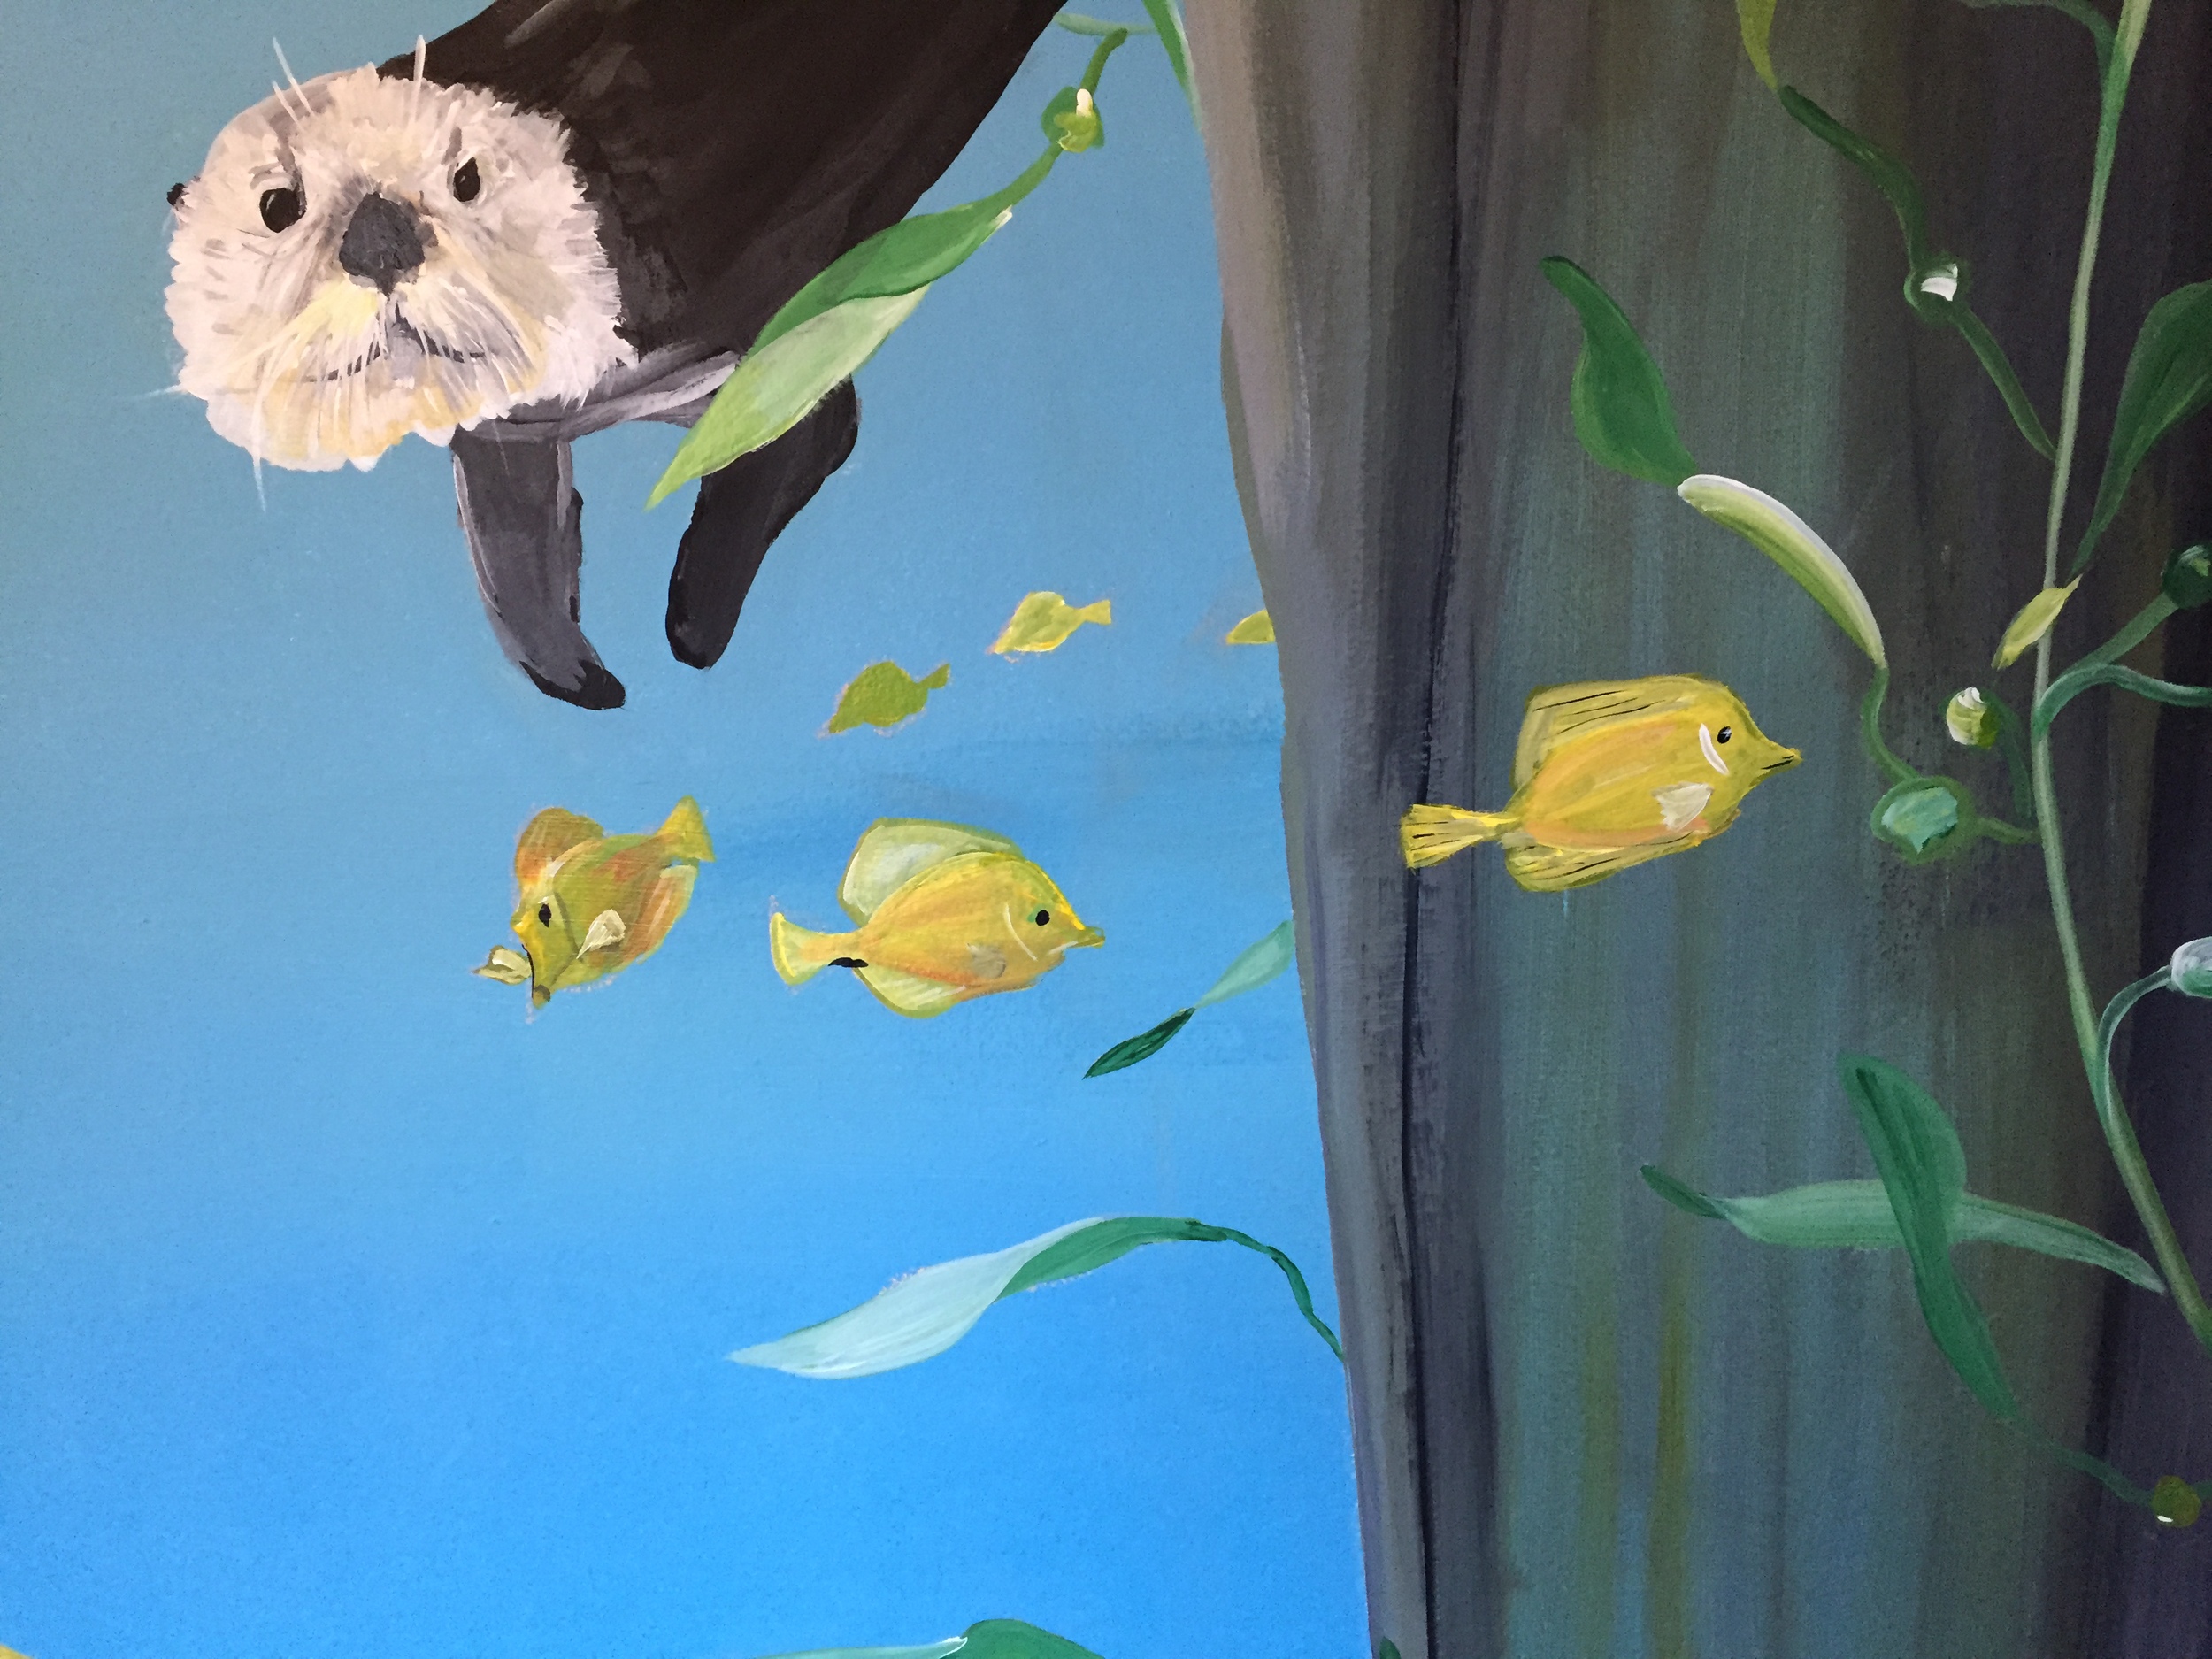
This Monterey Bay inspired Ocean Mural nursery was so much fun to create! I often write how much I love certain projects, but I REALLY LOVED this one! From the pre-planning to the execution, this project allowed me to take on new challenges. I was able to paint sea otters, seals, sea turtles, kelp, rocks, birds, and starfish all in one piece!
IMG_1157
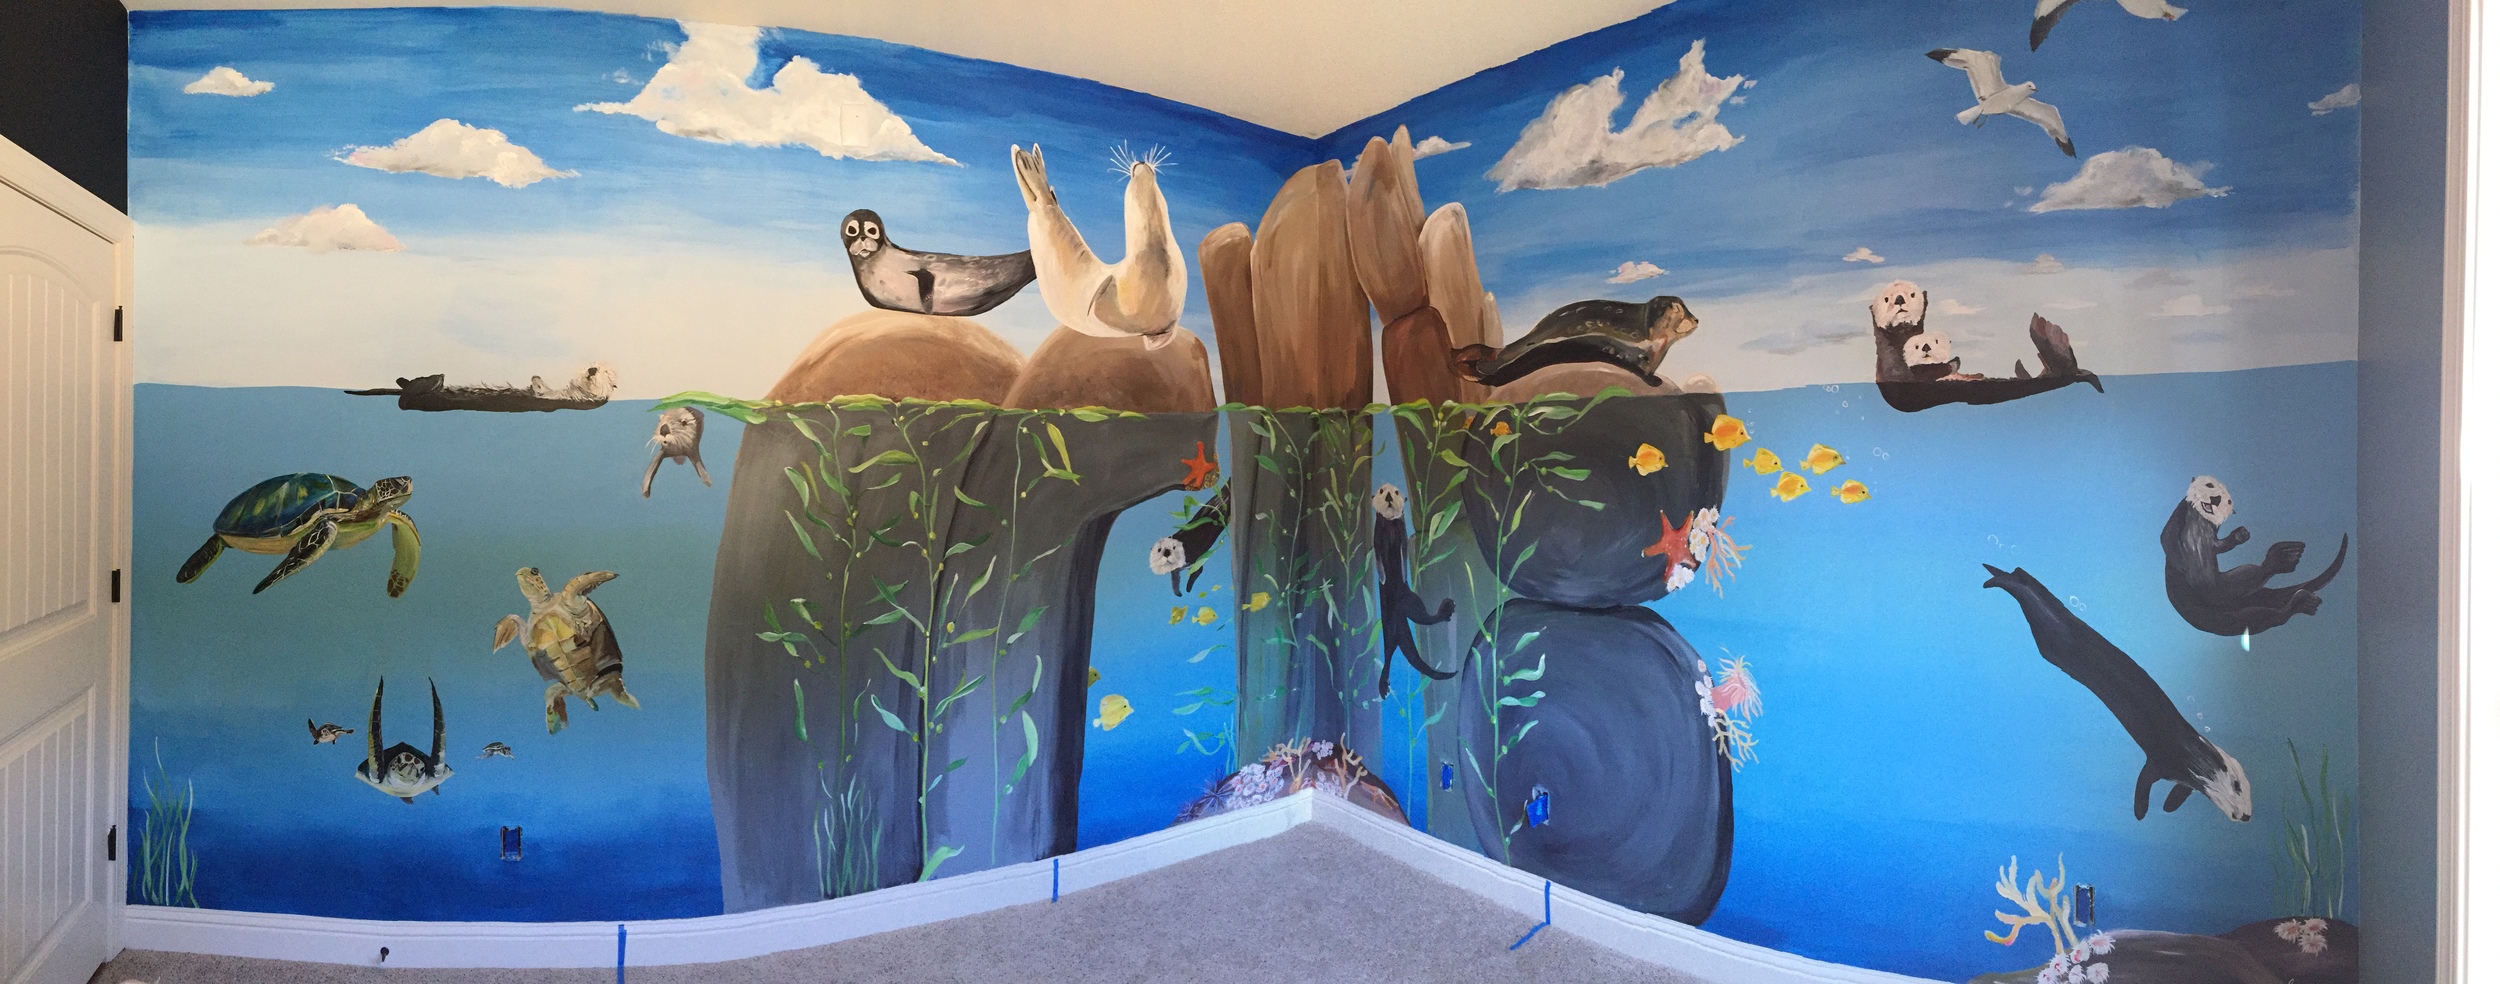
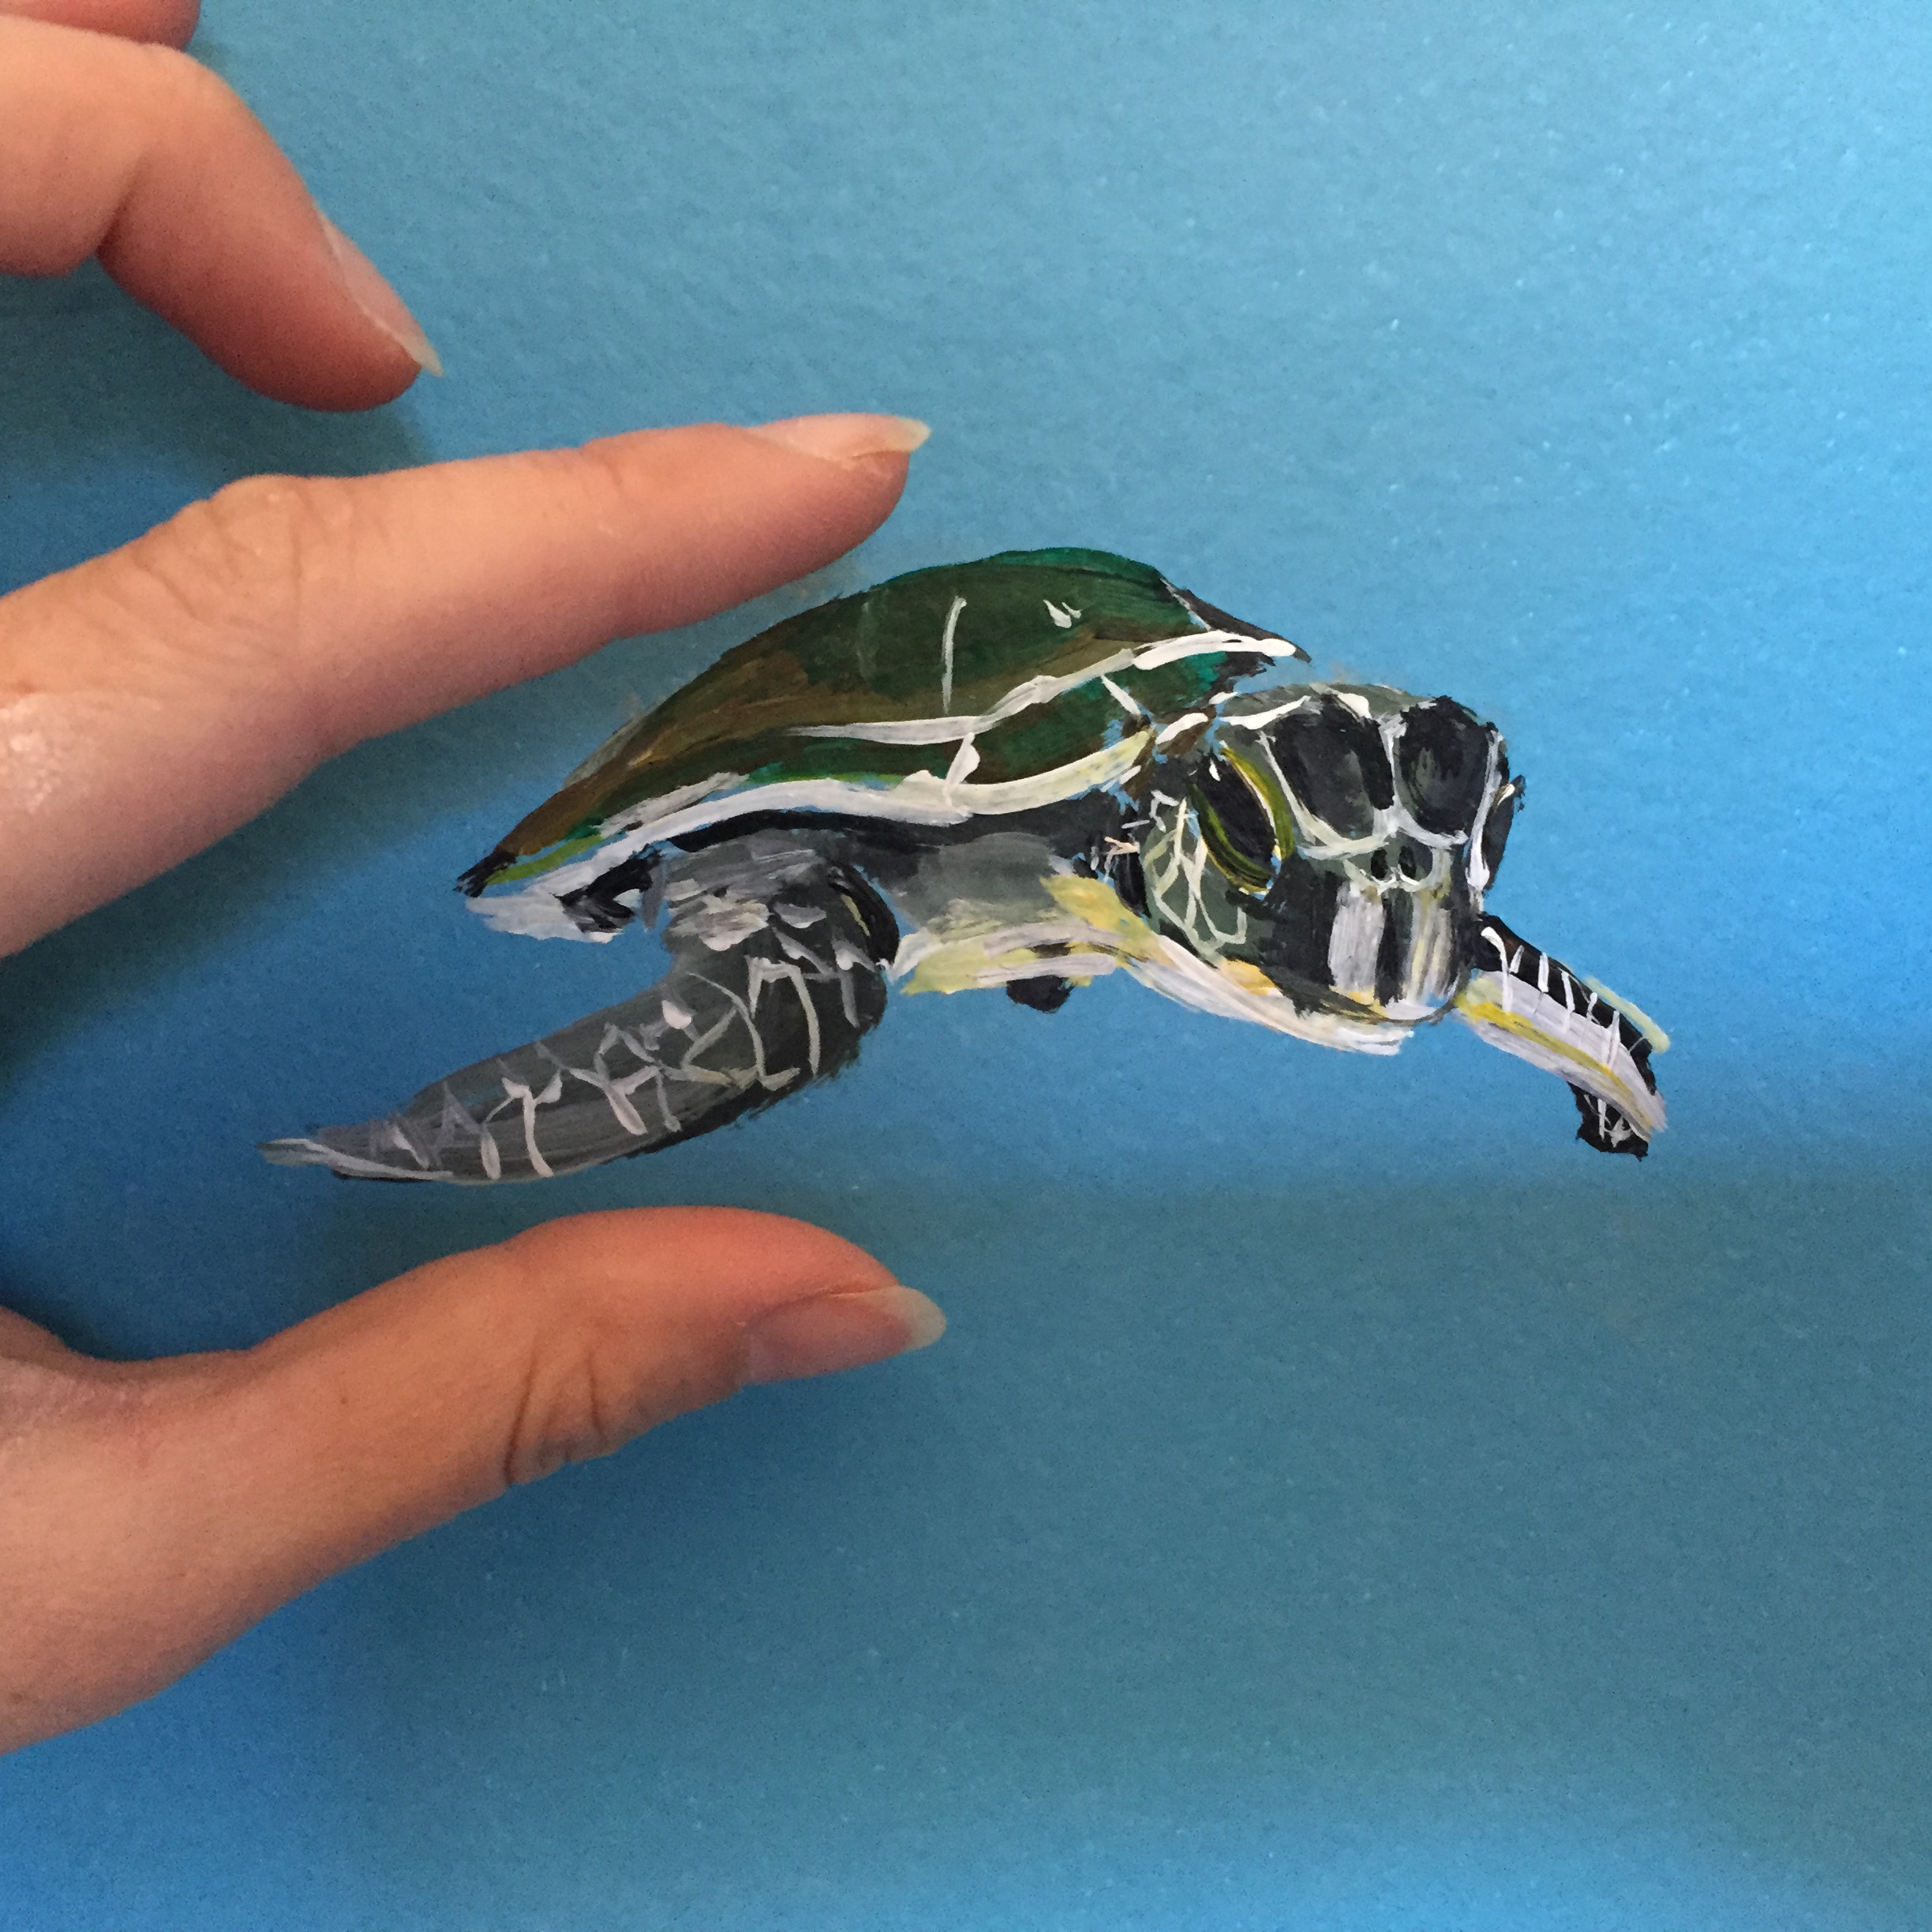
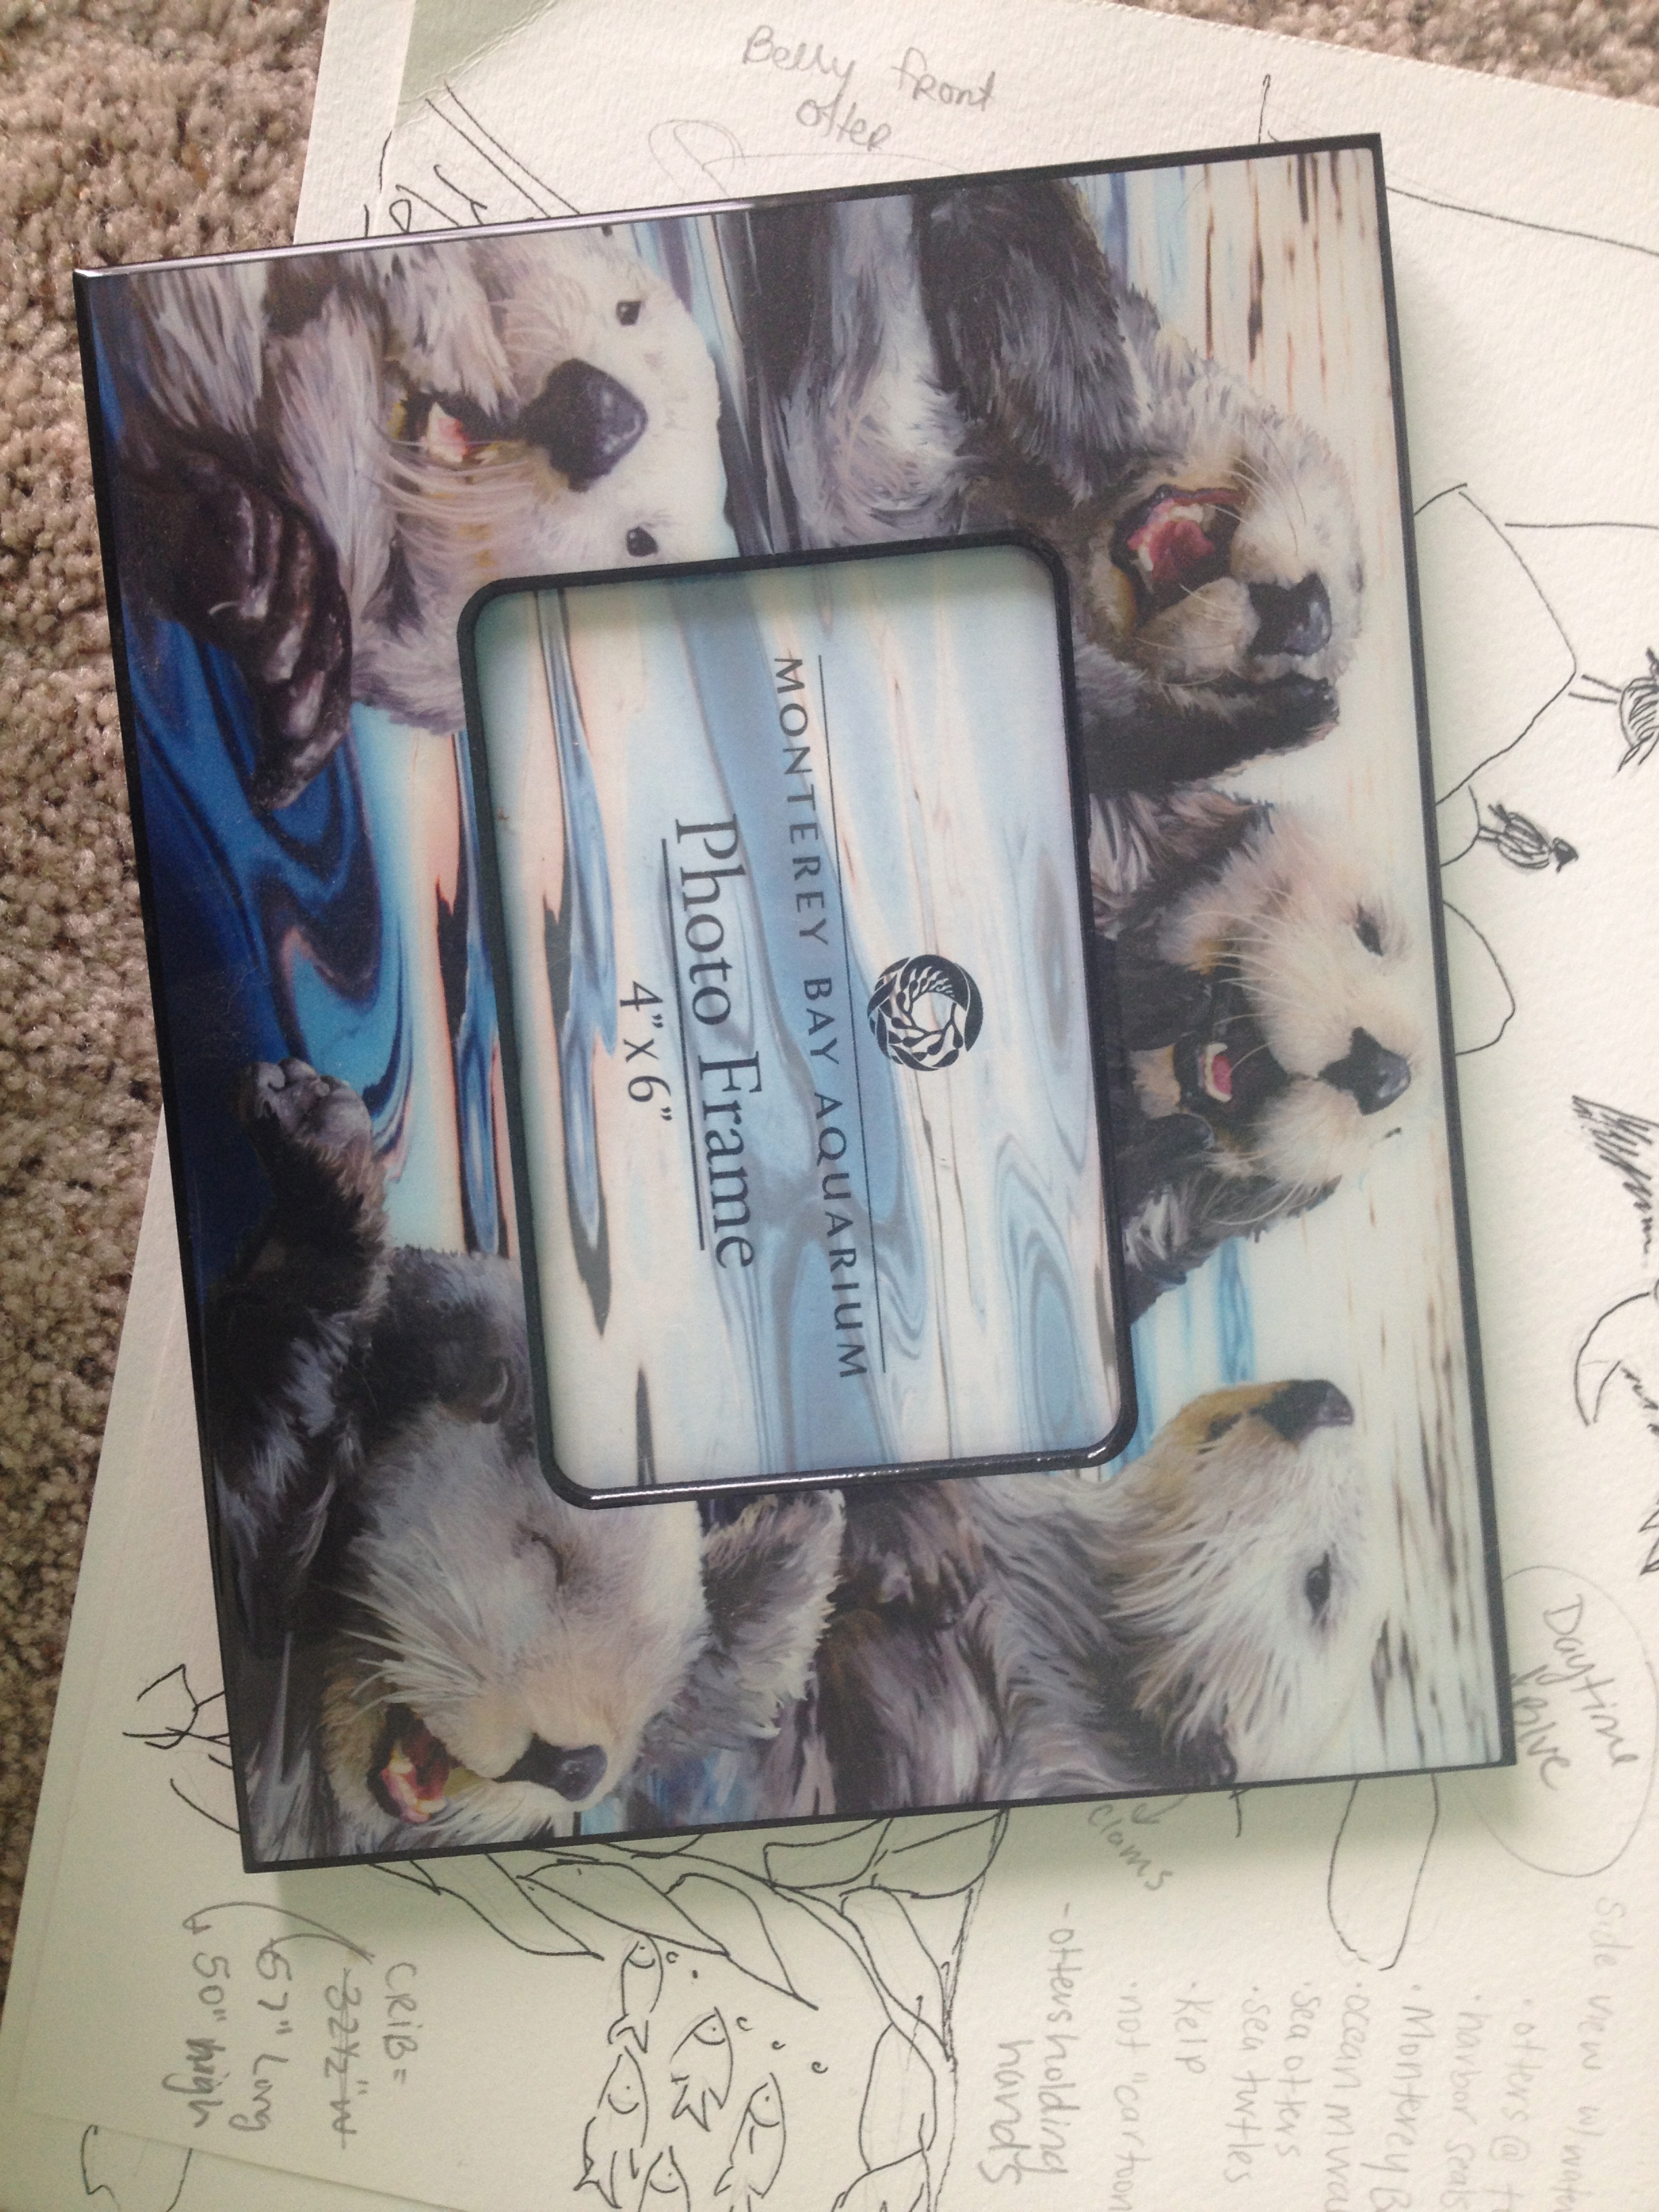
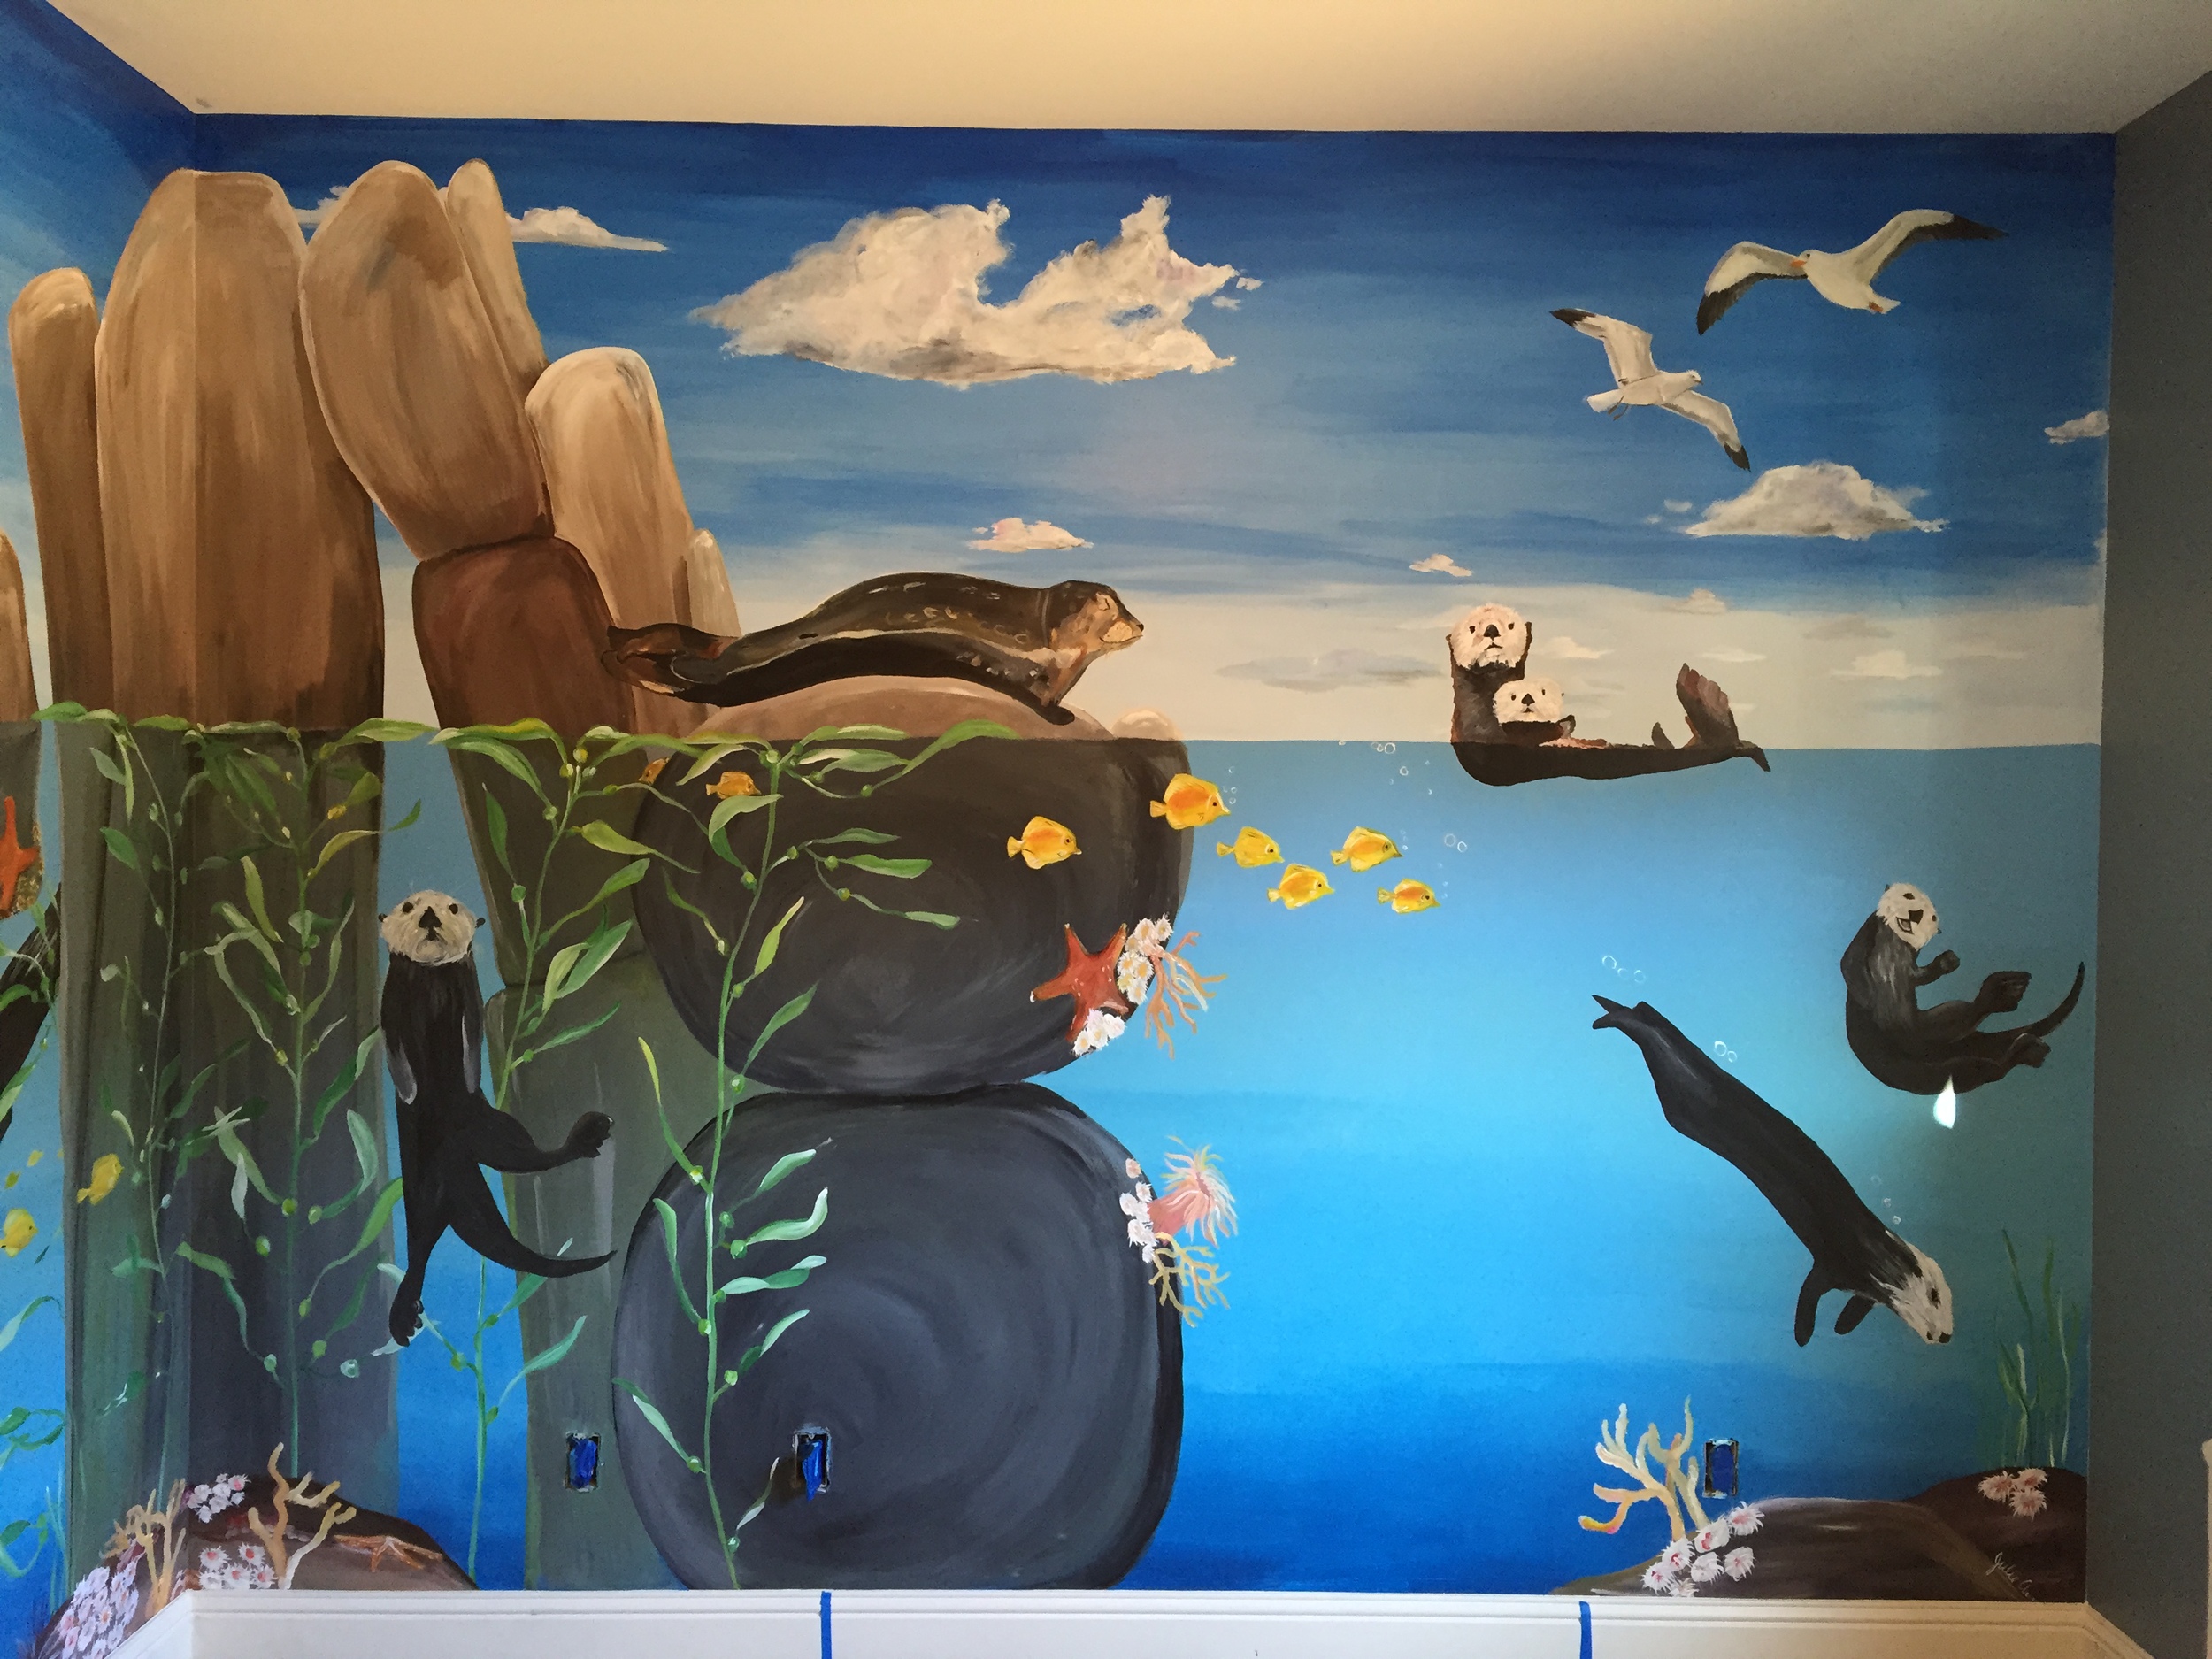
My clients were expecting their first child and wanted to create an under water scene in their nursery. They had great memories of traveling to Monterey Bay together and they loved sea otters and sea turtles. After discussing their vision, we decided to have the mural painted with a side view of the water, where we could have animals above and below the water line. They wanted to make sure the mural was not "cartoony," so I spent a good amount of time collecting reference materials of real otters and undersea creatures.

IMG_1055
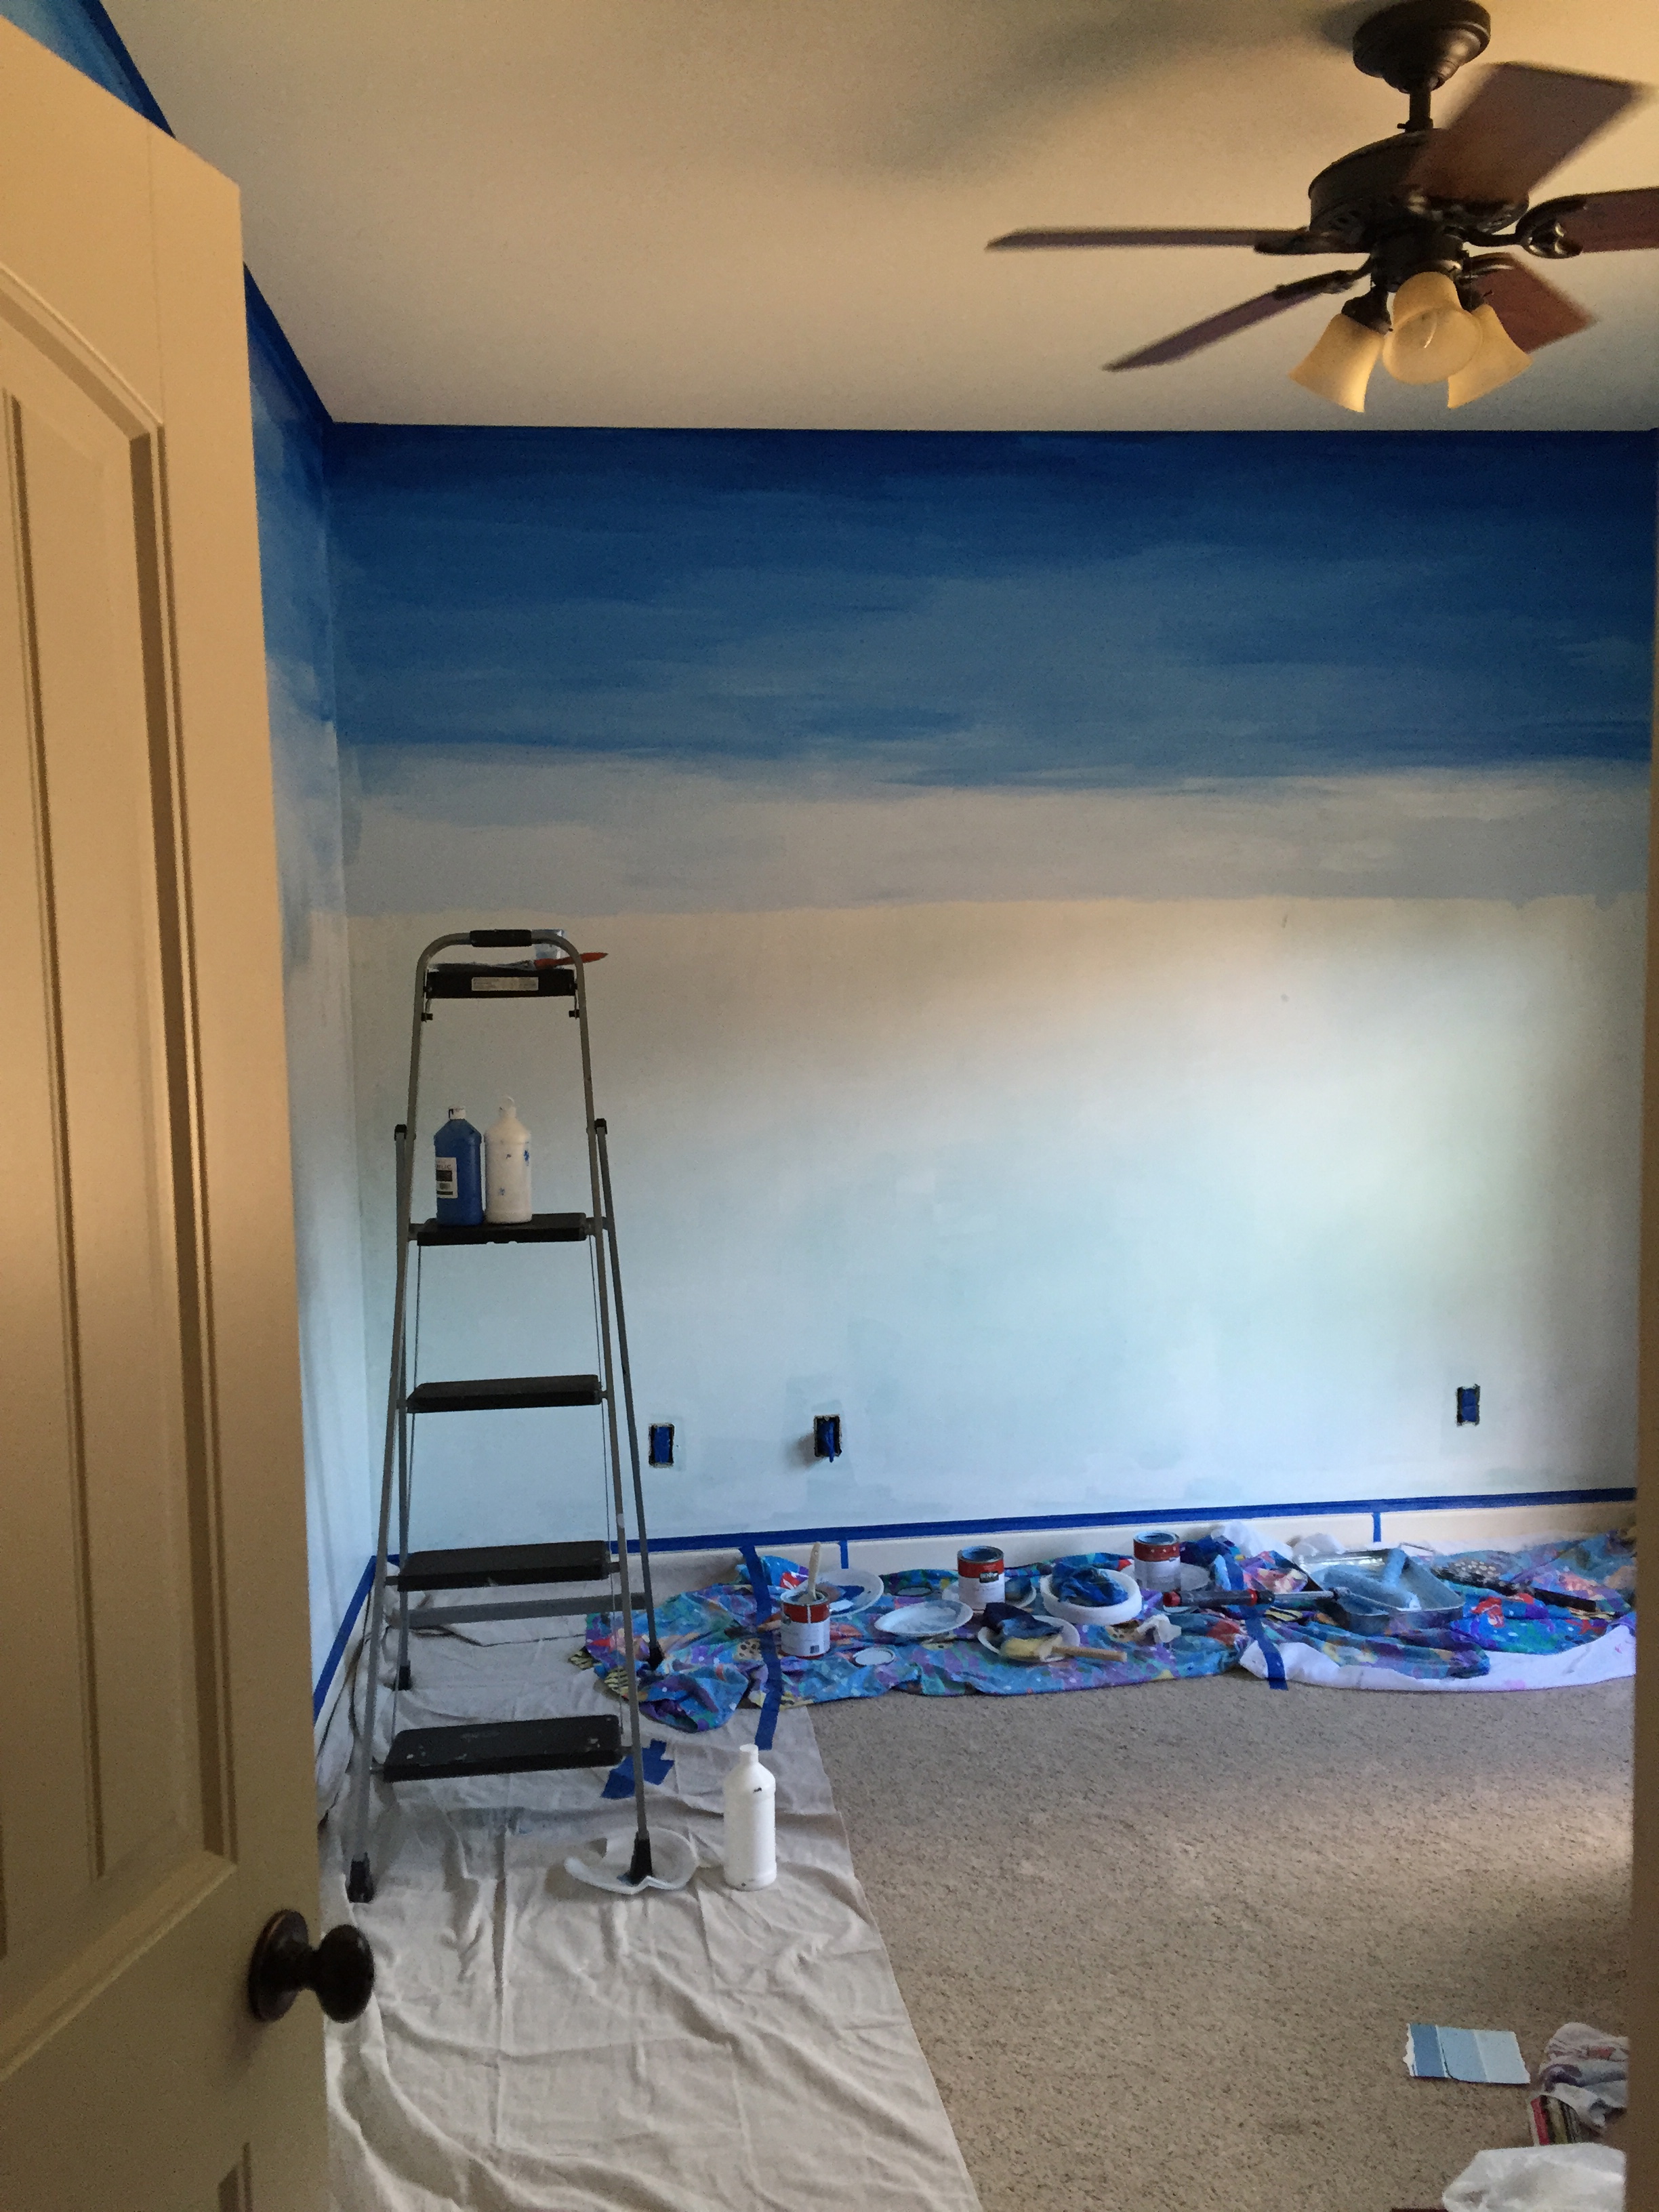
The project took me six and a half days to complete, plus a day for priming and planning. My clients had given me dimensions of the room, but to my surprise, the ceiling was much higher than I had imagined. It may be hard to tell in the pictures, but the room felt grand and gave me a lot of extra space to have a scene above and below the water line. I sketched out the vision for the nursery and created space for the crib and changing table to go per my client's instructions. Making sure to plan for furniture is always important. I didn't want to spend a lot of time working on the detail of a sea otter if we were only going to cover it up with a crib. You can also get creative with a piece of furniture and have otters or fish peaking over or around a certain piece.
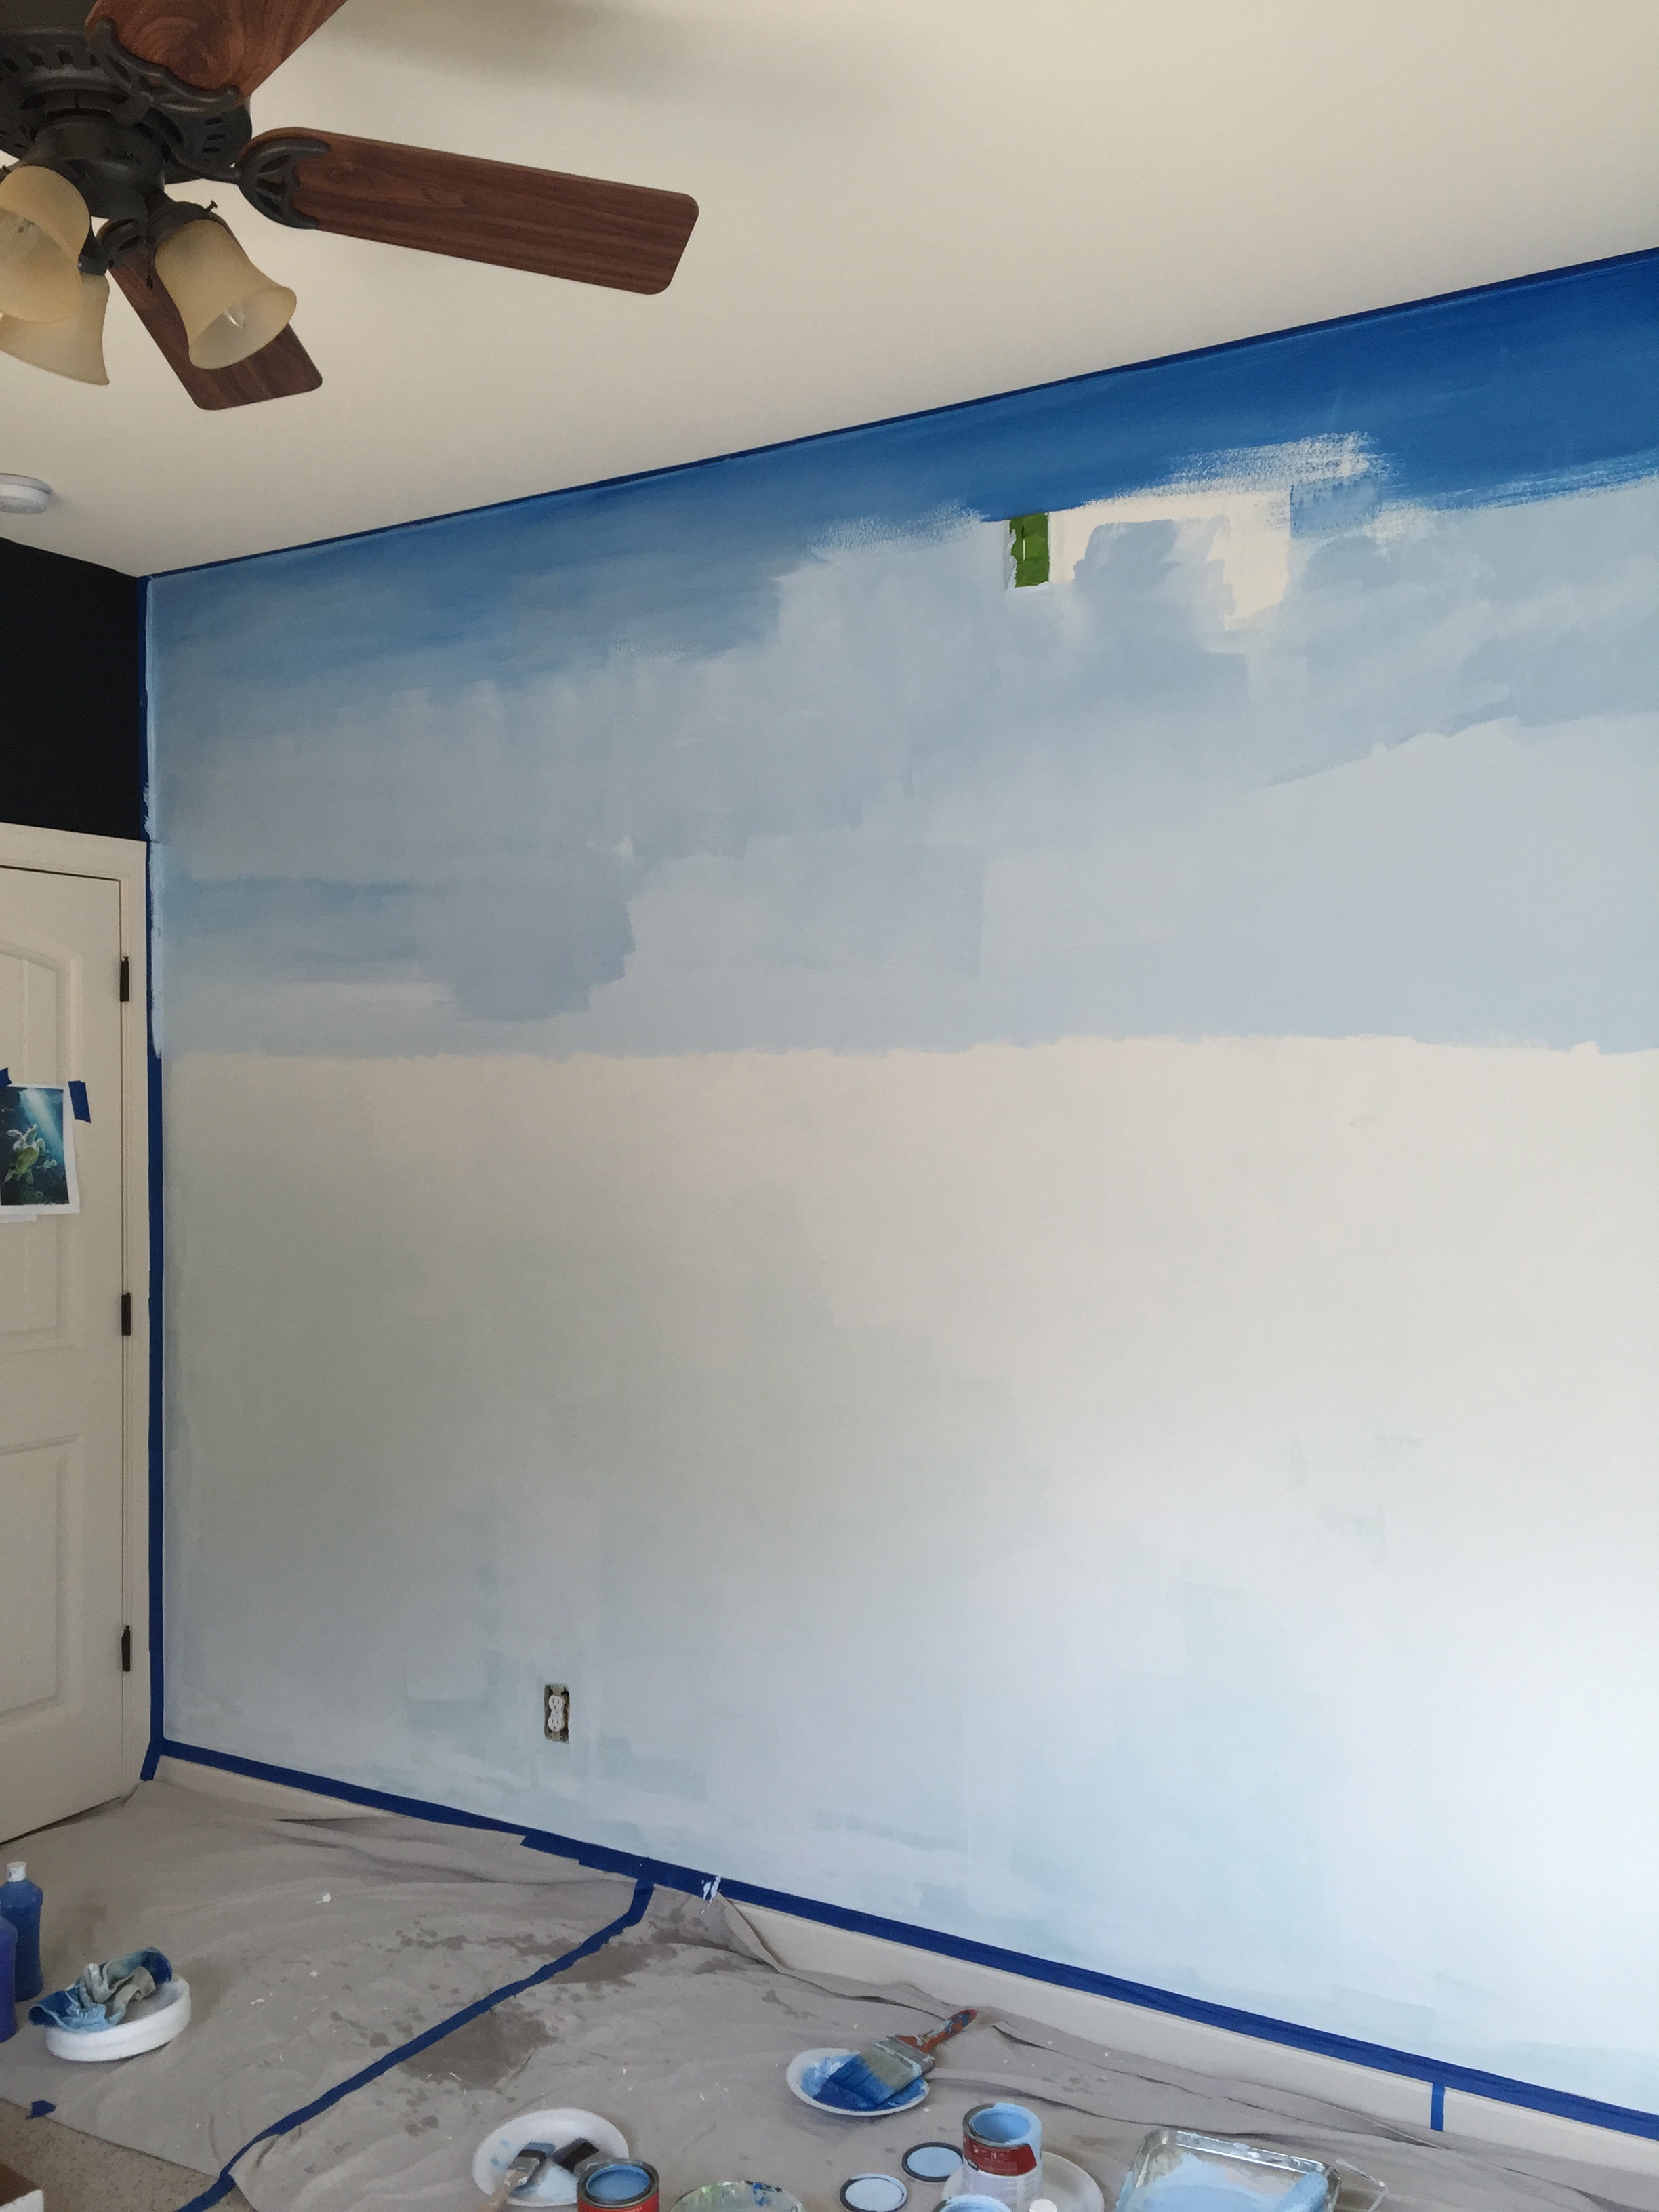
Once the room was primed and the sketch complete, I started painting the sky. I worked my way from the top of the mural to the bottom. Luckily for me, most of the detail happened in the ocean and I didn't need to worry about moving a ladder so much.
Take a look at the step by step process below! Thank you so much for checking it out! I would love to hear from you! If you are interested in connecting or contacting me about a commission painting, click here! Have a fabulous day!


Ocean Mural by Julie Ann McKevitt | Atlanta Artist

Ocean Mural by Julie Ann McKevitt | Atlanta Artist


Ocean Mural by Julie Ann McKevitt | Atlanta Artist

Ocean Mural by Julie Ann McKevitt | Atlanta Artist

Ocean Mural by Julie Ann McKevitt | Atlanta Artist

Ocean Mural by Julie Ann McKevitt | Atlanta Artist

Ocean Mural by Julie Ann McKevitt | Atlanta Artist

Ocean Mural by Julie Ann McKevitt | Atlanta Artist
Ocean Mural by Julie Ann McKevitt | Atlanta Artist

Ocean Mural by Julie Ann McKevitt | Atlanta Artist


Ocean Mural by Julie Ann McKevitt | Atlanta Artist

Ocean Mural by Julie Ann McKevitt | Atlanta Artist
Ocean Mural by Julie Ann McKevitt | Atlanta Artist

Ocean Mural by Julie Ann McKevitt | Atlanta Artist
Ocean Mural by Julie Ann McKevitt | Atlanta Artist
Ocean Mural by Julie Ann McKevitt | Atlanta Artist

Ocean Mural by Julie Ann McKevitt | Atlanta Artist
Ocean Mural by Julie Ann McKevitt | Atlanta Artist
Ocean Mural by Julie Ann McKevitt | Atlanta Artist
Ocean Mural by Julie Ann McKevitt | Atlanta Artist

Ocean Mural by Julie Ann McKevitt | Atlanta Artist
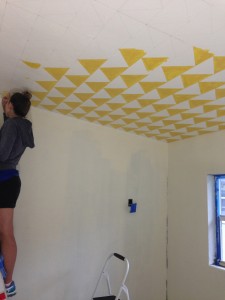
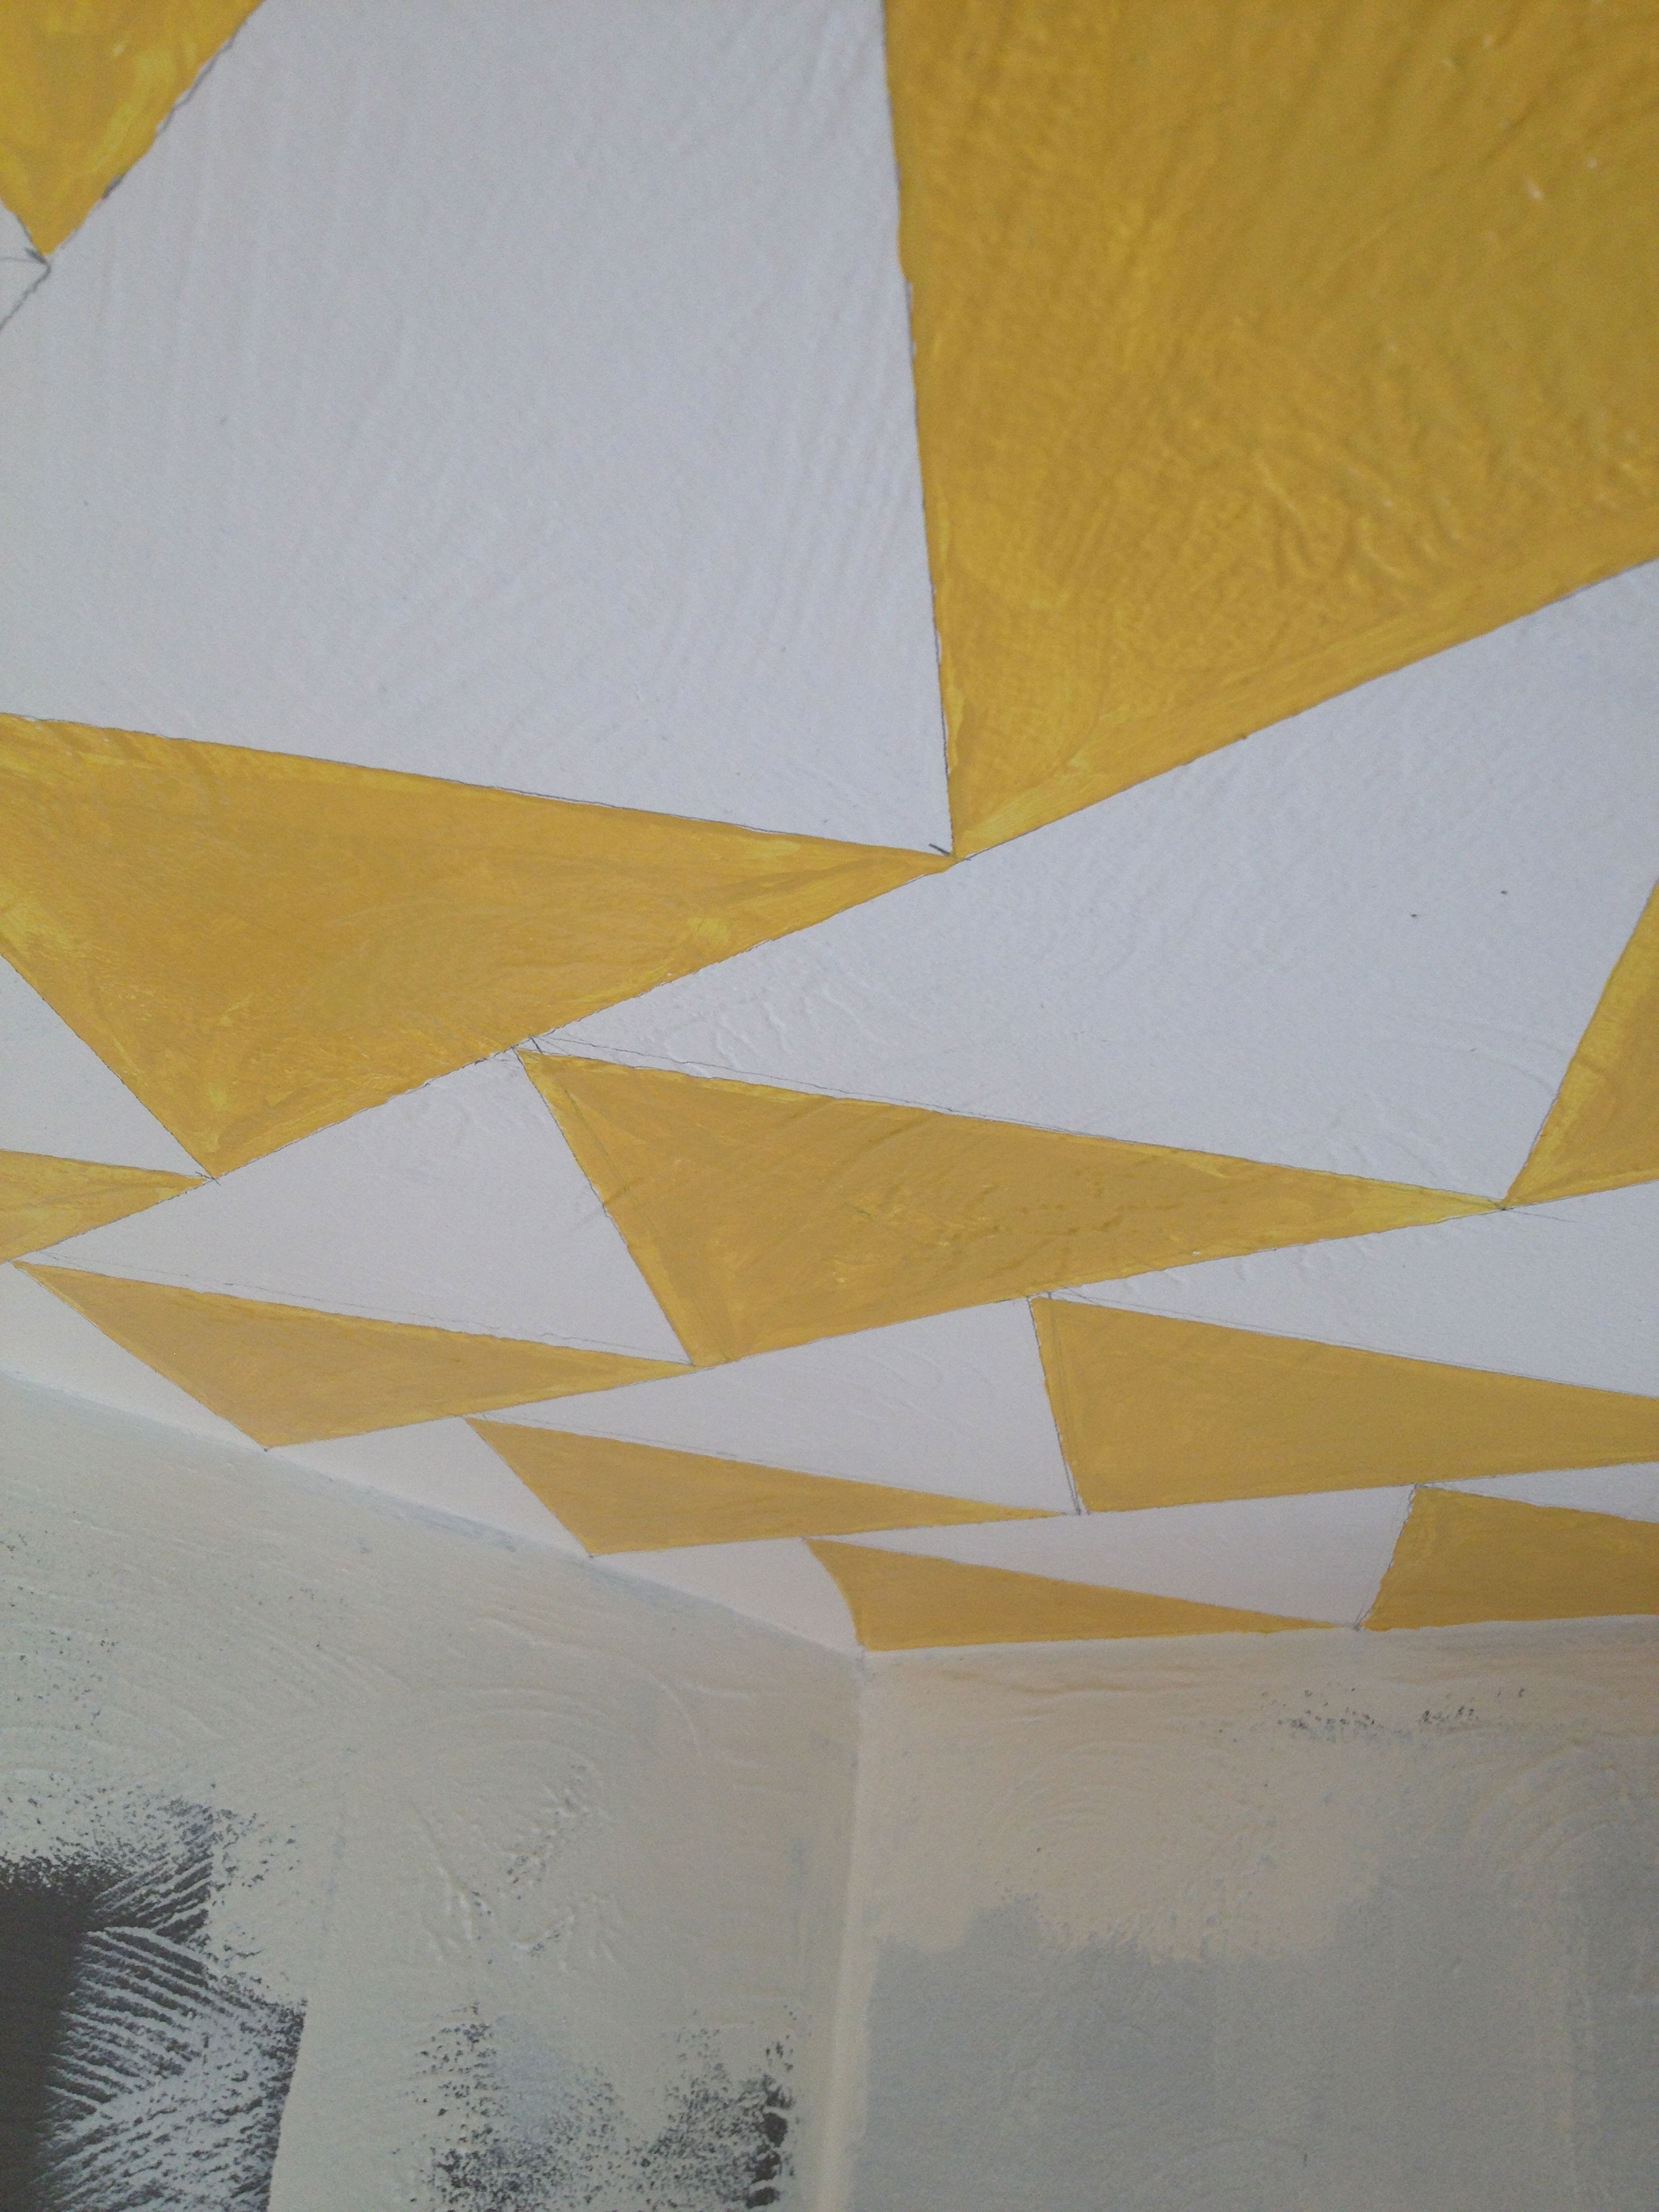
Geometric Nursery Mural on the Ceiling
I absolutely LOVE how this geometric nursery mural turned out! I am always in awe of the fabulous ideas my clients present to me. This idea though came from one particularly special client, my cousin, Carmella. More like a sister, Carmella, has been my style icon since the moment I could pick out my own clothes. Even now, twenty plus years later and 400 plus miles away, I still call upon her for advice.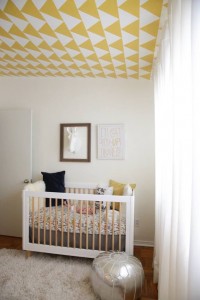
So, it was no surprise that when I offered to paint something for her nursery…this amazing idea came up! I was thinking a cute giraffe or lion, instead I painted approximately 221 gold triangles on her nursery ceiling! I couldn't be more in love with the results and her sweet baby Roman who gets to enjoy it.
Here are some pictures and notes about the process:
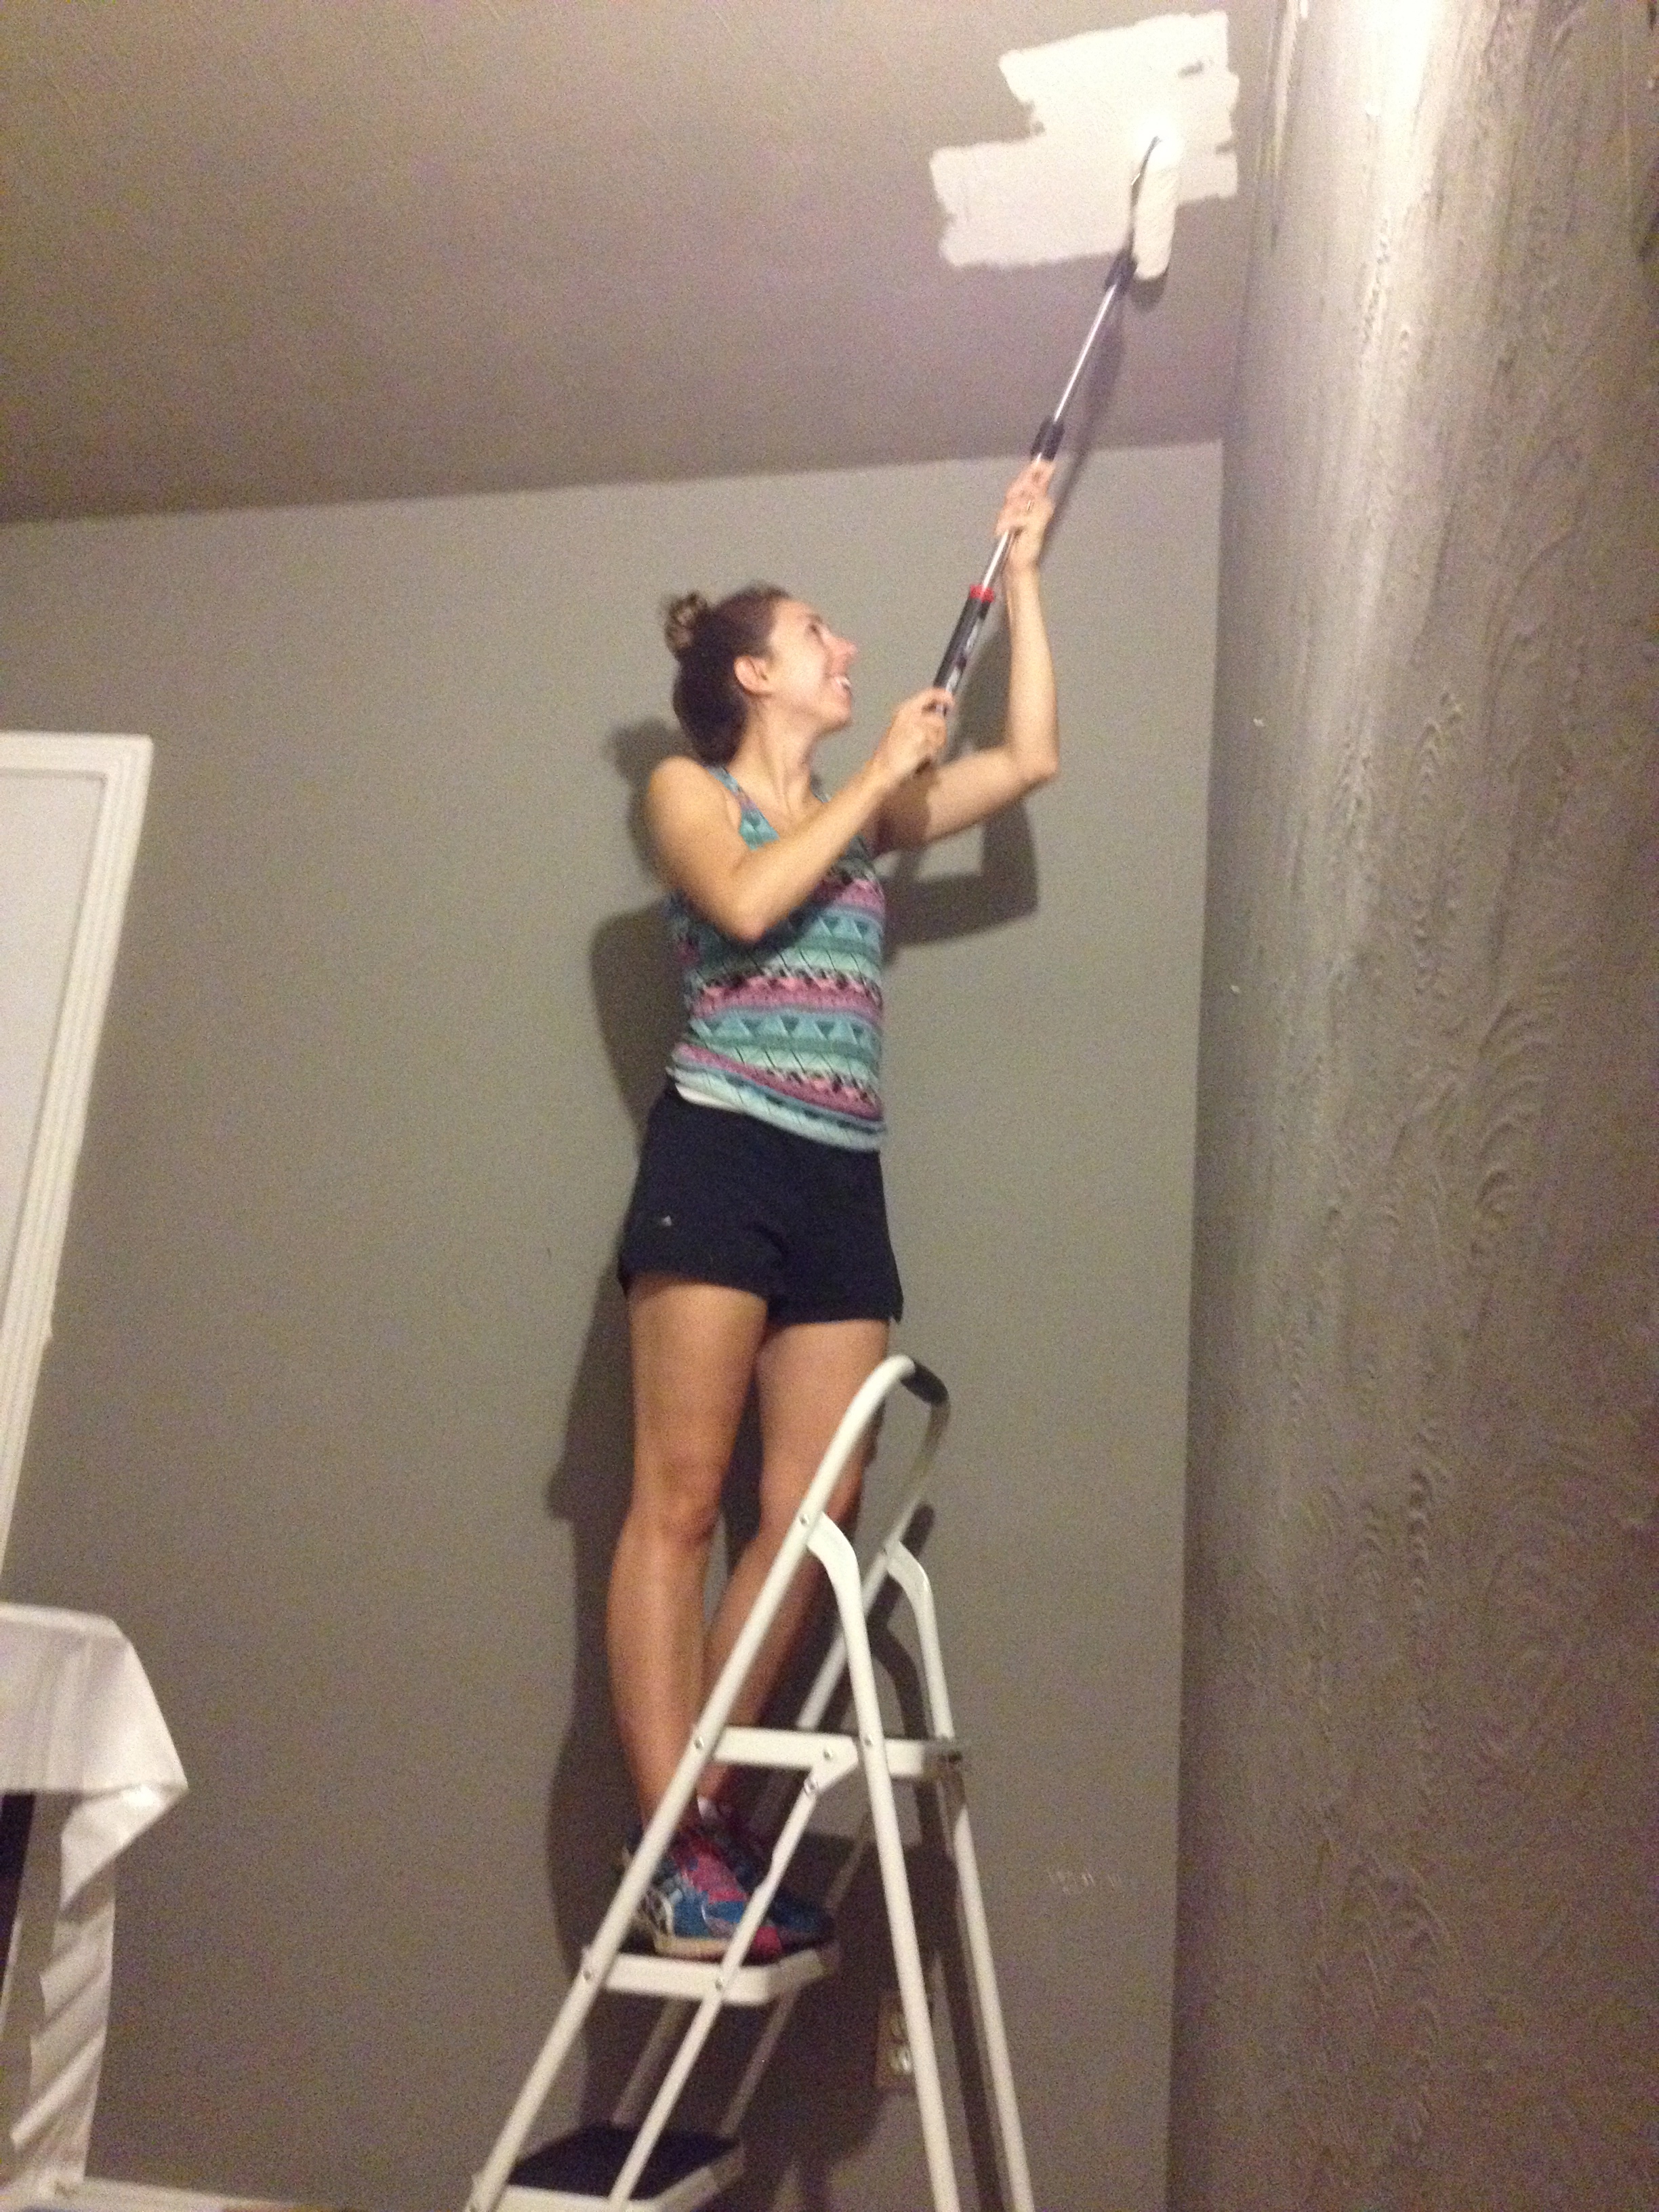 I arrived late in the evening in Orlando, but with only a few days to finish the project, I began painting her ceiling white. Midnight projects are always the best kind! I needed it to be dry to start the triangles the next day.
The next morning I had lofty ideas of how quickly this project was going to be. I even made a triangle stencil I thought I could easily trace across the ceiling.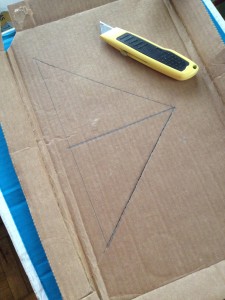 It was definitely not even enough and I needed some straight lines to reference. Usually when I do geometric patterns, I am doing them on walls where I can easily use a long level to make my guide lines. Levels don't work on ceilings! haha!
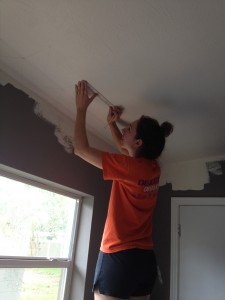
So me and my ruler got to work! I had to reference the side walls and make sure my lines were straight. I would measure the first line from the wall, then the next line from the first line, then…so on and so forth! The pattern was similar to drawing a chevron pattern (like in this tutorial). I just made sure not to have pencil marks in the area the triangles would remain white.

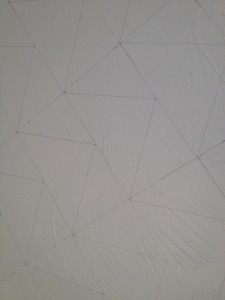
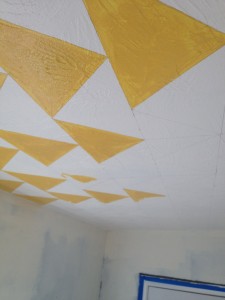
It took me about a full day to draw the triangles. Then I started painted!! It took more than one coat, but the second coat went much faster. From late Wednesday to late Friday night I prepped and painted. By Saturday morning, it was finished!!

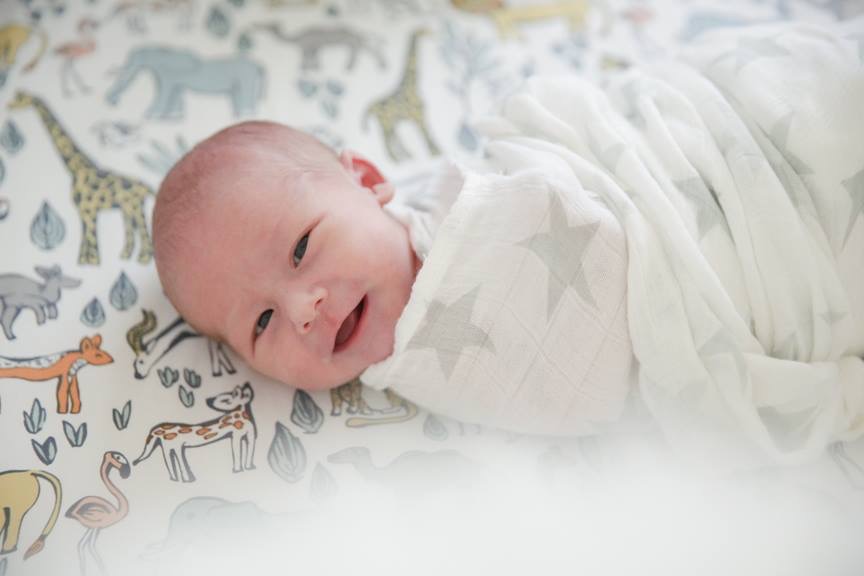
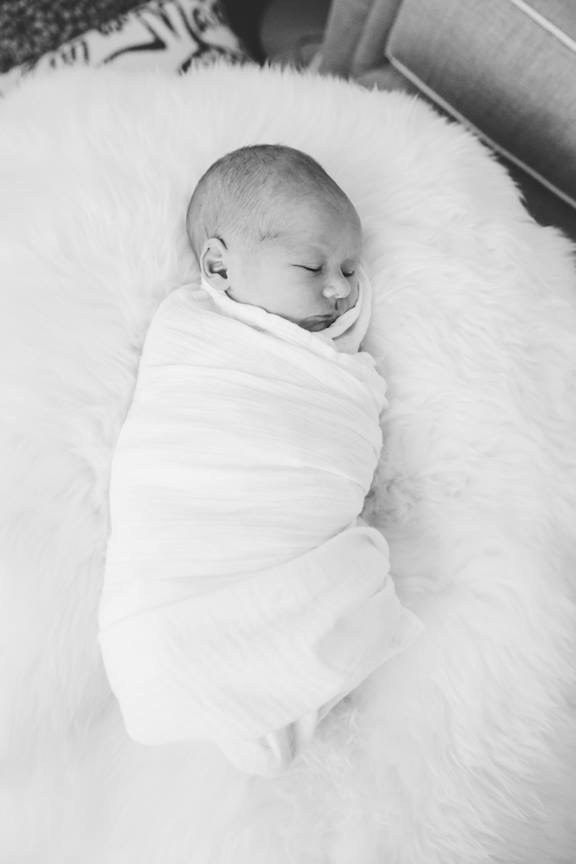
Check out these amazing photos from Live Happy Studio of the nursery space including a few of baby Roman. It surprised me how much the ceiling mural acted like a mobile. He loved looking up at it! P.S. I'm in love with this Superheros pillow by Kal Barteski from Urban Outfitters.


Welcome to my Studio!
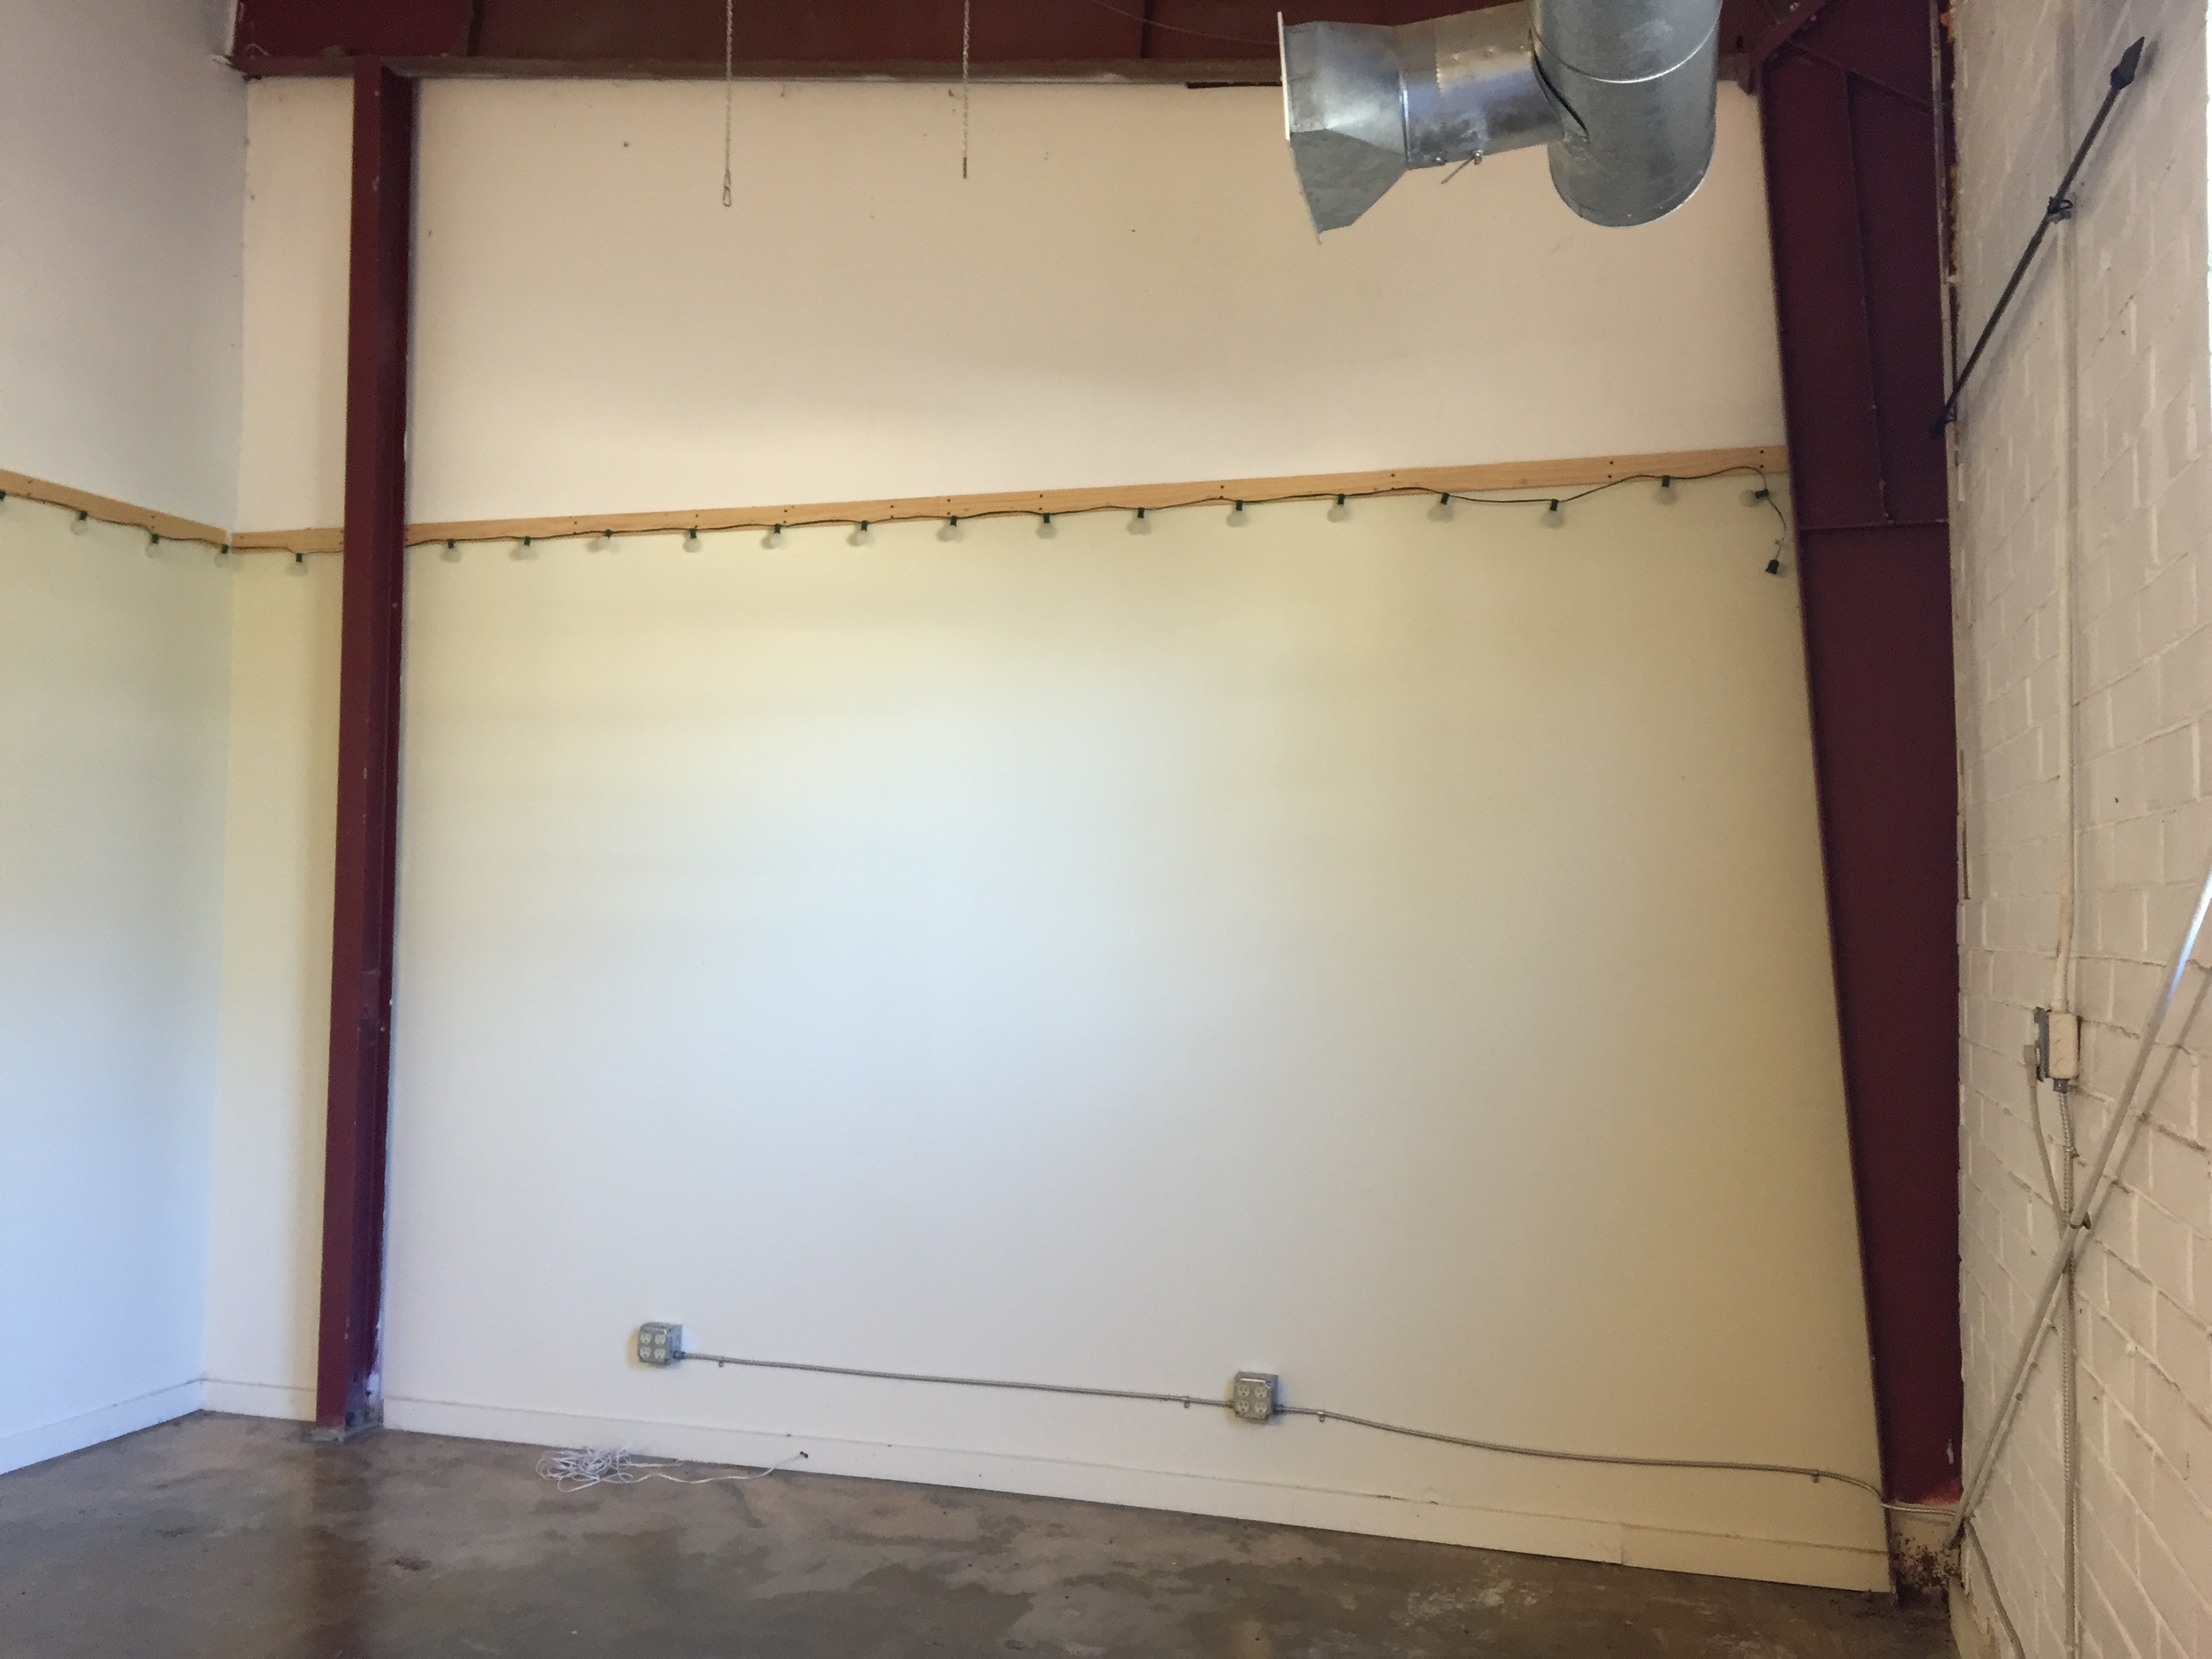
Hello Friends!! Christmas has come early for me! : ) It is with excitement and pleasure and glee that I can announce to you all that I will be moving into my own studio space!! It has been a joy to work from home this past year, but space was starting to be an issue. I had moved from our laundry room to our dining room and as my October art show started to take over portions of the kitchen and back deck I knew it was time to get a bigger space. (Let's not mention the hot pink paint on the tv, walls, and back of the couch). Suffice it to say, my husband Aaron is a saint and I'm one lucky artist. For the past few months we told our friends and family about "Operation Evict Julie," a plan to get me and my messy ways out of the house. I thought it was a true pipe dream or maybe (possibly) something that would happen later in 2015, but I started just "looking" around and stumbled upon the perfect spot close to where I live. I couldn't pass it up! : ) The new studio is super close to the Dekalb's Farmers Market and Kudzu Antiques! These are two fabulous places and I'm thrilled to be in their neighborhood! I have my own entrance and there is exposed white brick, which I find quite lovely. I can't wait to invite you all over!!! So, stay tuned for the updates!
Thank you so much for those who have supported me, purchased art, shared a post, commented or liked something. It is because of you that I am able to grow and continue to do what I love, including supporting the dream of Paint Love. (The space will be shared with all of our Paint Love needs as well!)
Thank you!
With much love and gratitude, Julie Ann