How to create a chevron print
Ok, let's chevron! Chevron print is all the rage and really quite simple to create. chevron by itself can make a bold statement or can be the perfect modern backdrop for a painting or print. Step 1: Gather materials. Grab a ruler (yard sticks are great for longer surfaces), pencil (I'll be using a blue marker so you can see it better, but use a pencil and make your strokes as light as possible), and a canvas (or any paintable surface).

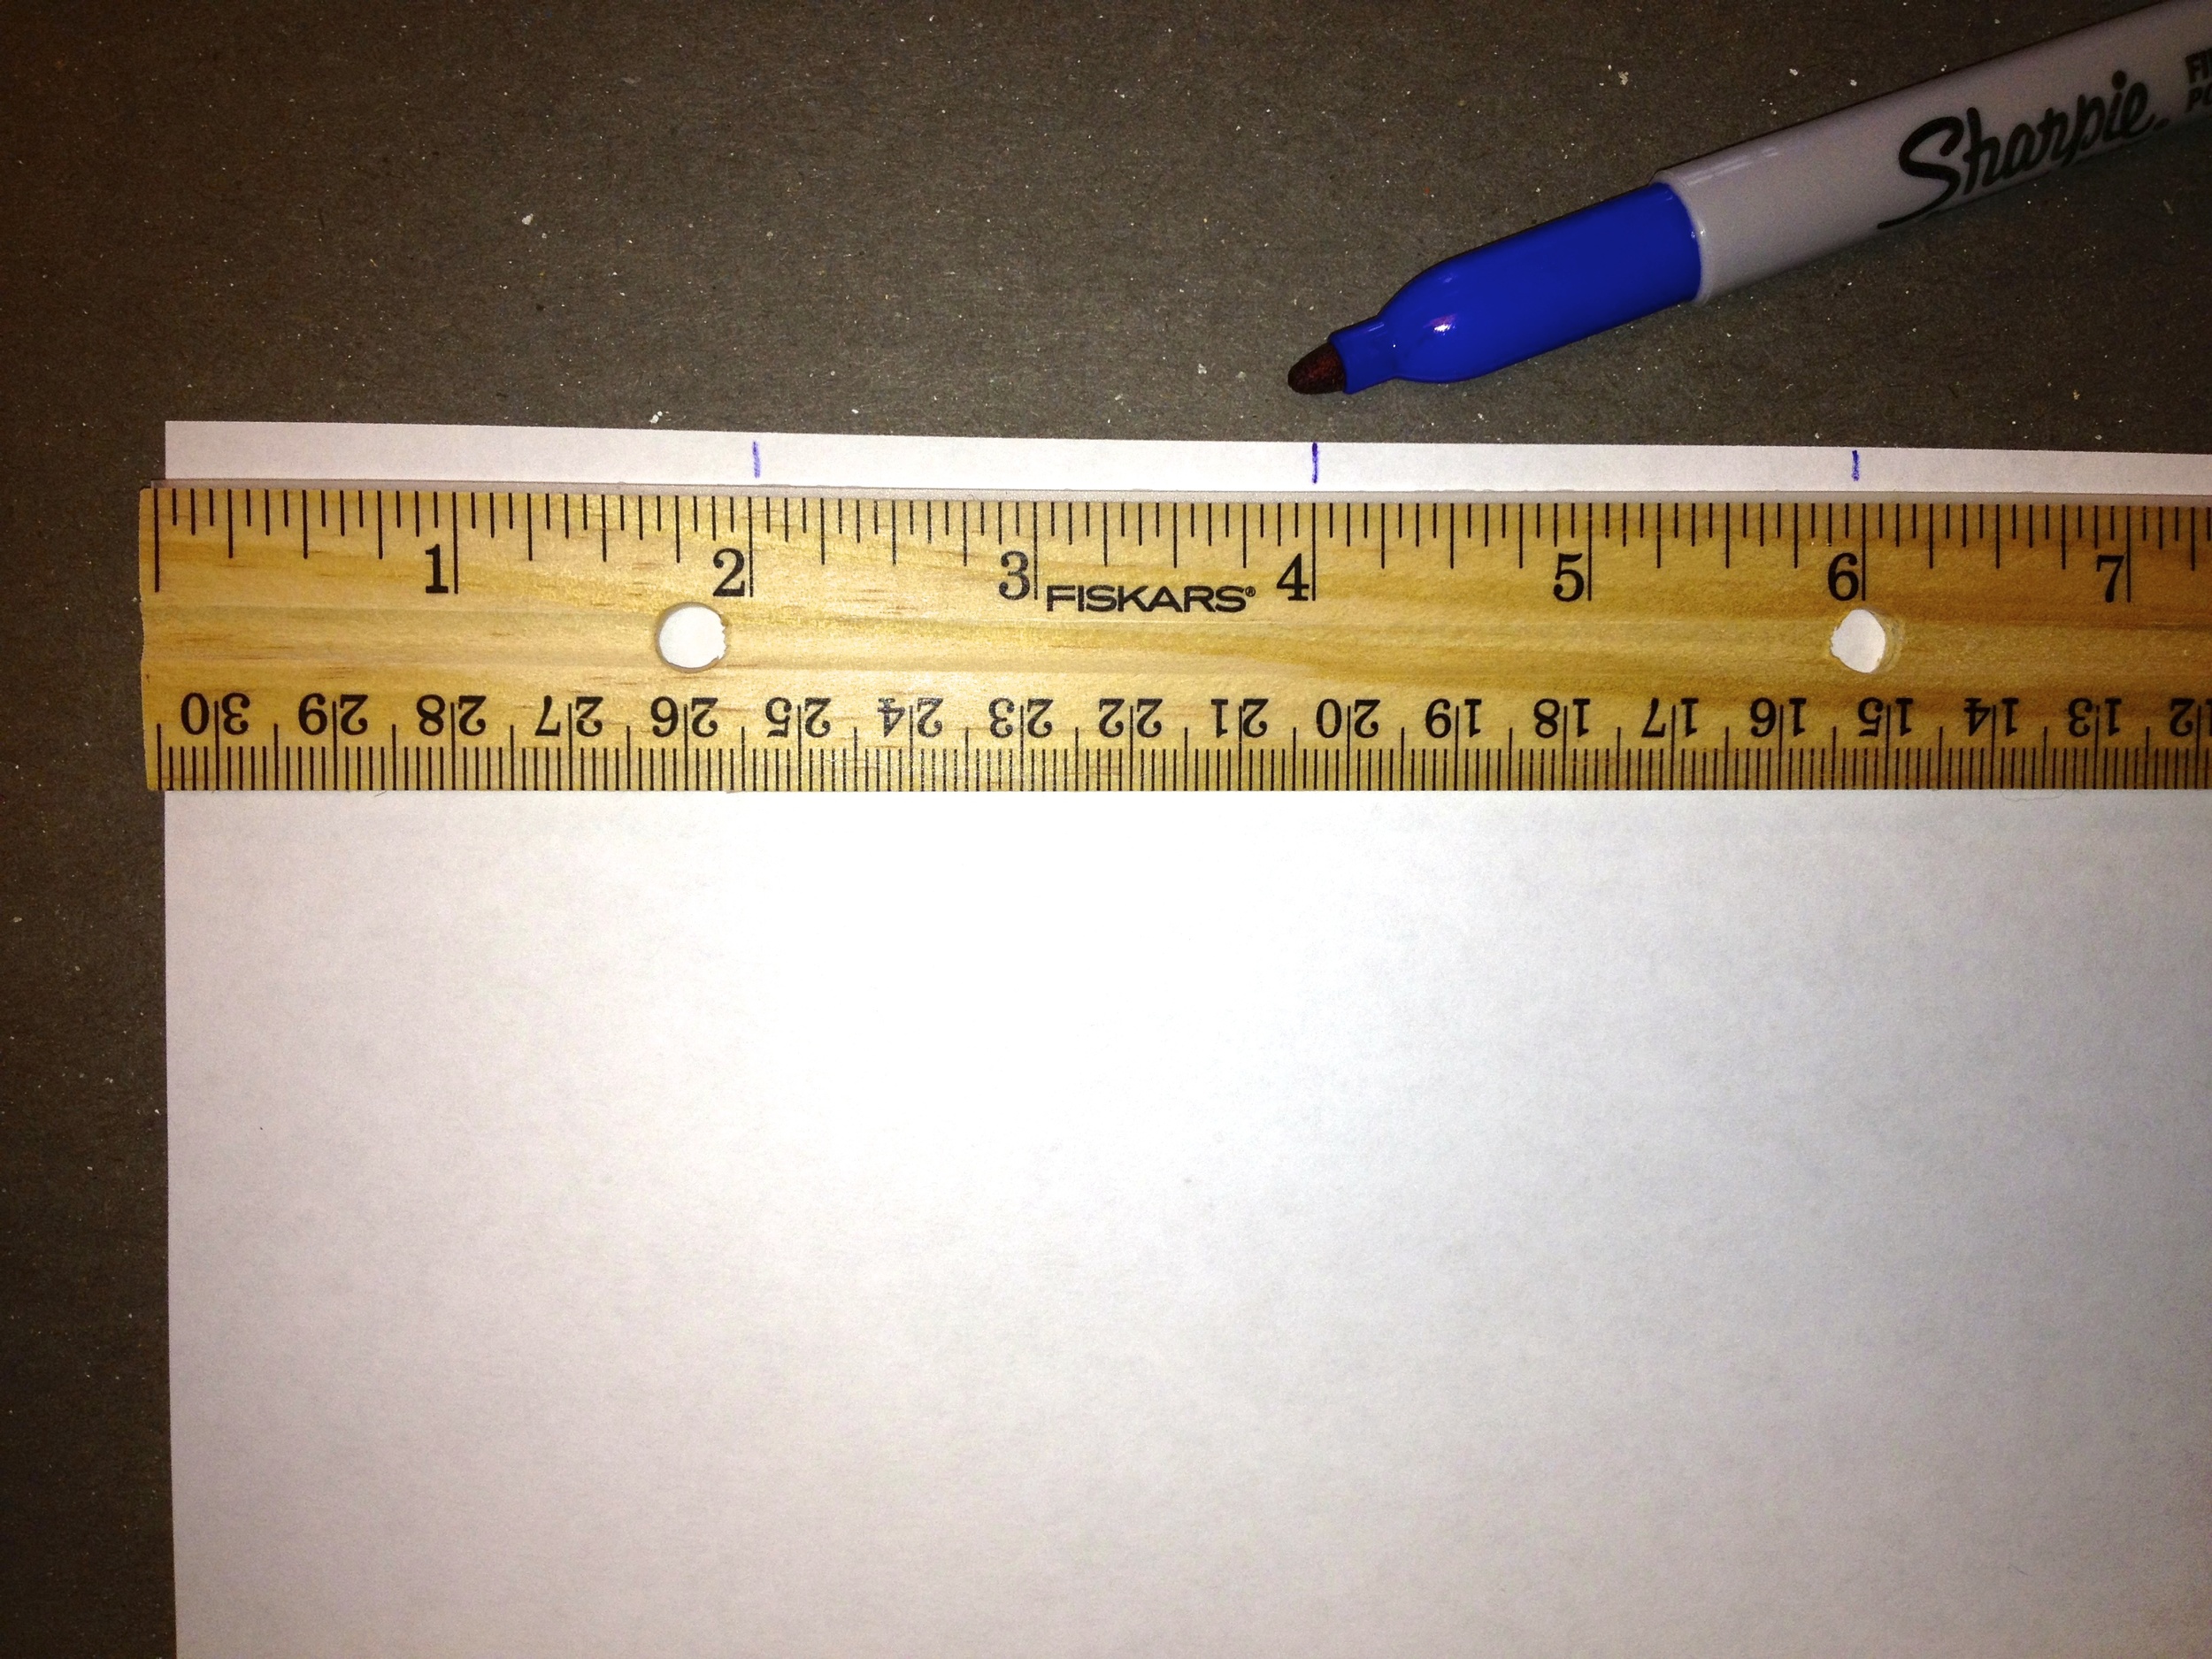
Step 2: Measure. I am making my zig zags two inches apart. You can pick any number. 1 inch=smaller and more zigs and zags, while 3 inches=larger and fewer zigs and zags. I measure the sheet every two inches starting in the right corner and make a tick mark. I am using an 8.5" x 11" sheet of paper, so two inches will not make it across the page evenly. Are we worried? No. Could we measure it perfectly in order to divide up the canvas/sheet/surface evenly? Sure, but who has time for that?
Place tick marks on the top and the bottom of the page/canvas/surface.

Do the same thing on both sides of the sheet. Once again, I am using two inches. Could we use one inch or three inches instead of two on the sides? Sure. Just know, your zigs would be longer and your zags would be shorter or vice verse if your top and side measurements are not the same.

Place tick marks on the other side.

Step 3: Draw horizontal and vertical lines. AKA Connect the dots.

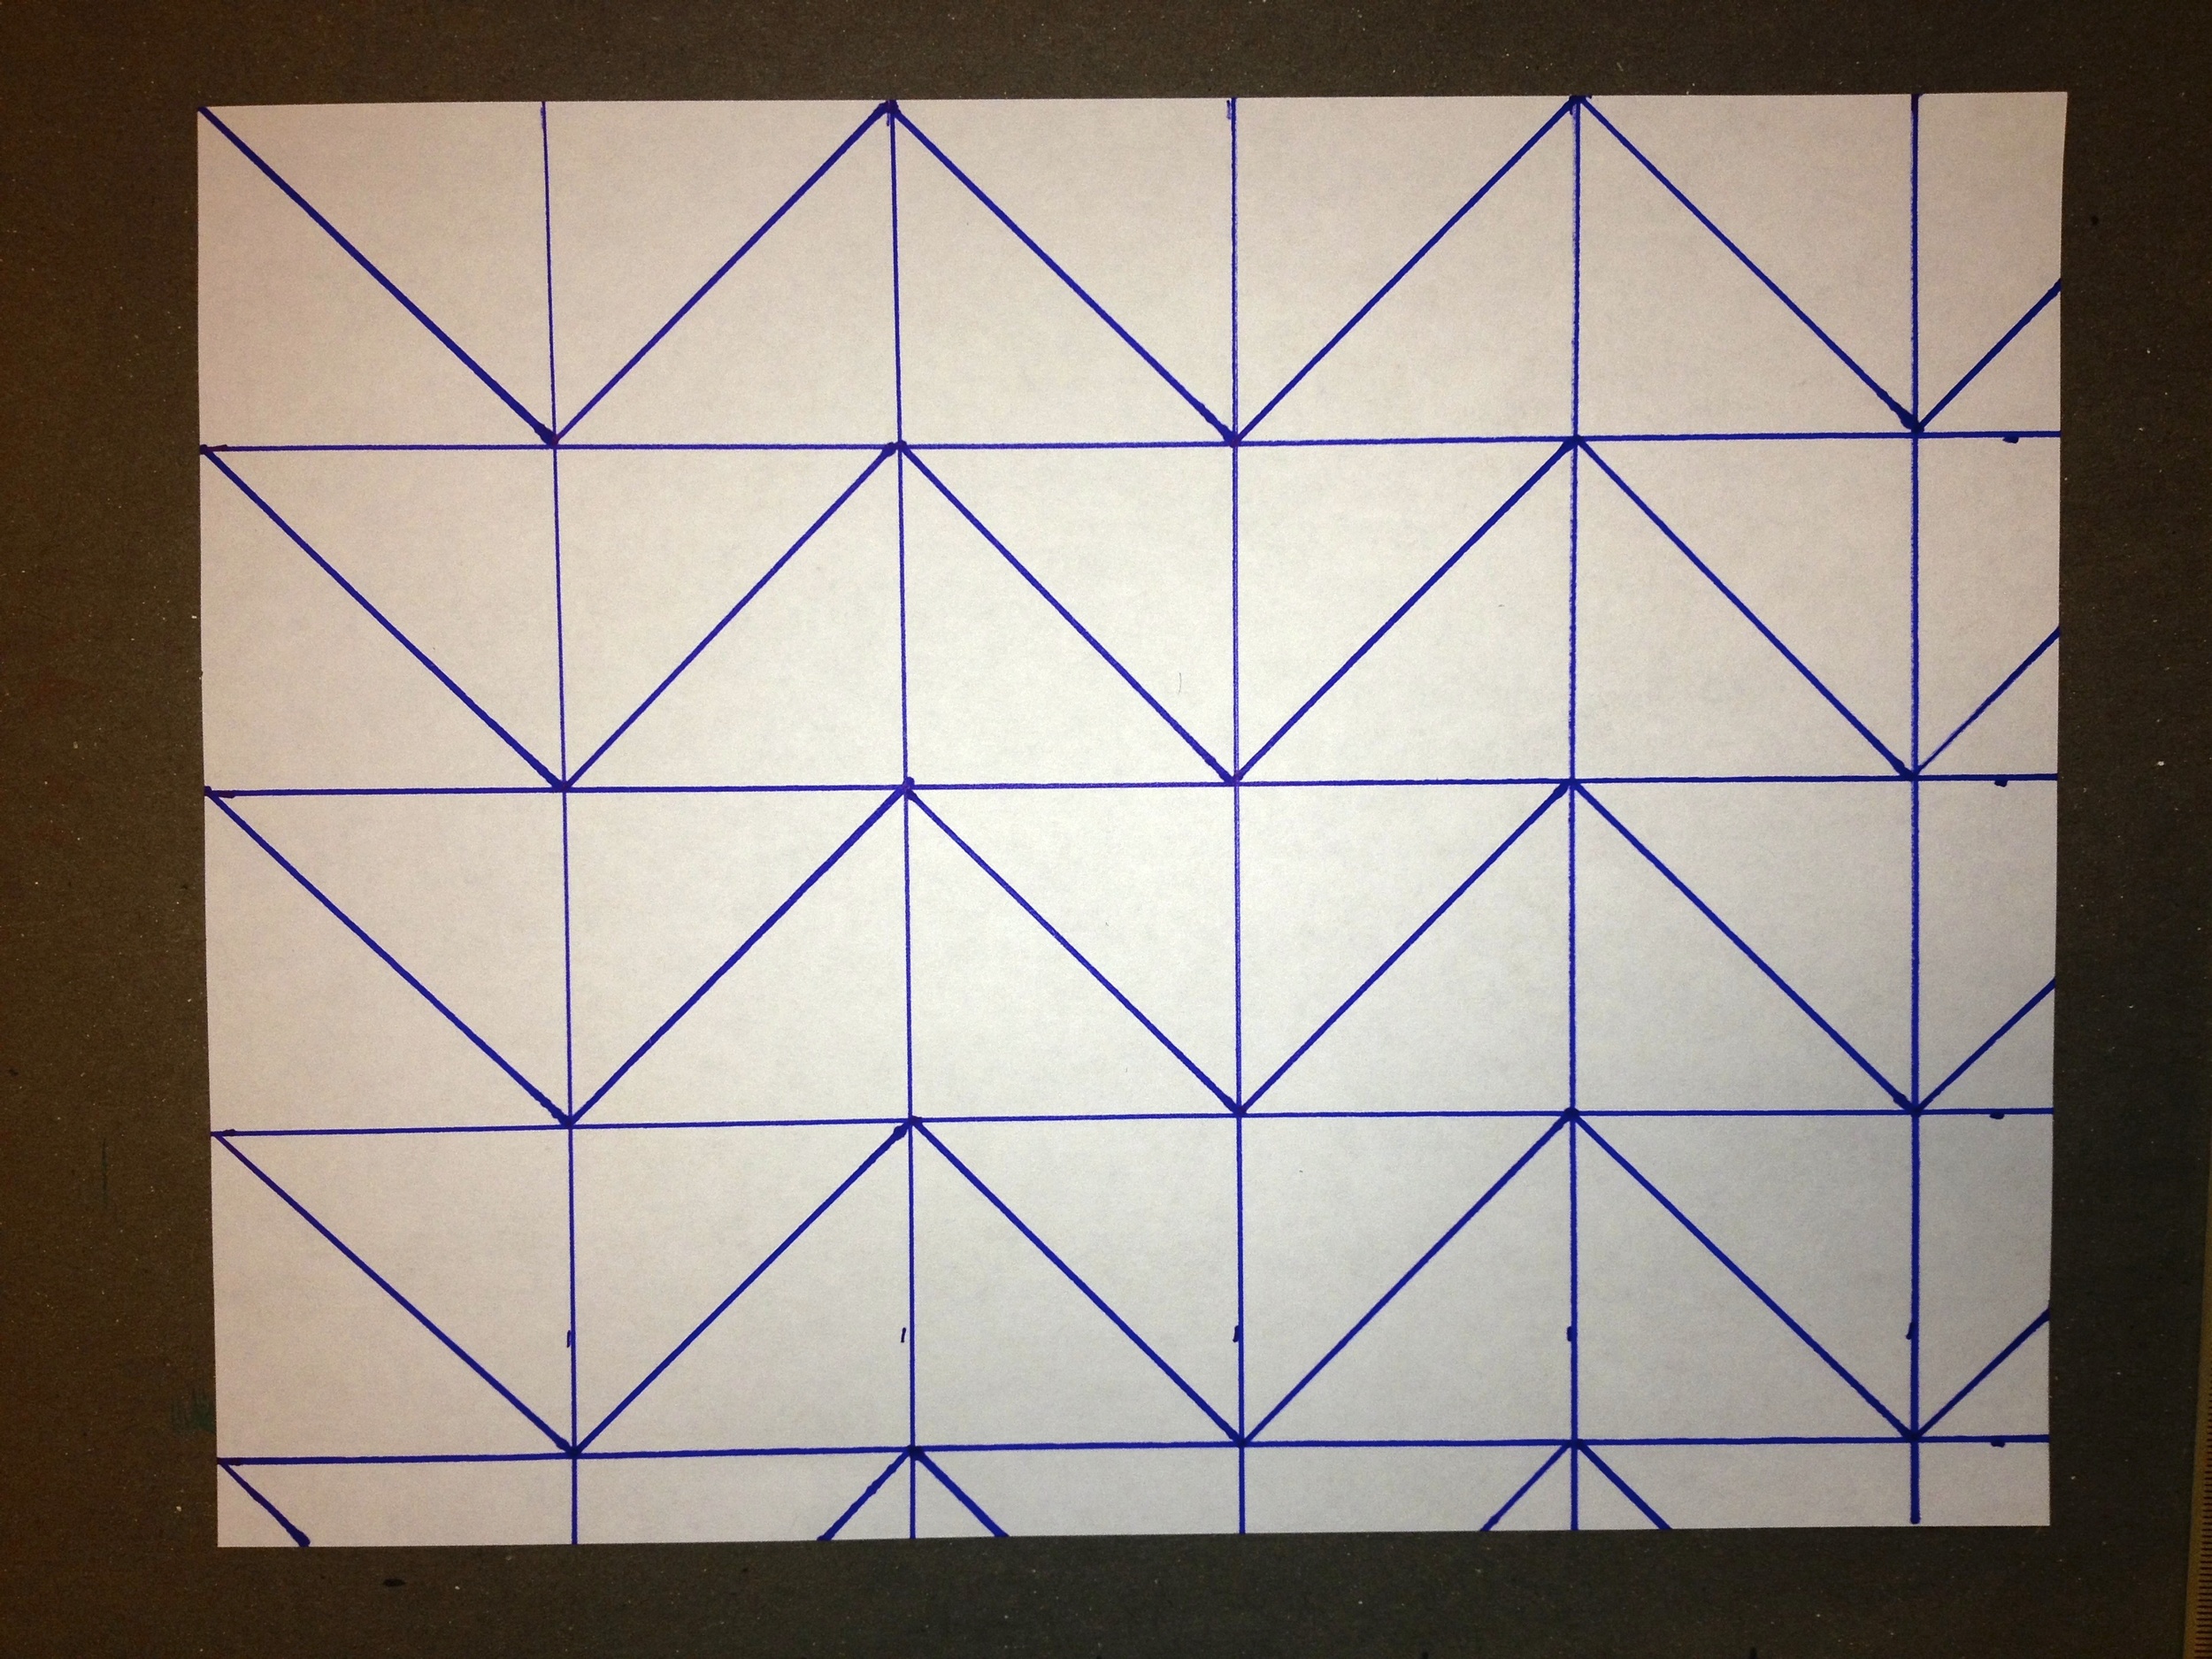
Step 4a: Draw diagonal lines one way. Now that you have pretty boxes, let's fill them! In your first column place diagonal lines like this:

Step 4b: Draw diagonal lines the other way. Repeat 4a & 4b in the next boxes. In your second column make your diagonal lines go the opposite way of your first. In your third column make your diagonal lines go back the first way. Repeat the pattern.

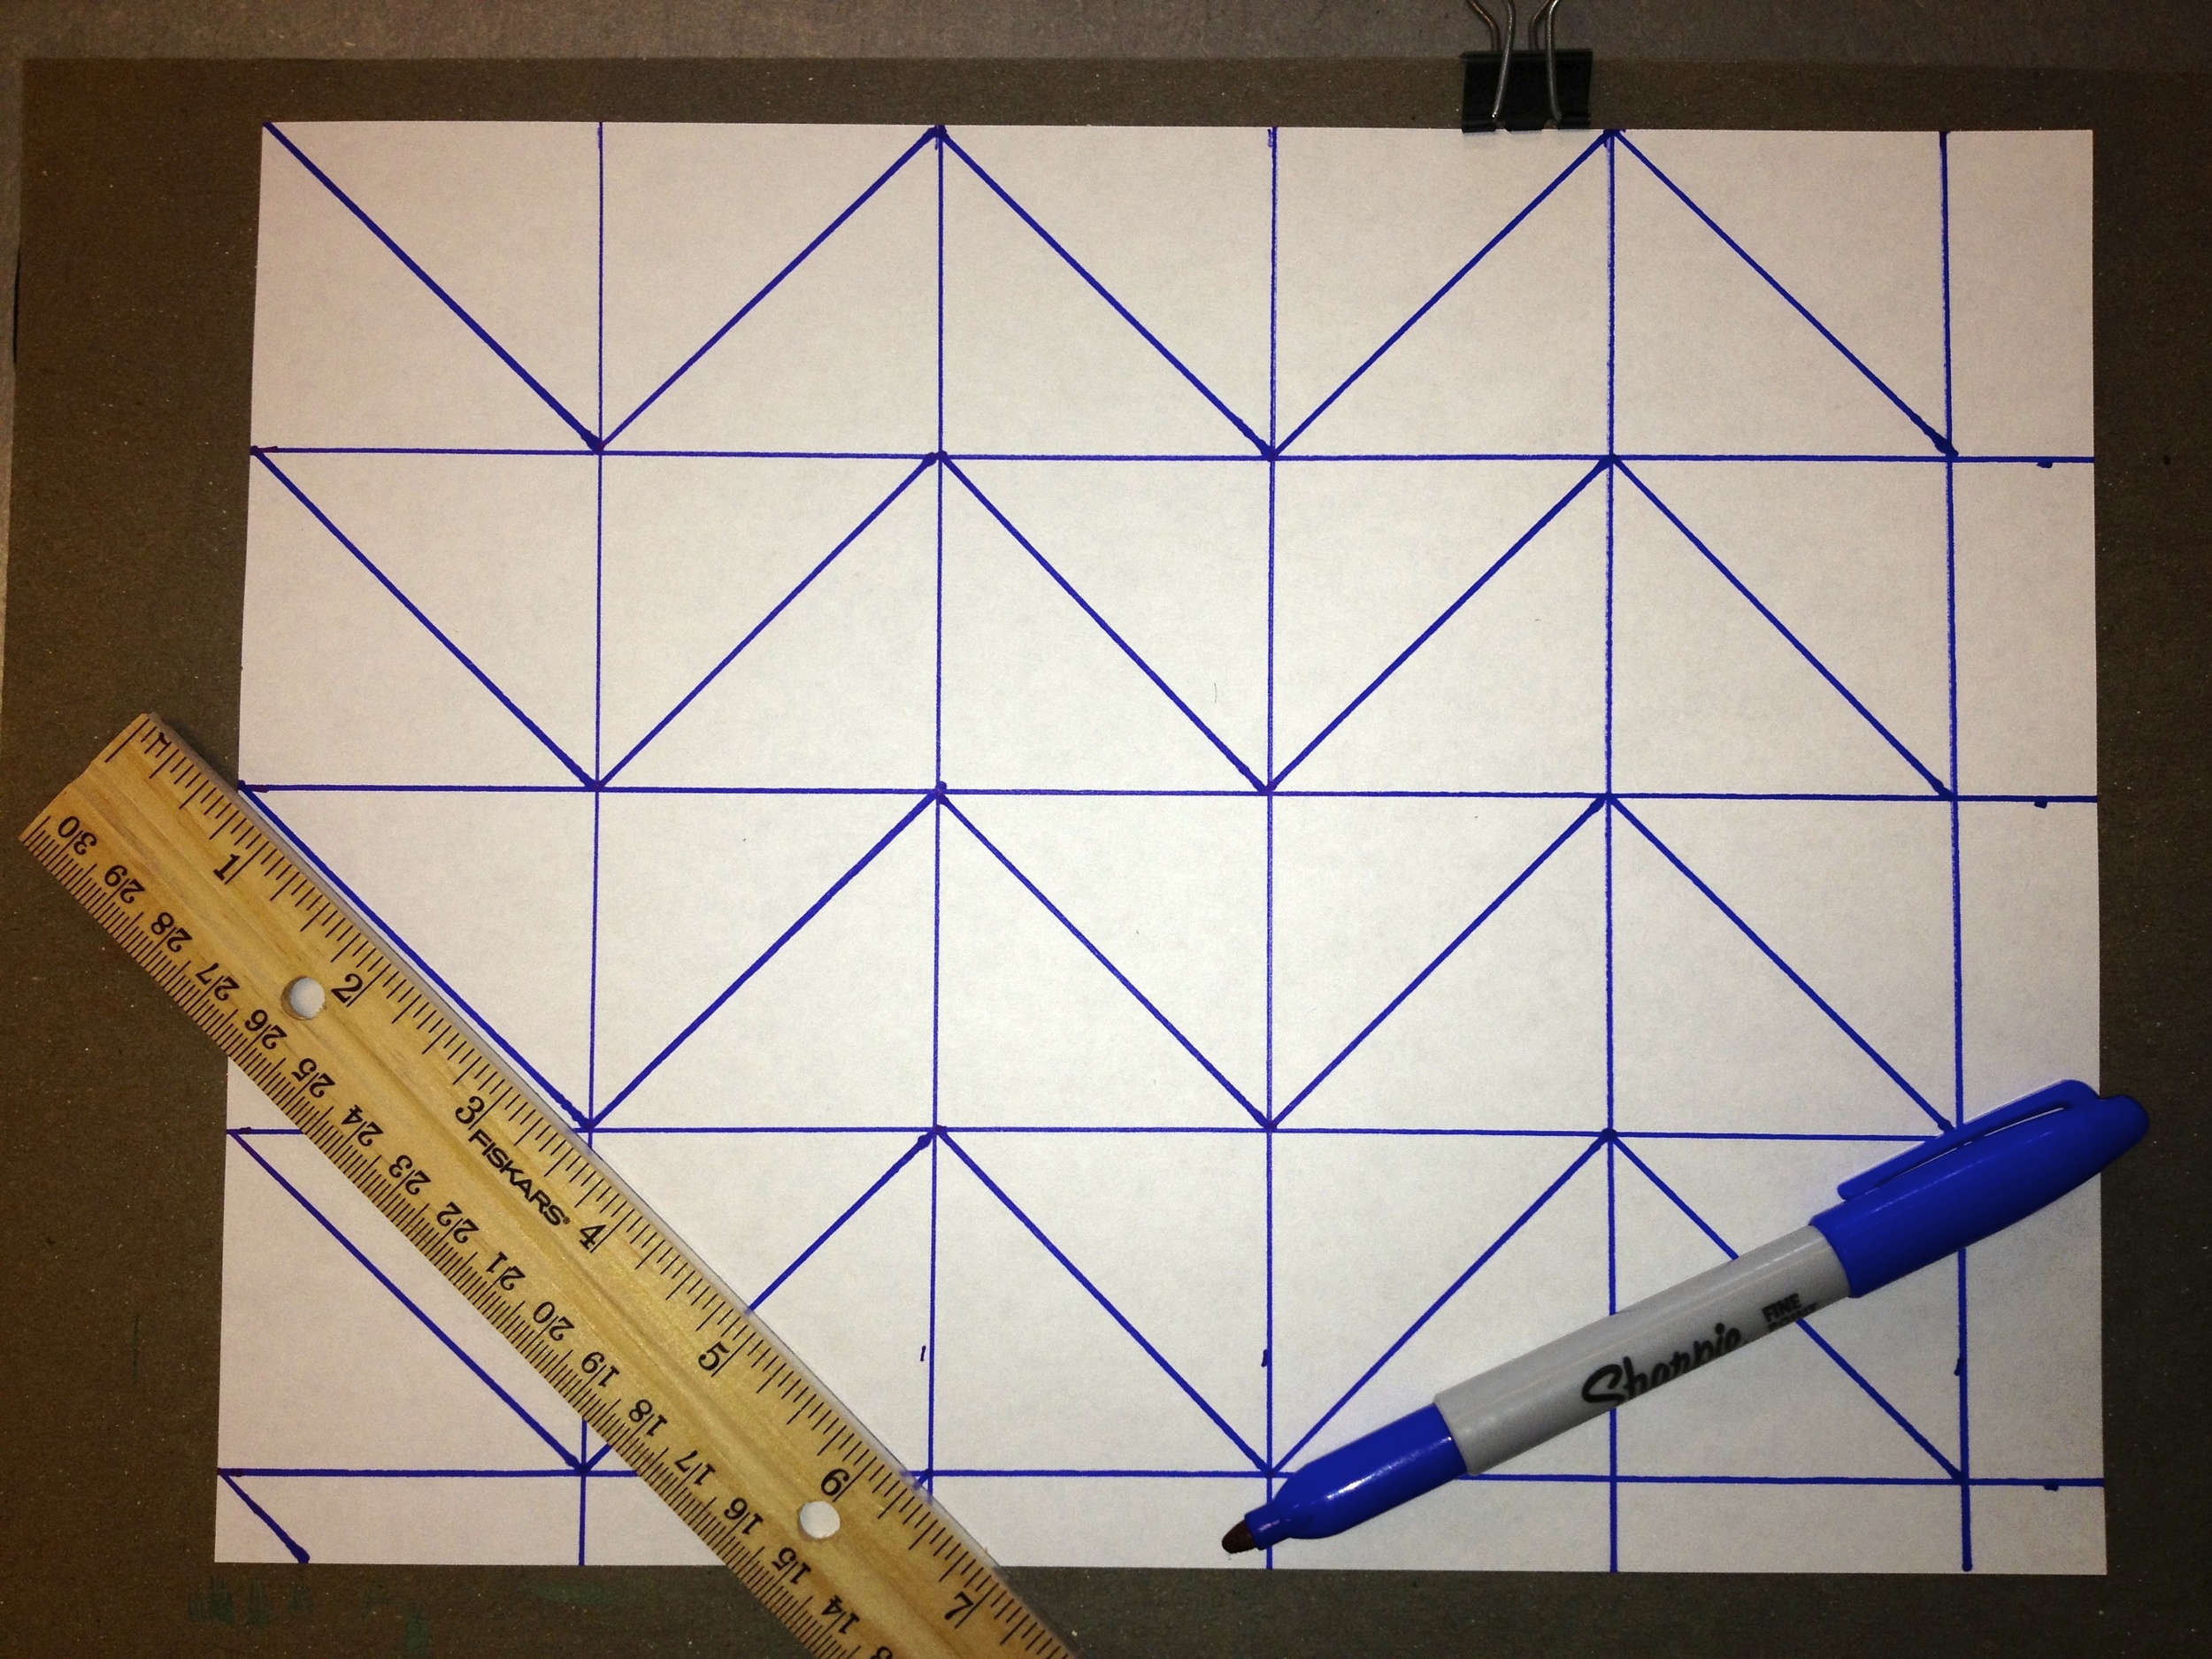
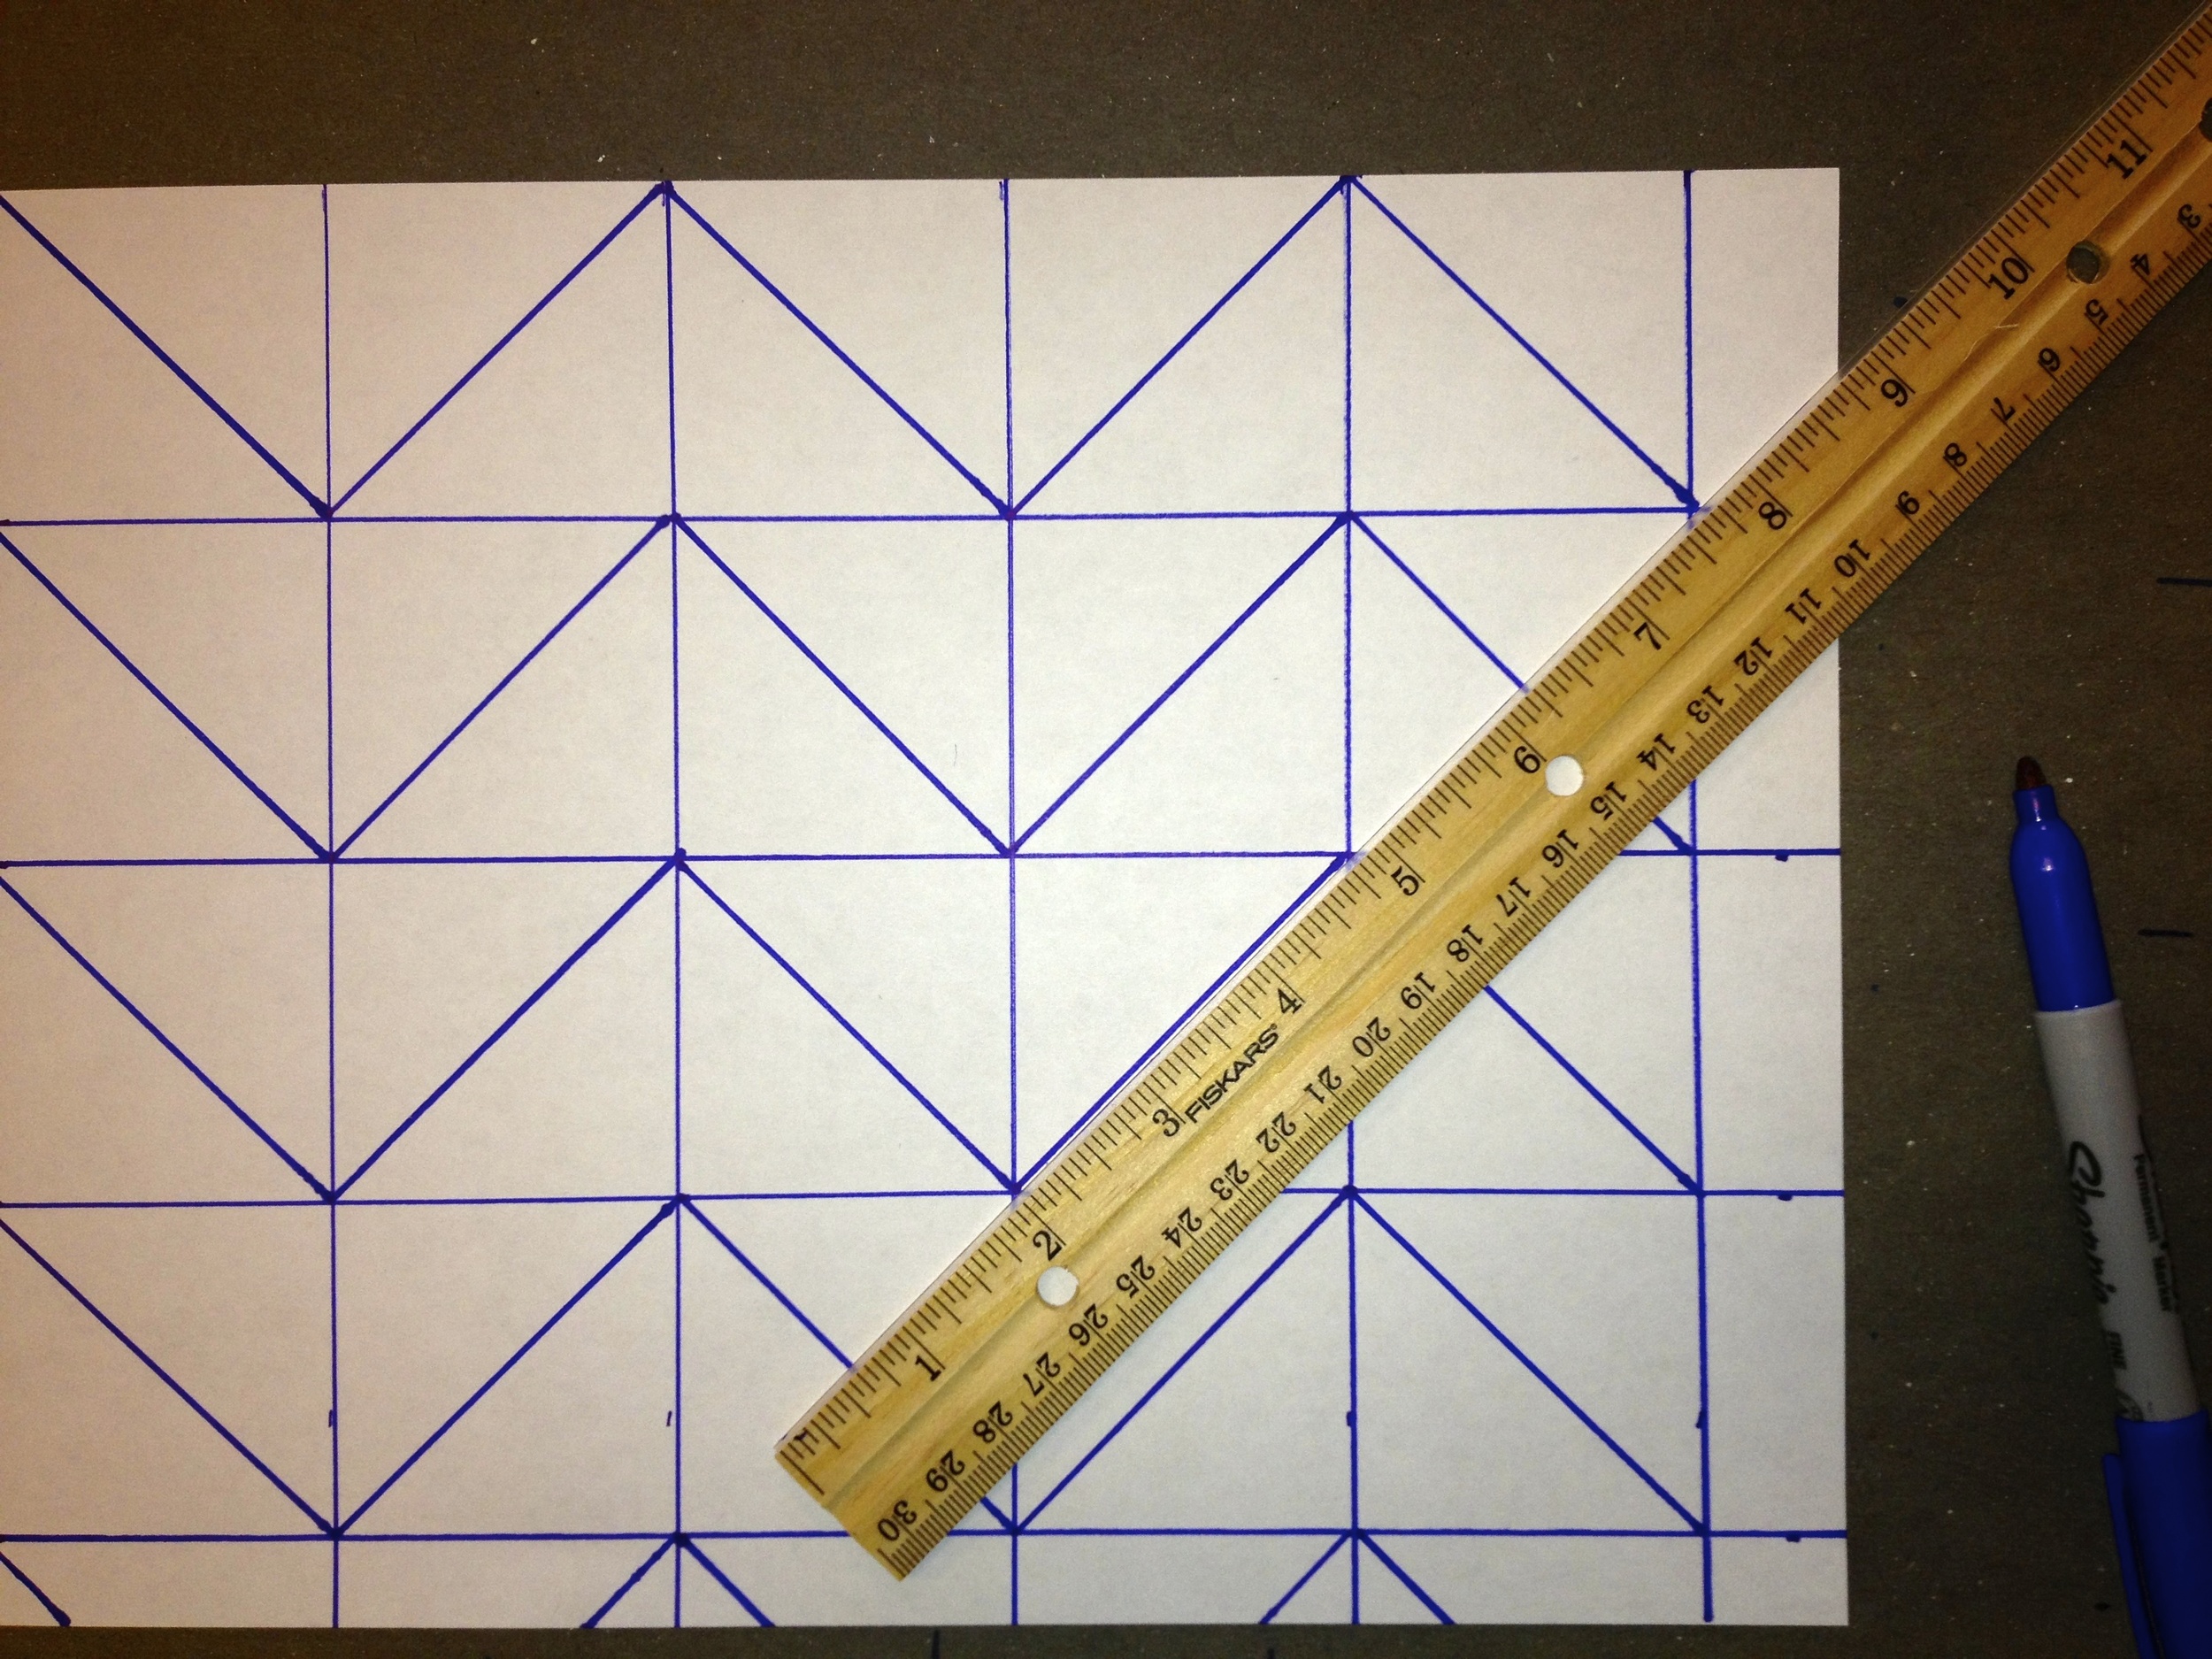
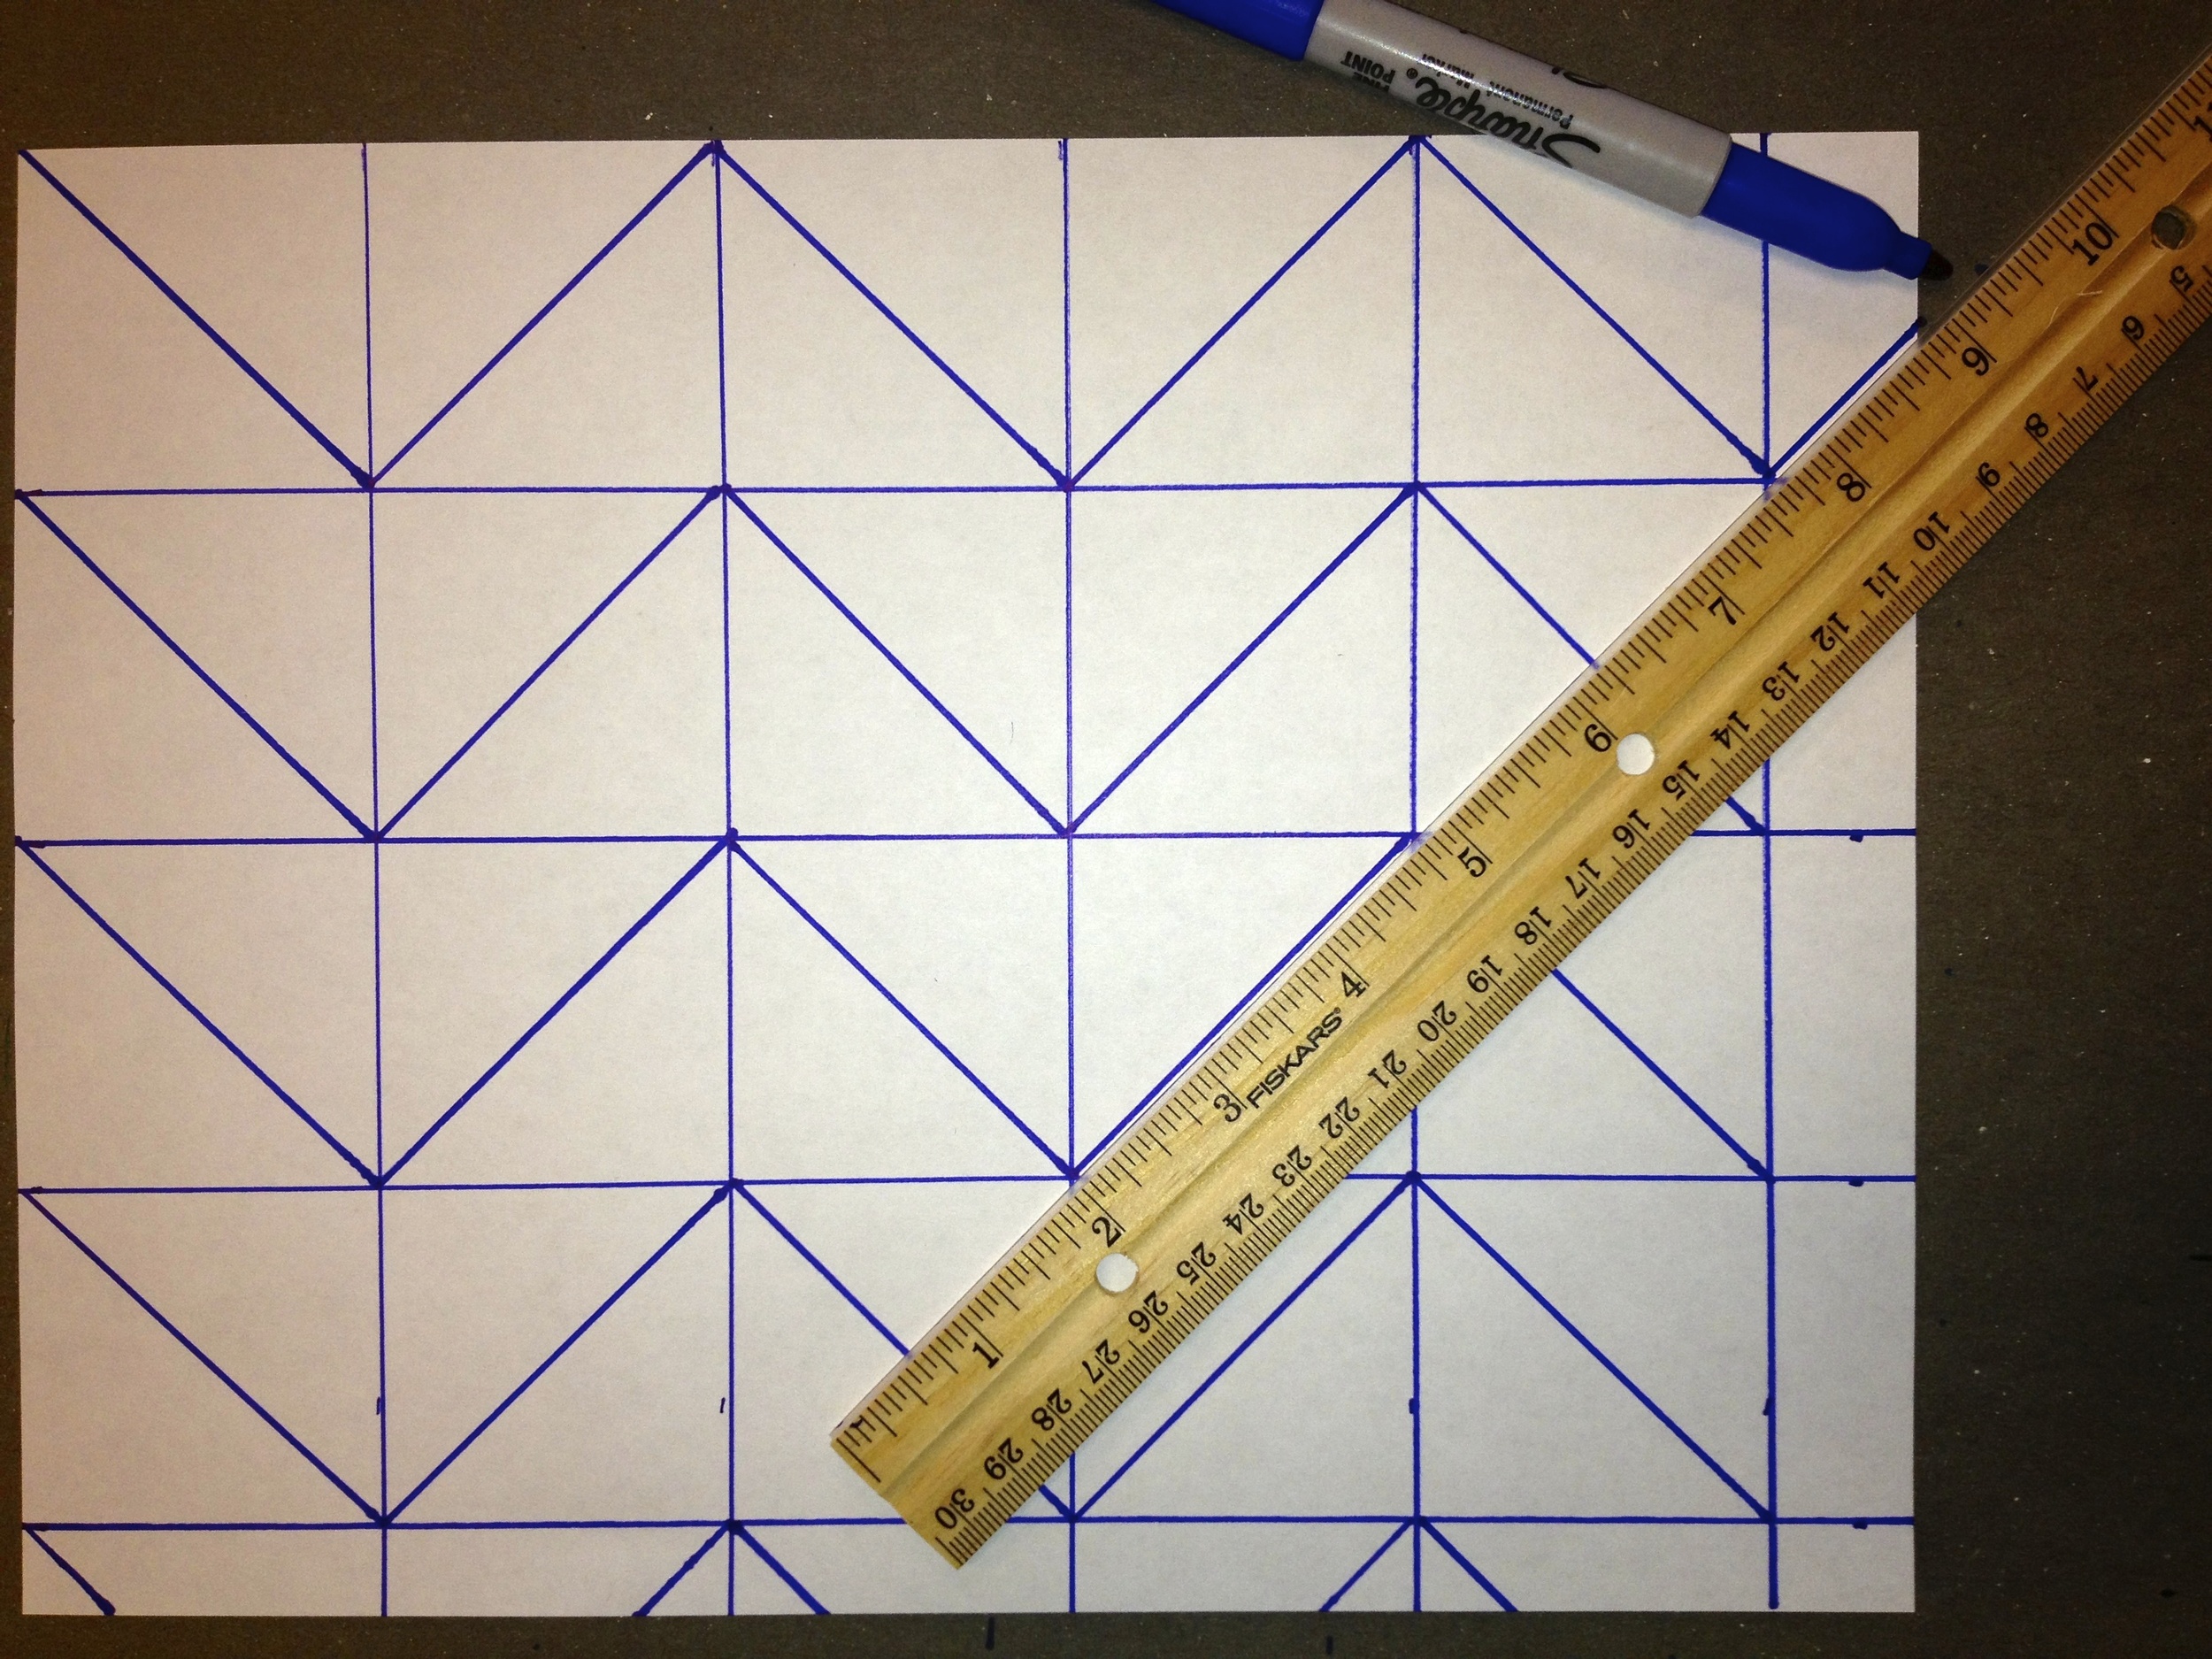
Step 5: Fill in the partial squares. Since we didn't have perfectly even squares we have some funky squares on the ends. You can't connect the corners, since you don't have all of the square there. So, you will have to pretend you know where the square starts and stops. If you are not a perfectionist, please just eye ball it. I'm sure you will do fine. If you are a perfectionist, line up your ruler on one of the diagonals in the same direction as the one you need and then draw your missing line. See below:
Here is the little line that we drew:
Do that for all the funky edge squares that you can. like this one:
And this one:
See the nice line we just drew:
But in the end, you will still have to eye ball one of two of those funky squares. Like this one:
And it is finished!!! (Ok, if you prefer measuring it so the boxes are even across, you are allowed. No hard feelings.)
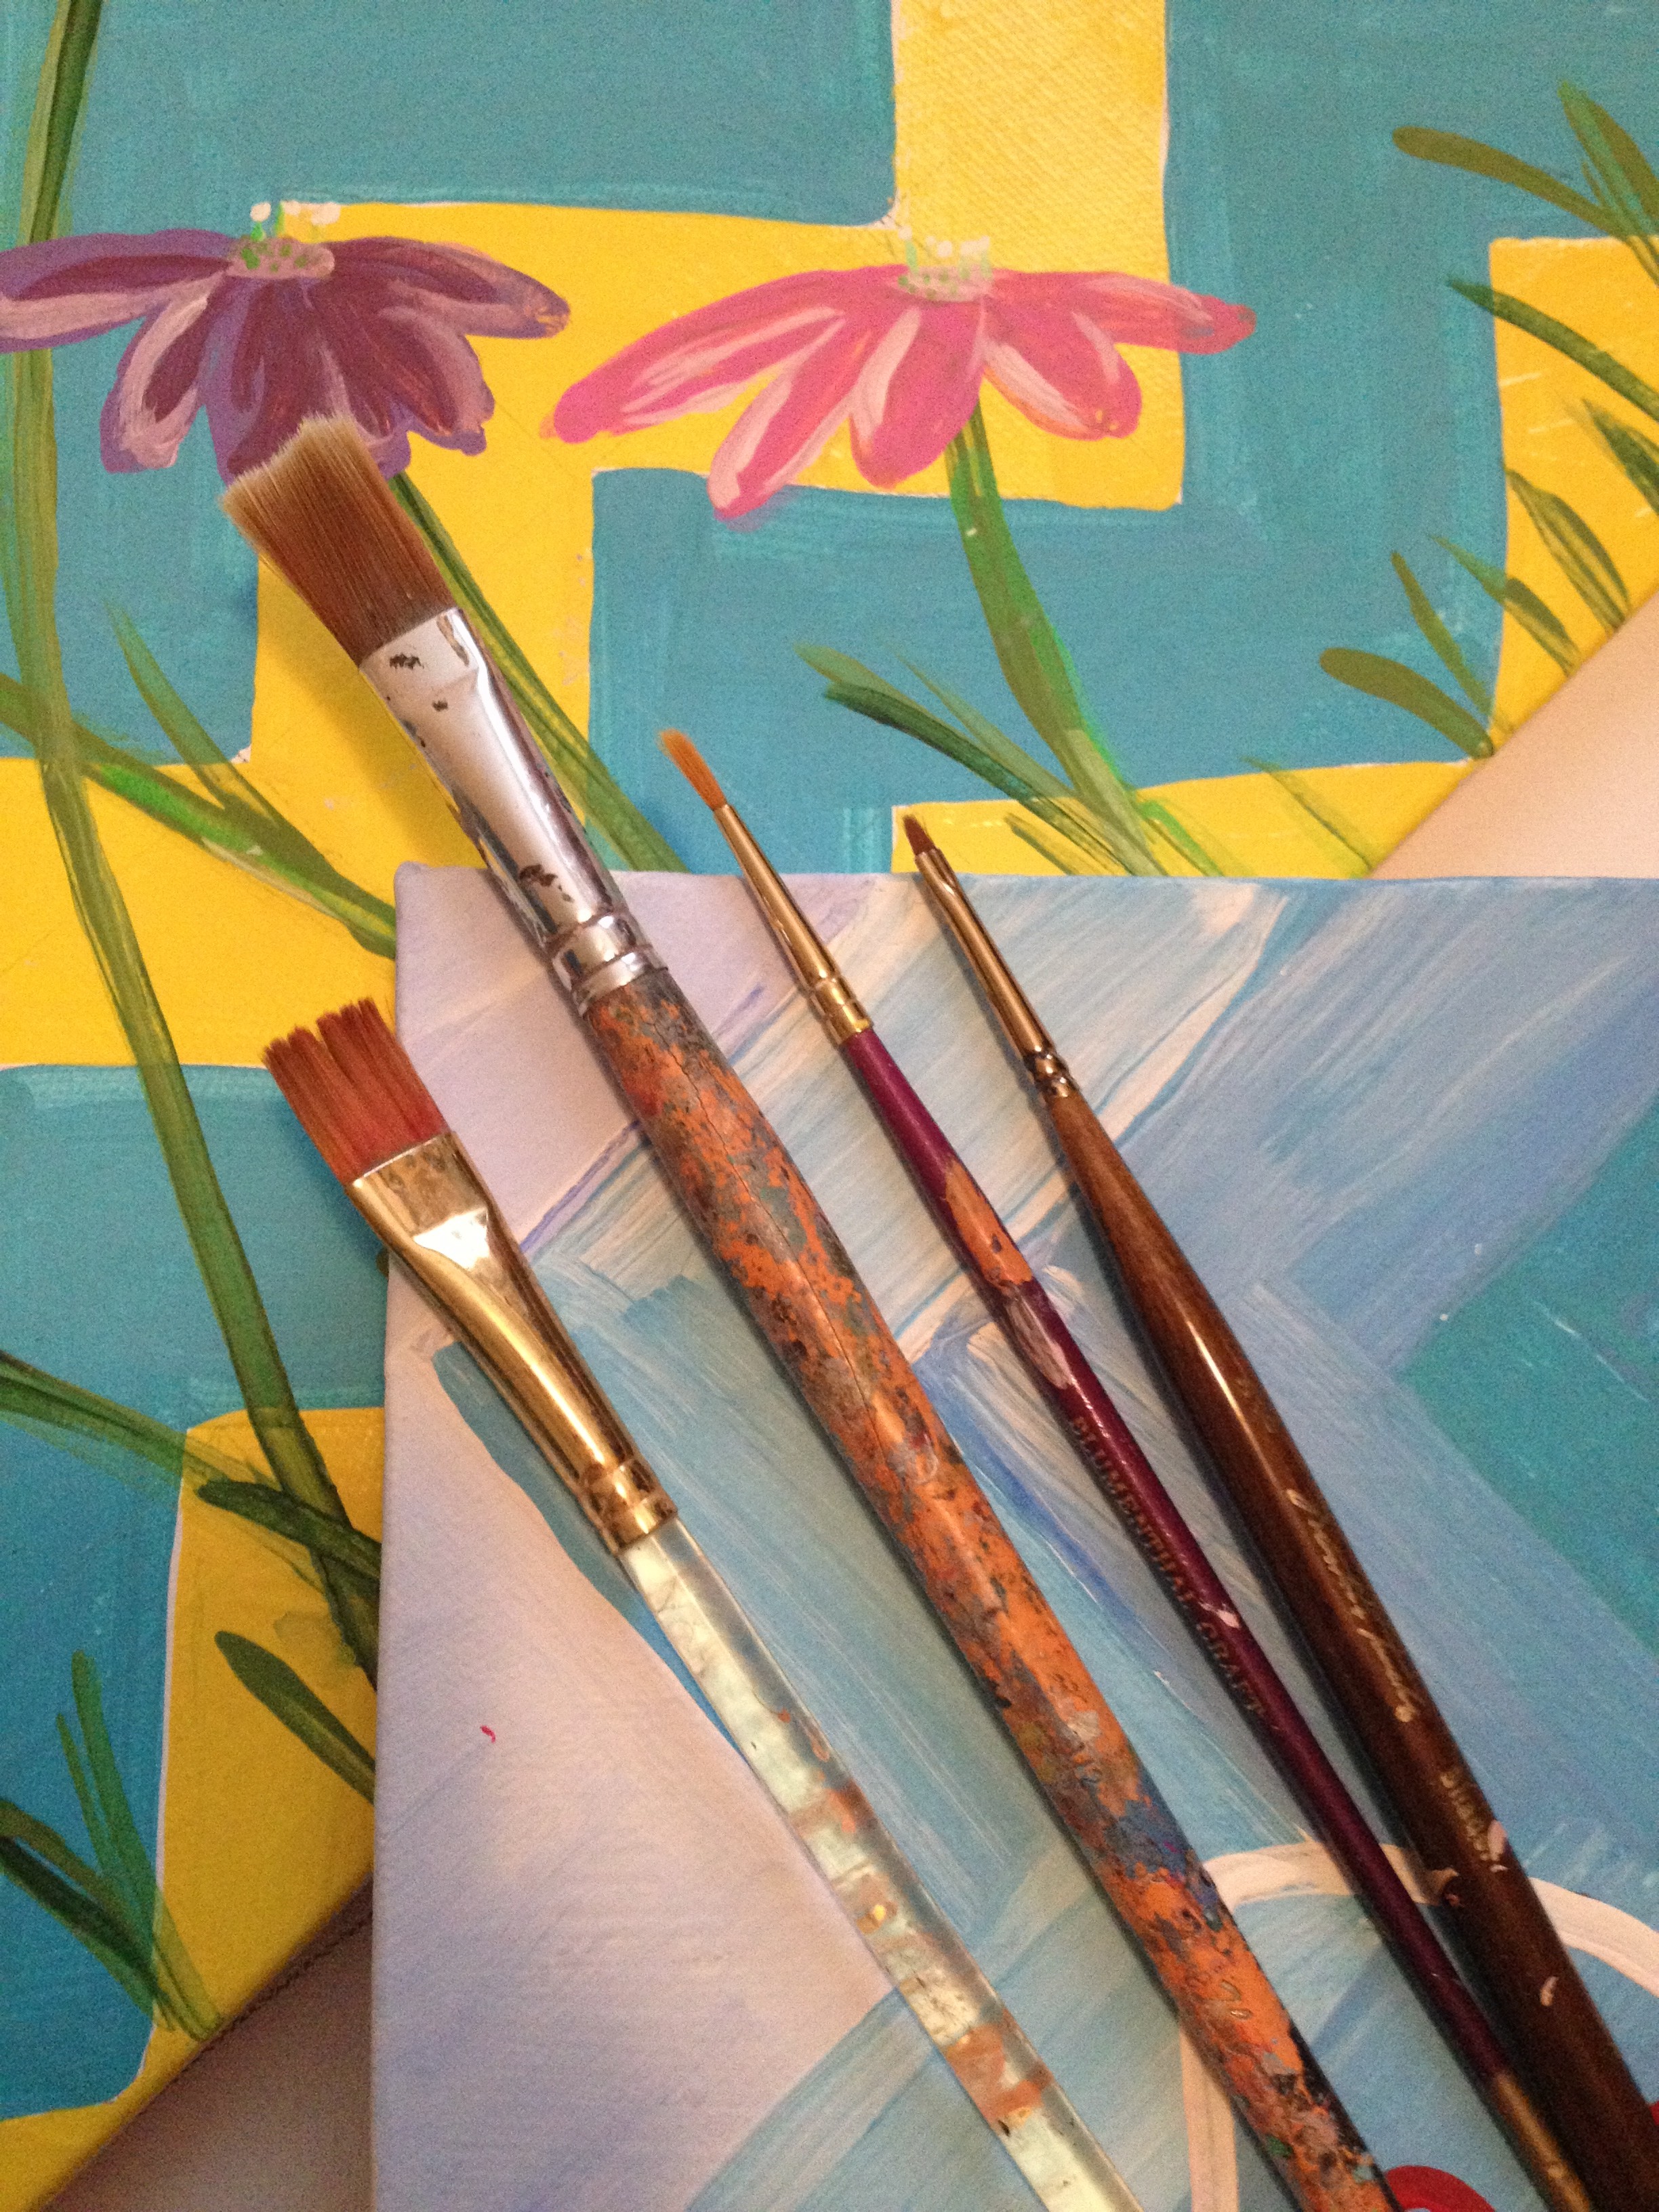
Now the fun part: Paint in the chevron print!! Pick your colors and go to town. Here is another bit of advice: DO NOT USE TAPE. It will take you twice as long to tape it as it would to use slow even strokes to paint. No need to tape, simply choose your colors and grab a smaller brush for the top of the zigs and zags (because you need a finer point there) and a nice square brush for the lines (that will give you a clean line without tape).
I used the large long paint brush (below) for all of my chevron painting in my samples, but you could certainly use one of the smaller ones to carefully paint the points of the zig zags.
Here is the result:
Now let's get funky and throw some flowers on it:
You can play with the colors and the patterns on top, like in the picture below. This sample was done quickly in less than an hour. I would recommend you doing a few more coats than me if you want it to look more even, but you get the idea.

