Tuscan Mural
After 1 day of sketching and 11 days of painting, the Tuscan mural is complete! In the paragraphs and pictures below, I walk you through the developing mural and show you the changes made along the way. It was a fun, challenging, and a relatively quick process! And I have to add it was such a joy to work with these clients!
The homeowners were as sweet as could be I loved hearing their feedback and ideas throughout the process. I met with them several weeks ago to look at their space, take pictures, and start to get an idea of what they wanted for their beautiful home.
They had an amazing staircase going up their foyer and found the air vent next to it to be an eyesore. This gave them the idea of having a mural painted on the wall beside the staircase. They wanted to take the eye away from the vent and add extra drama and personalization to their entryway. Their home is full of unique art pieces with influences from around the globe. Their chosen Tuscan theme fit perfectly in with their décor.
After our initial meeting, I went home to sketch up an idea. This is what I came up with:

I also created a pdf with color samples. You can check that out here: Tuscan Staircase Colors. They approved the sketch with the addition of a vineyard and we set our start date!
Day 1 – I spent sketching directly on the wall my design, which had matured a little since my first sketch.
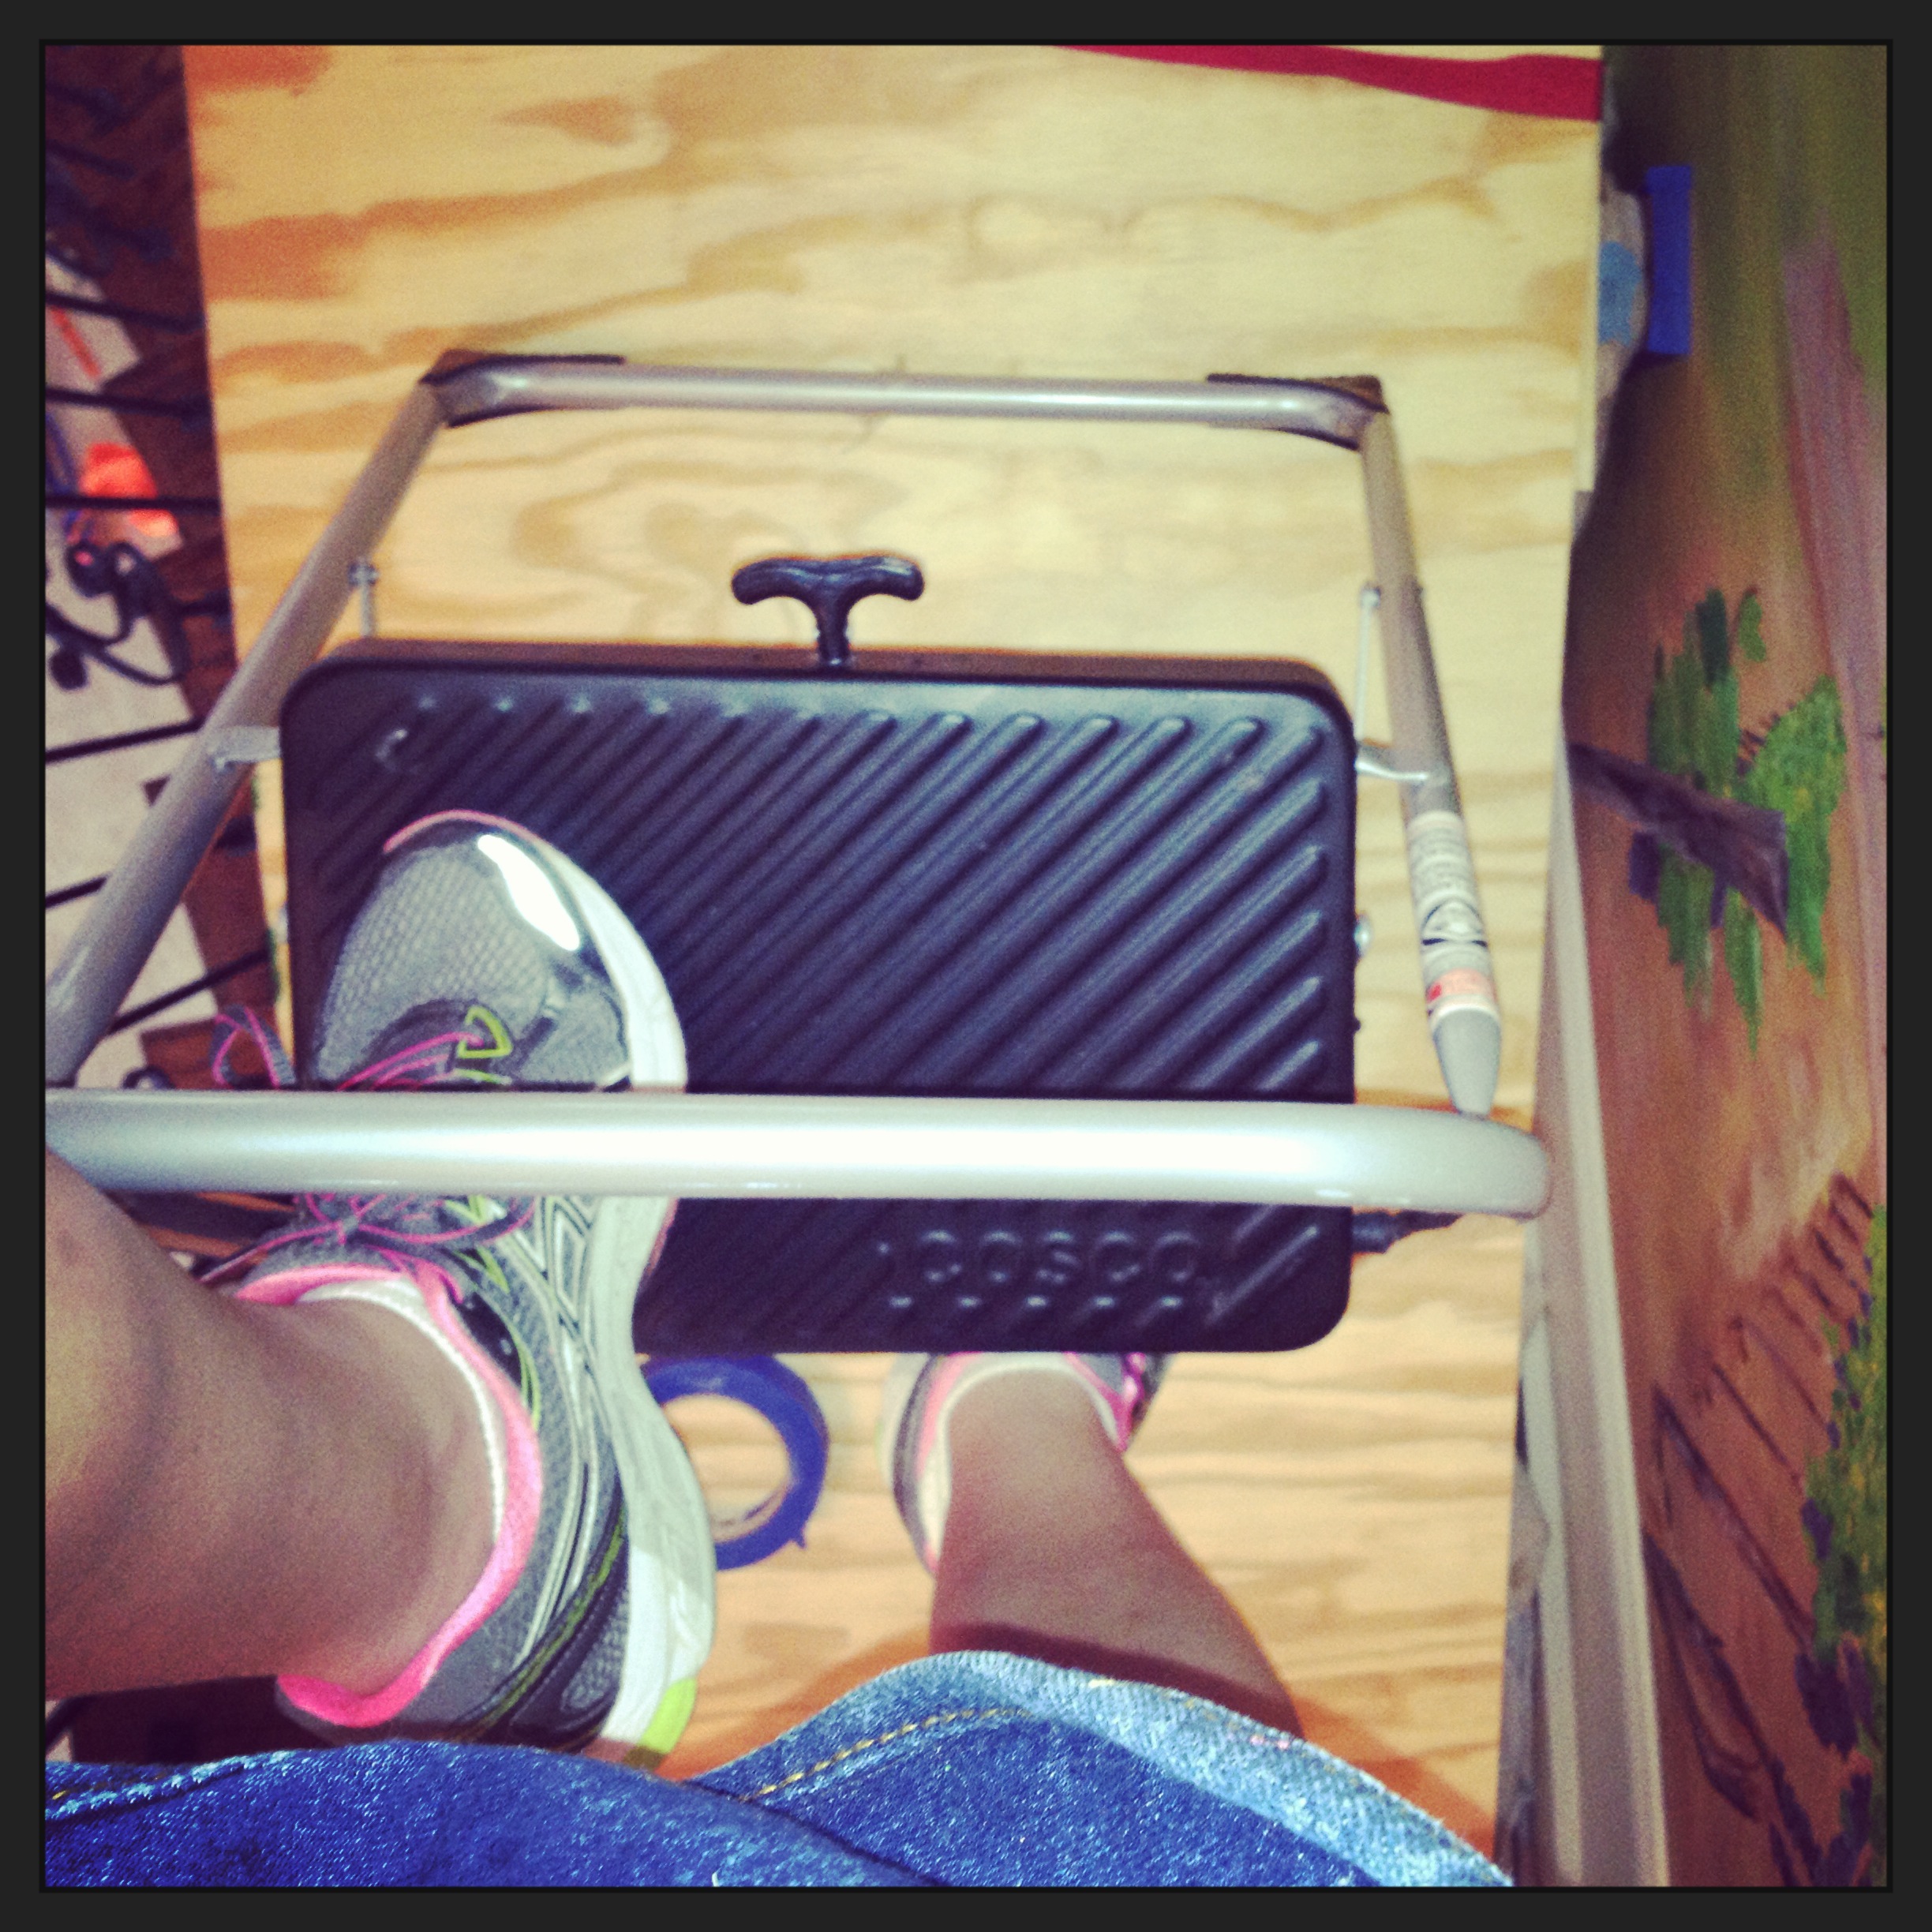
Day 2 – I got to get messy…and pretty high up! Finally, I put that dance minor to use, while balancing on a ladder rung in the air. Here is my balancing act and my progress at the end of Day 2:


Day 3 – I arrived on site to find out some news: the vent would be removed! The mural wasn’t covering the vent as much as they liked, and to their delight, the vent could be moved. (Originally they did not believe this to be an option.) Though the vent was the catalyst for the mural, I was incredibly relived and thankful they wanted to move forward with it regardless of it’s original purpose. Here was the progress of Day 3:


Day 4 – This was a shorter day for me. The progress was slightly less—you can see the additional rows of grapes added here:
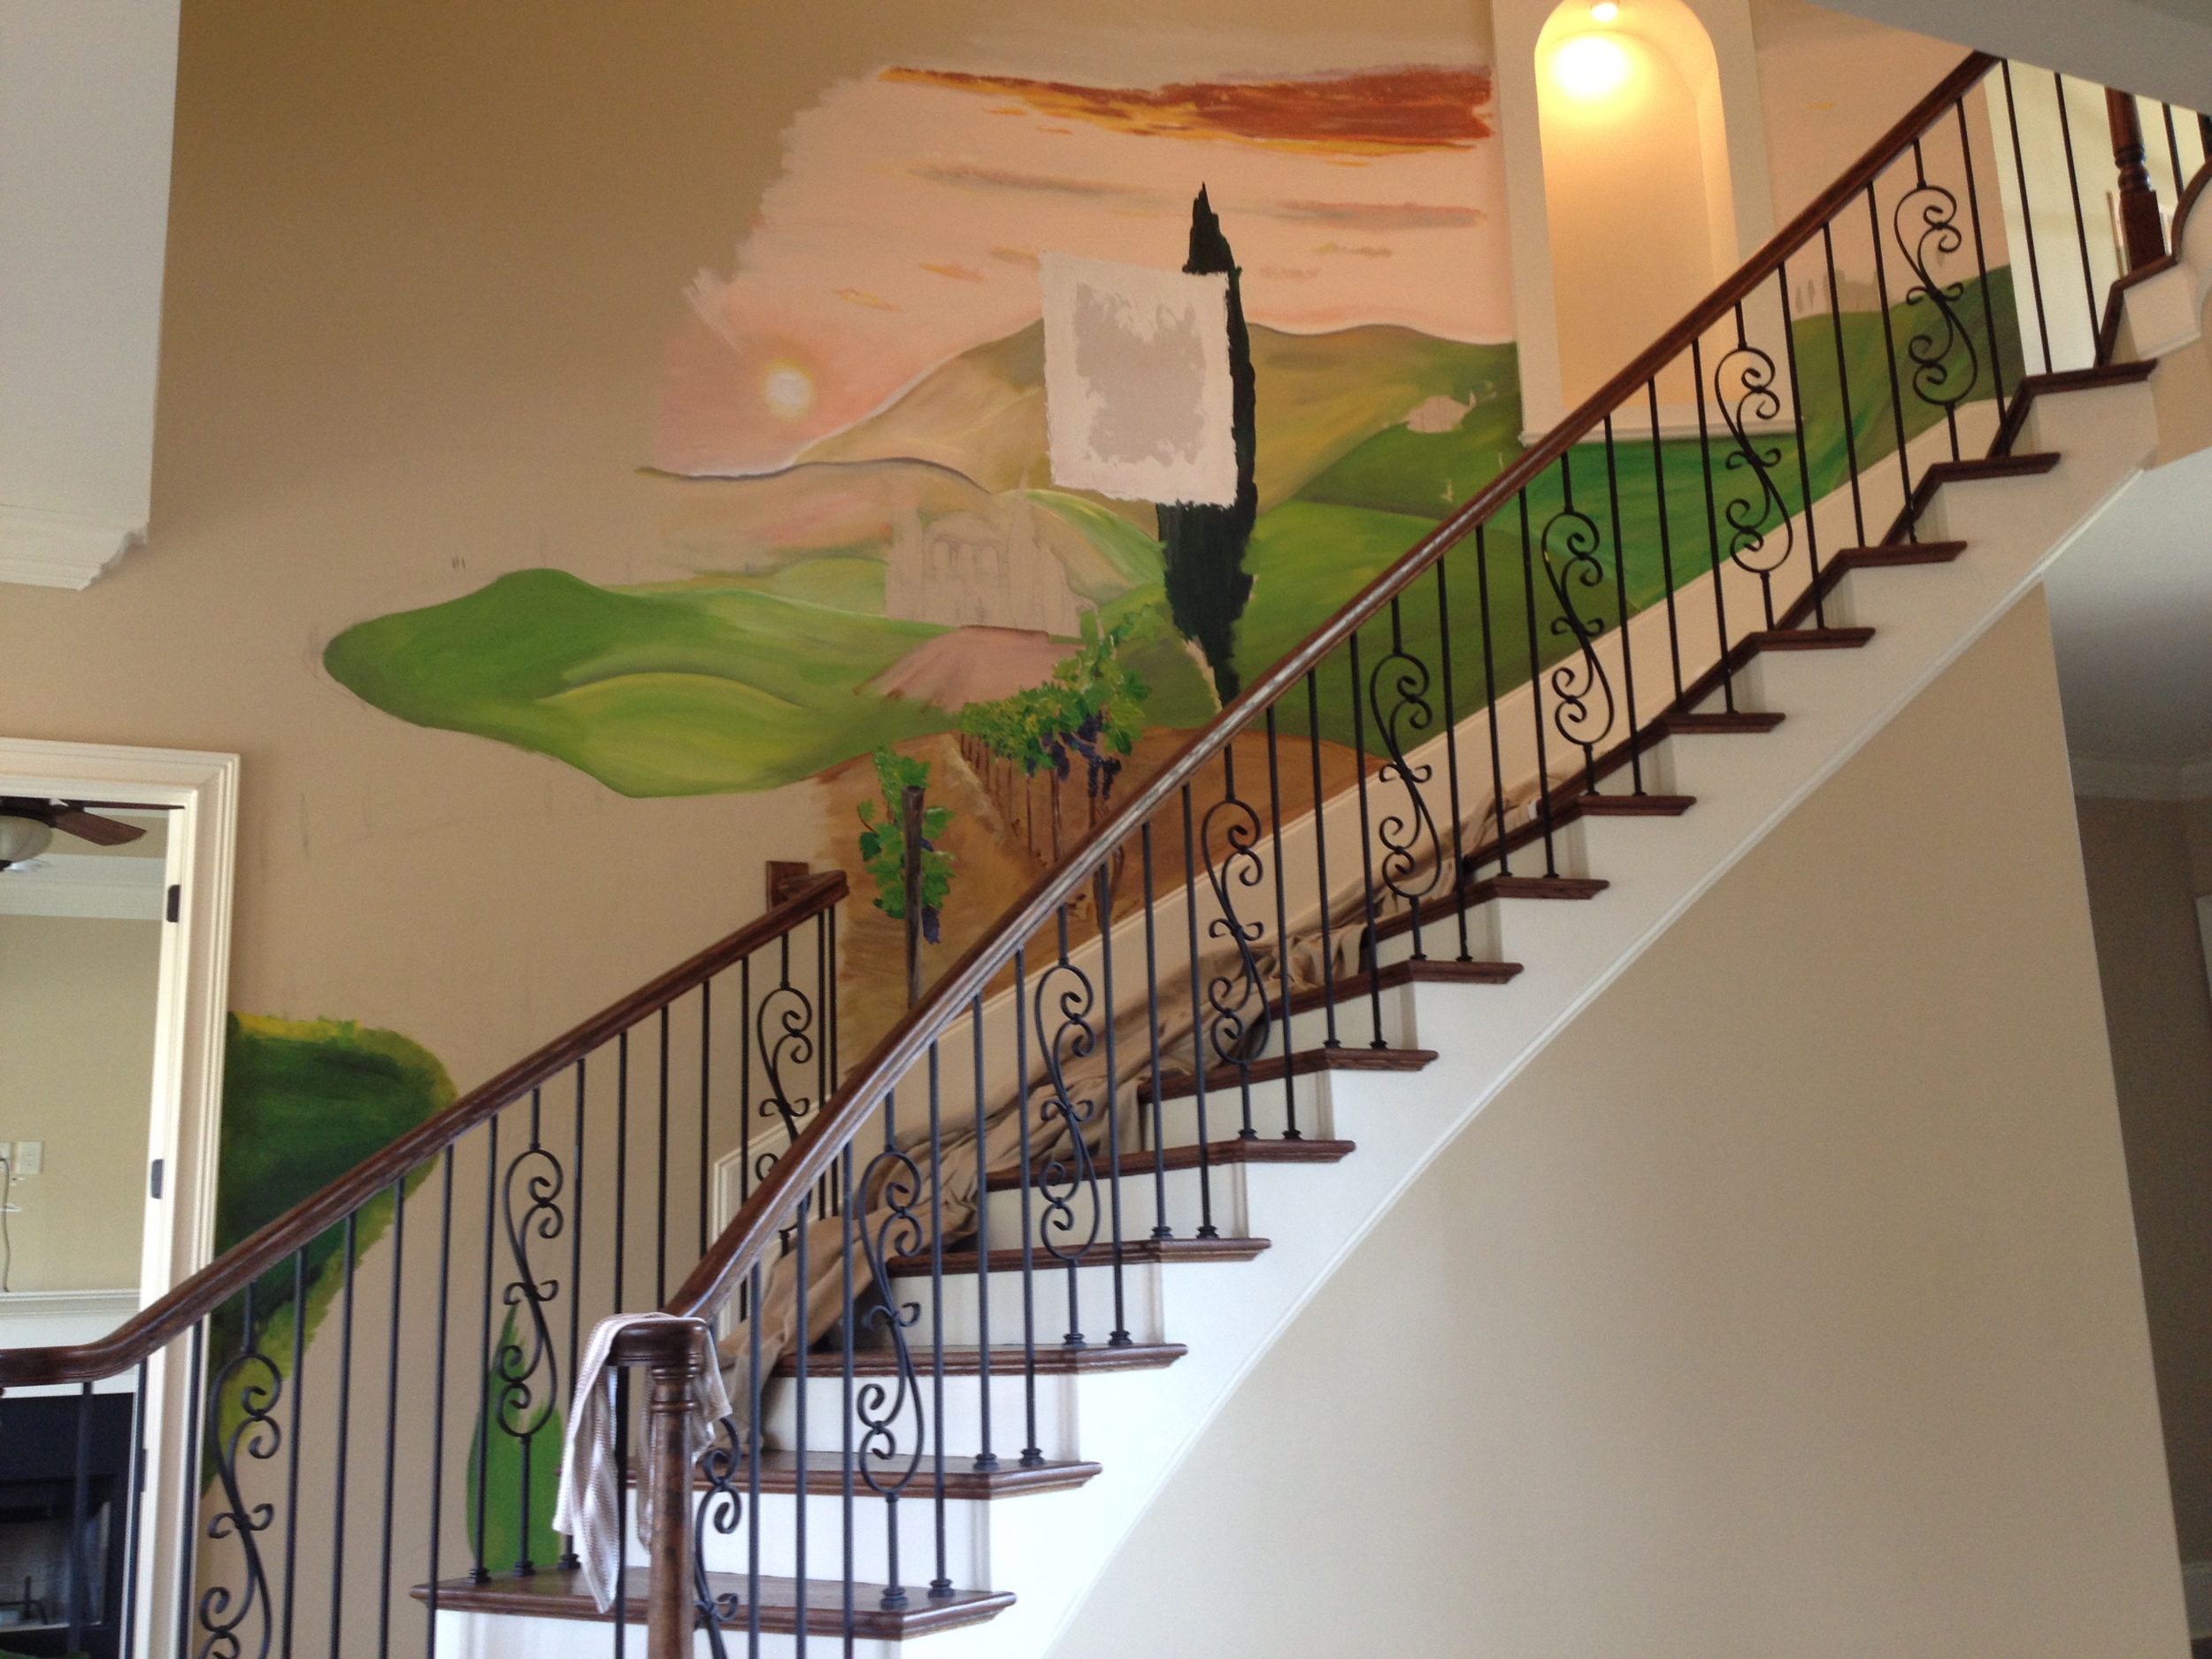 Day 5 – I was up and down and all over the staircase laying out the big picture of the mural. The space between the end of the staircase and the adjacent wall was much smaller than I imaged and I found I had to adapt my strokes so my hand could fit in. Reaching all of the wall space was definitely part of the challenge of this mural! Here is the progress from Day 5:
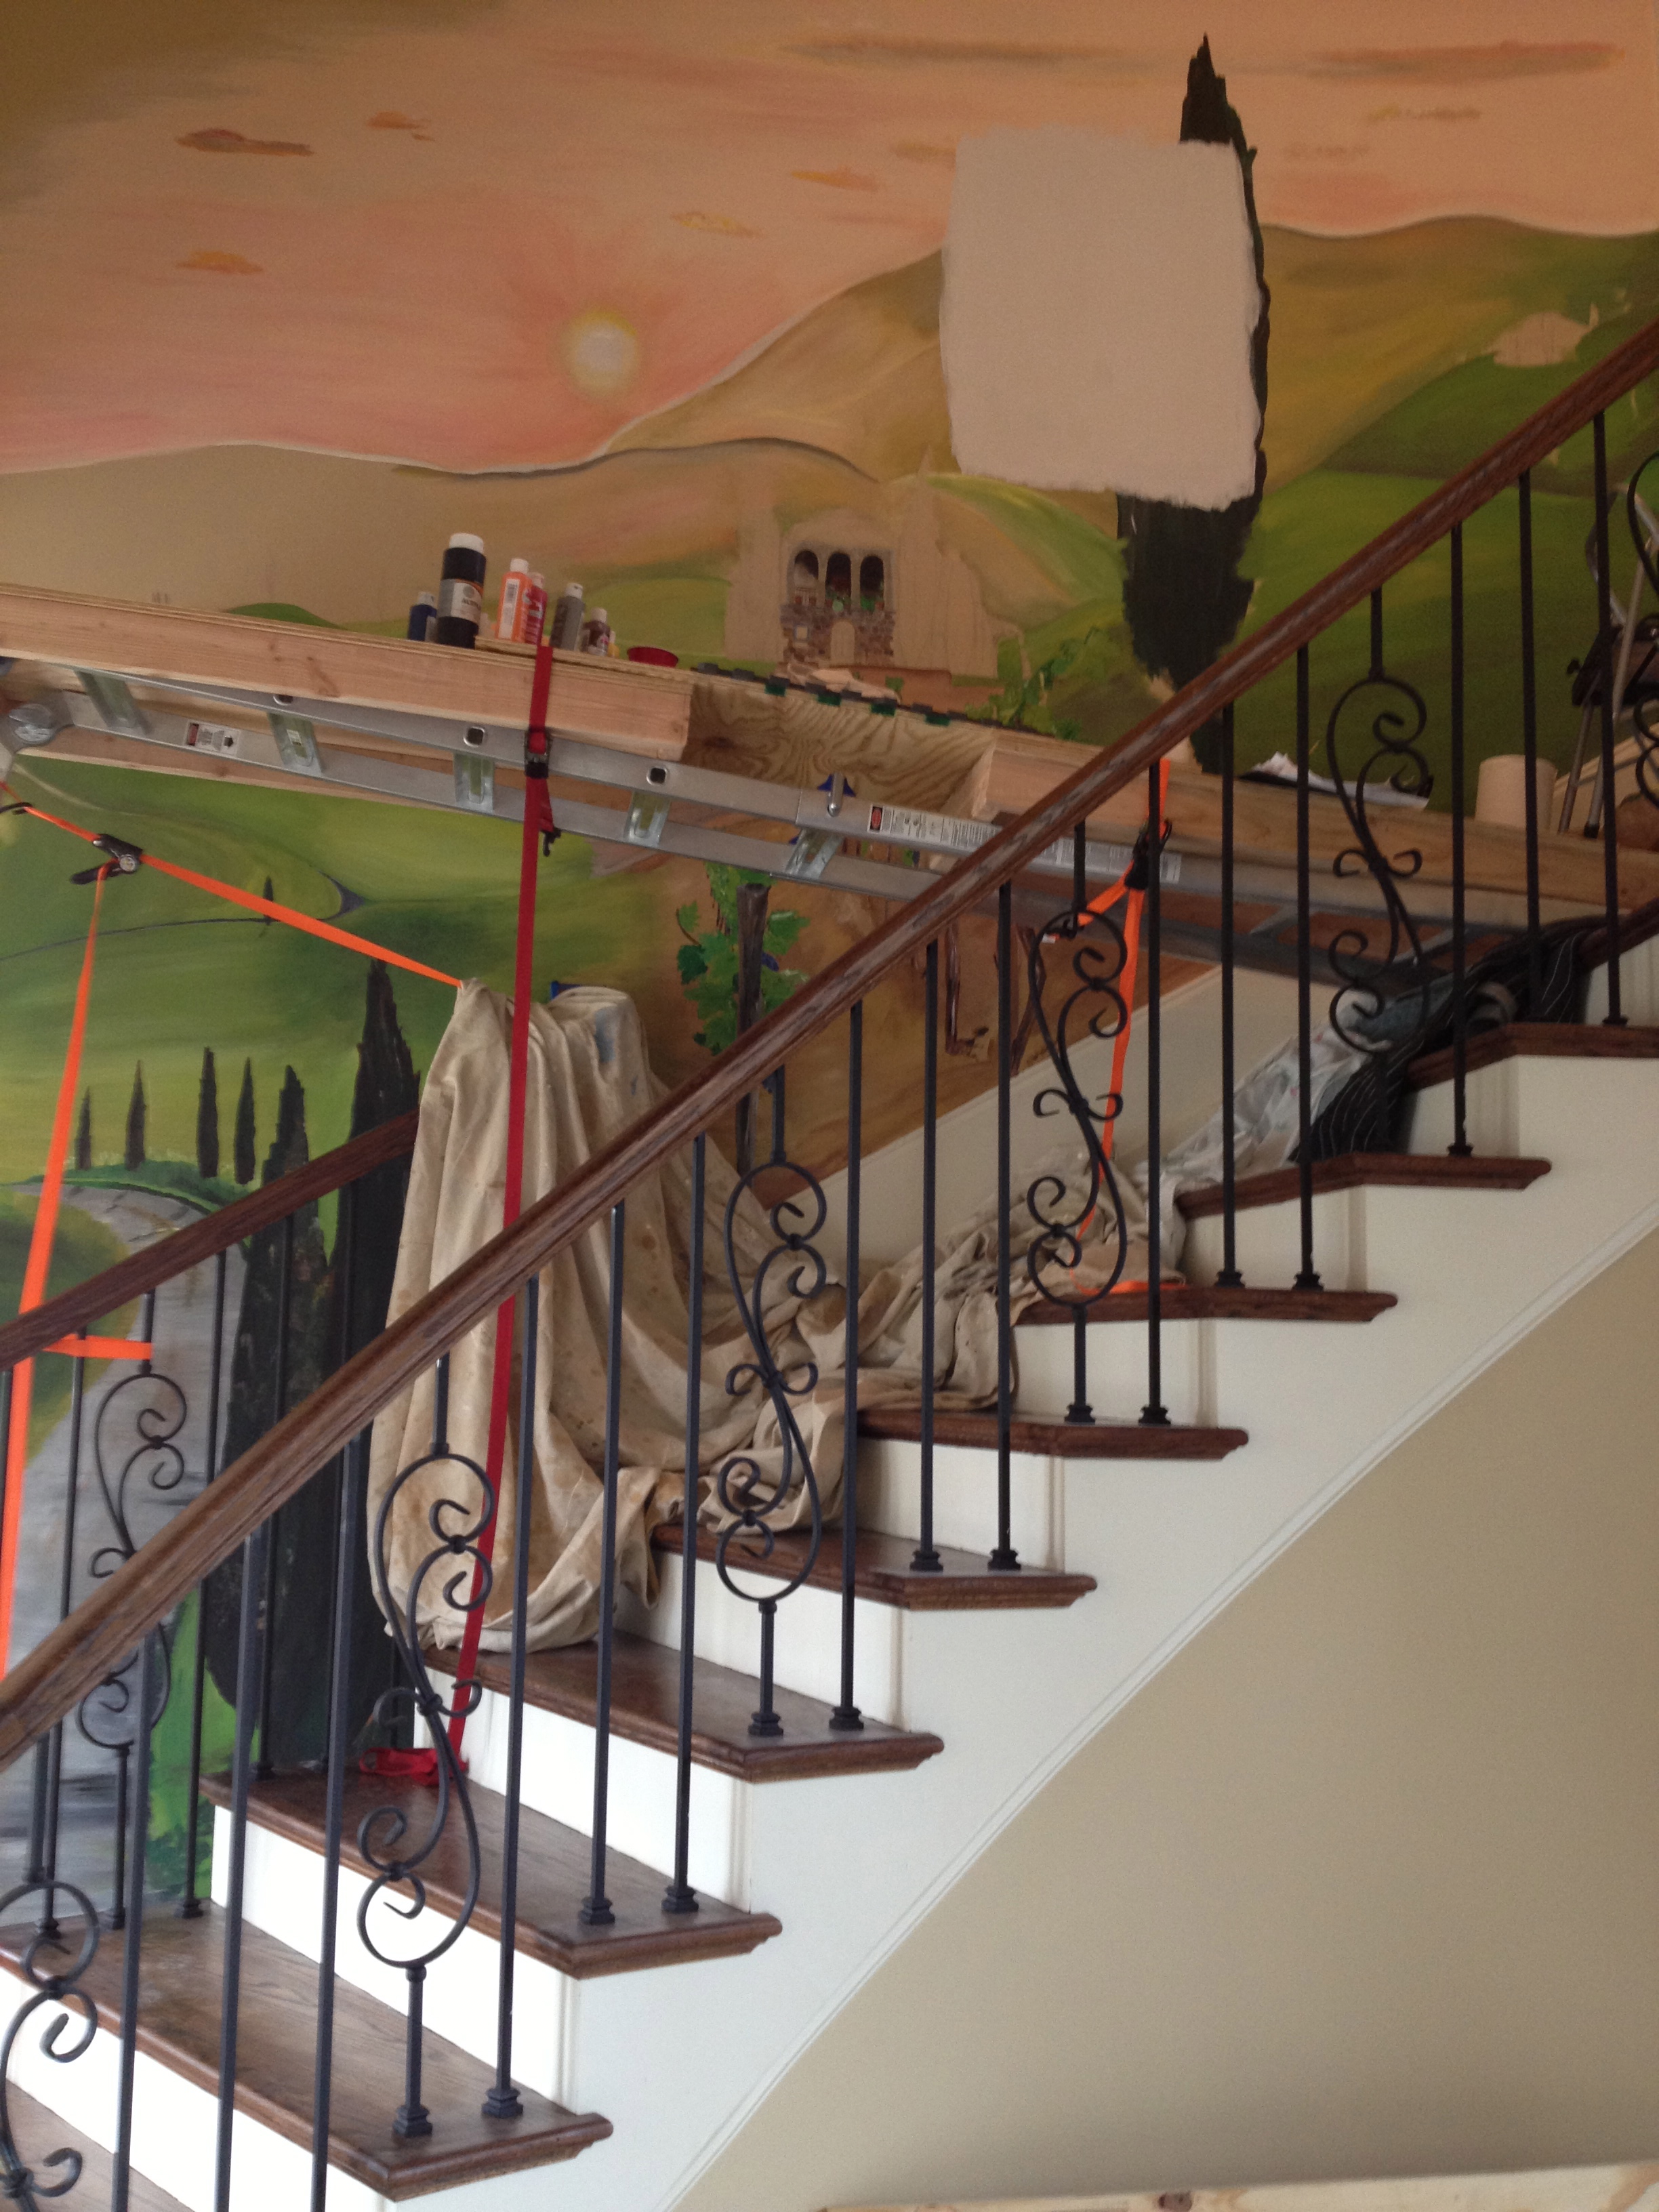
Day 6 – This was the day I found out my client was an engineer. He rigged the most amazing scaffolding for me. Don’t worry; I felt safe! I got a few emails about safety patrol, insurance coverage, and padding that day, but it worked out great. Here are some shots and the progress at end of Day 6:
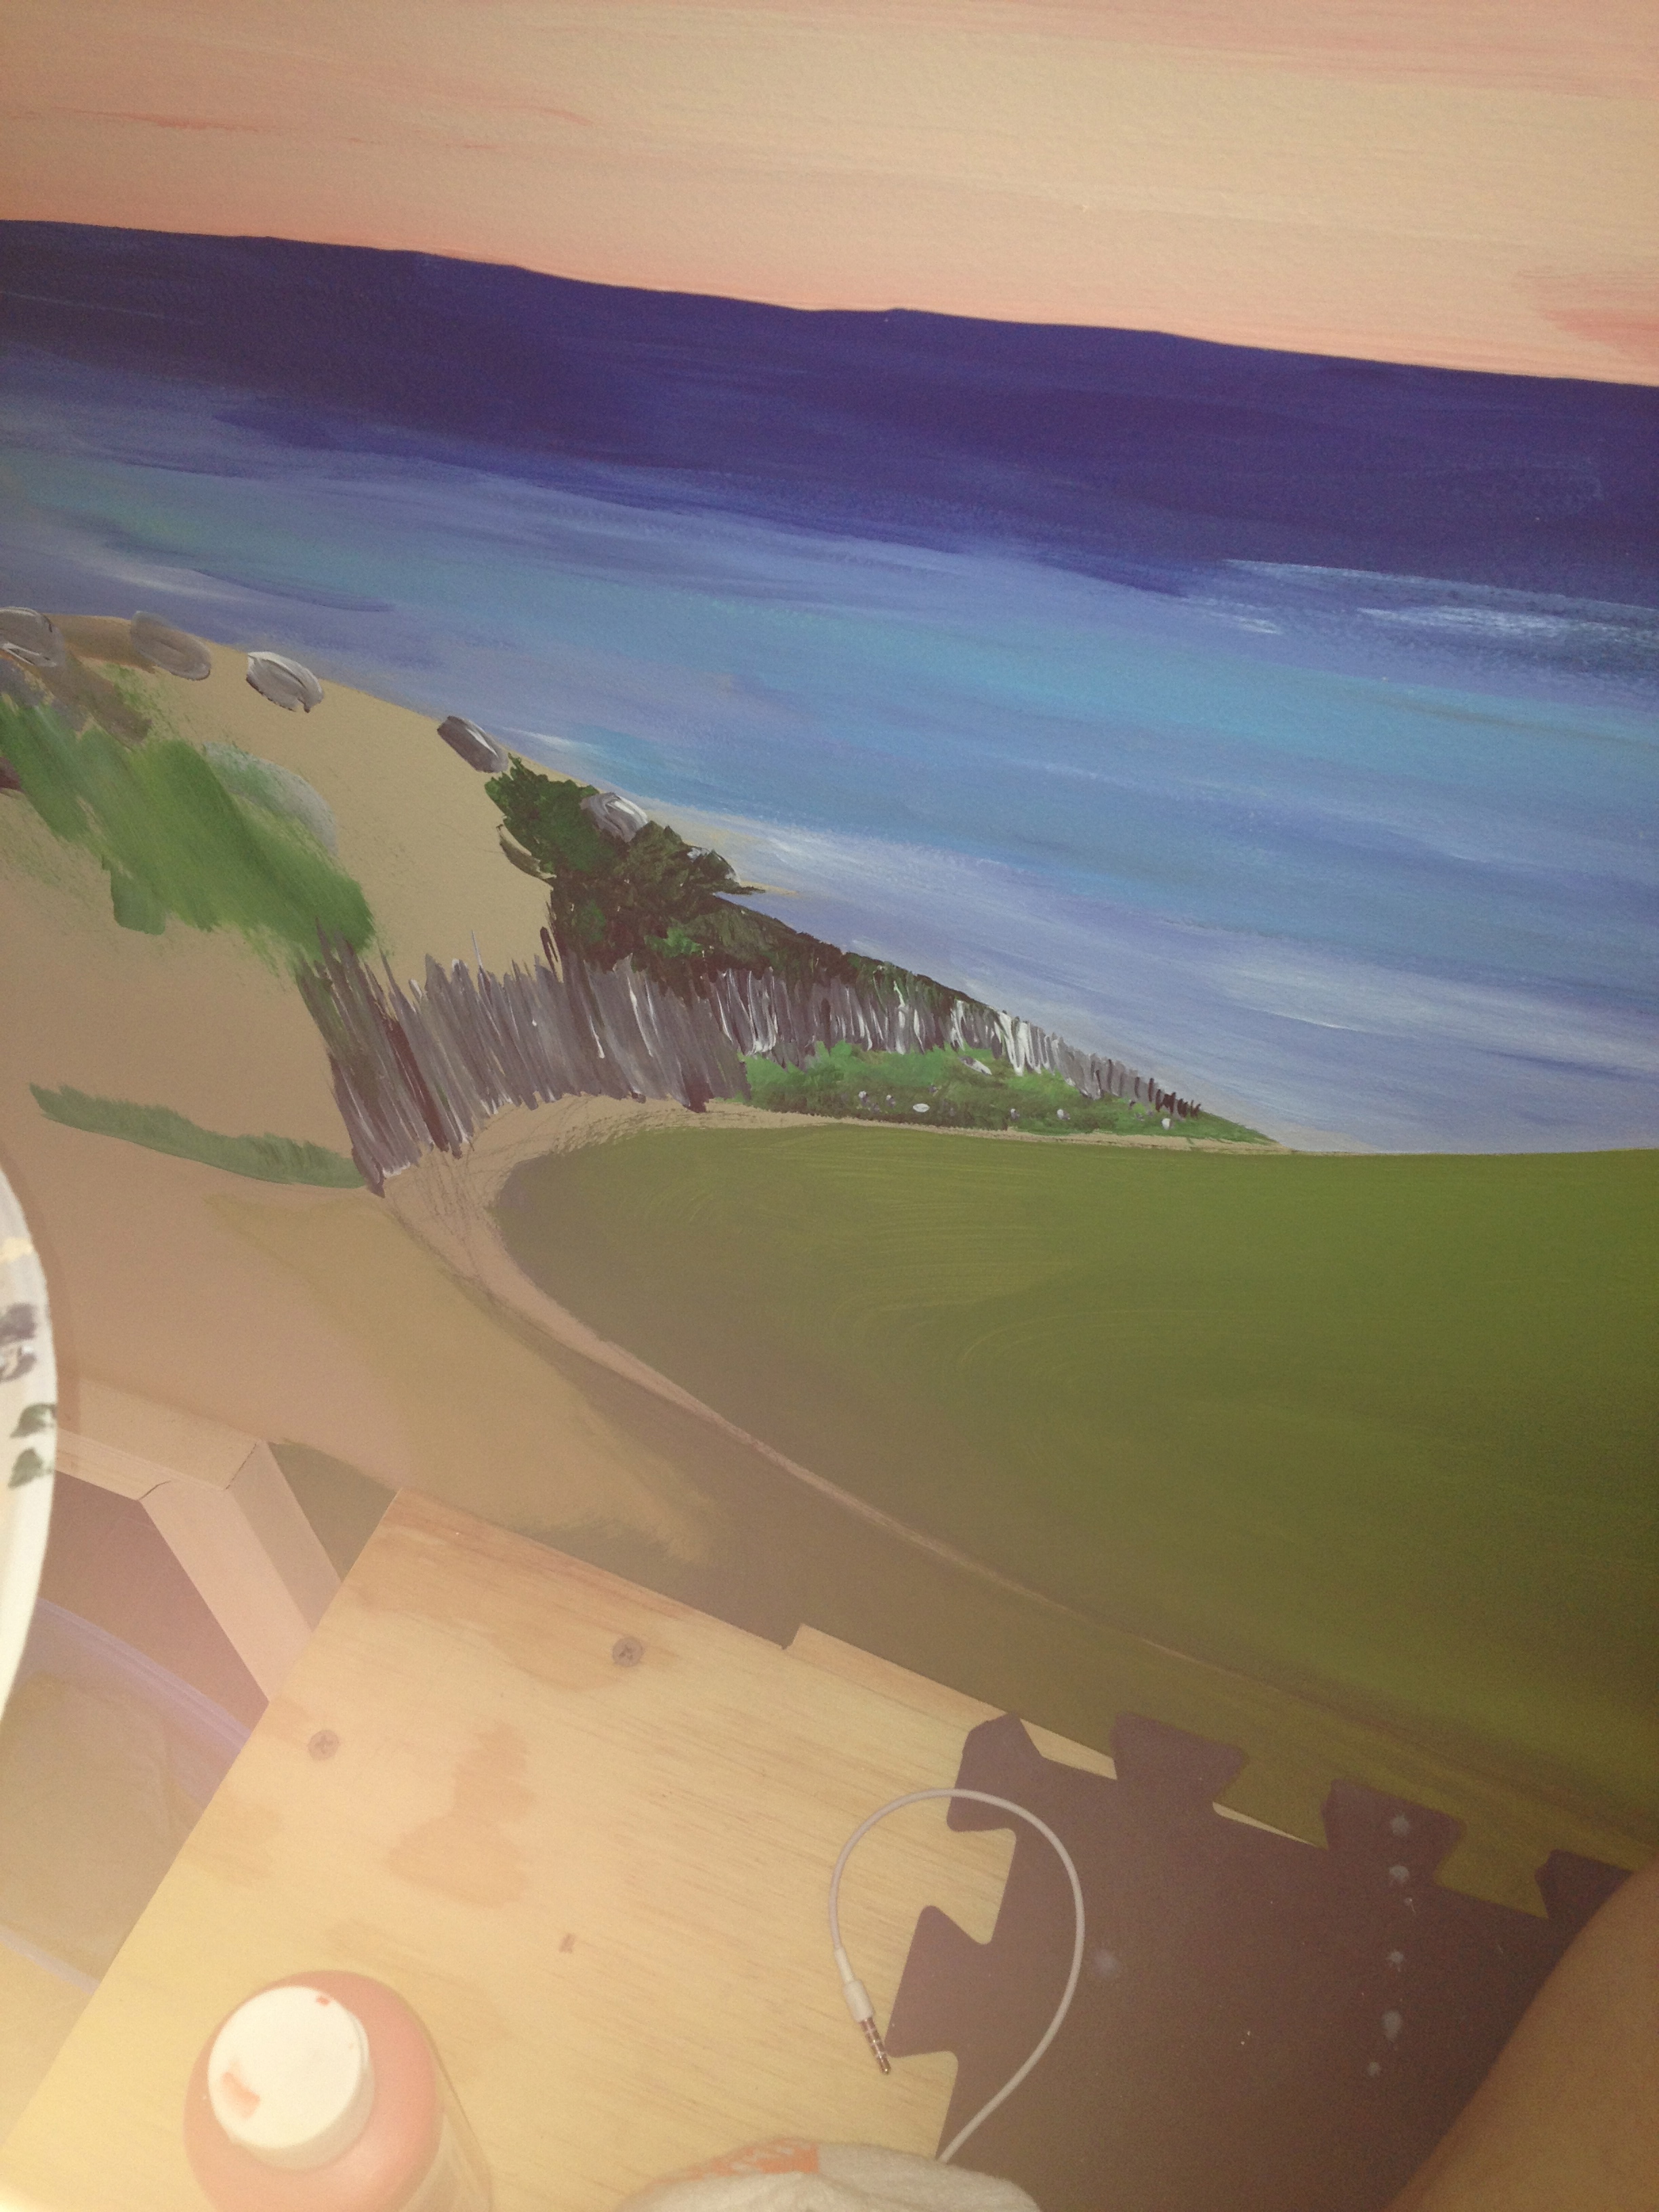
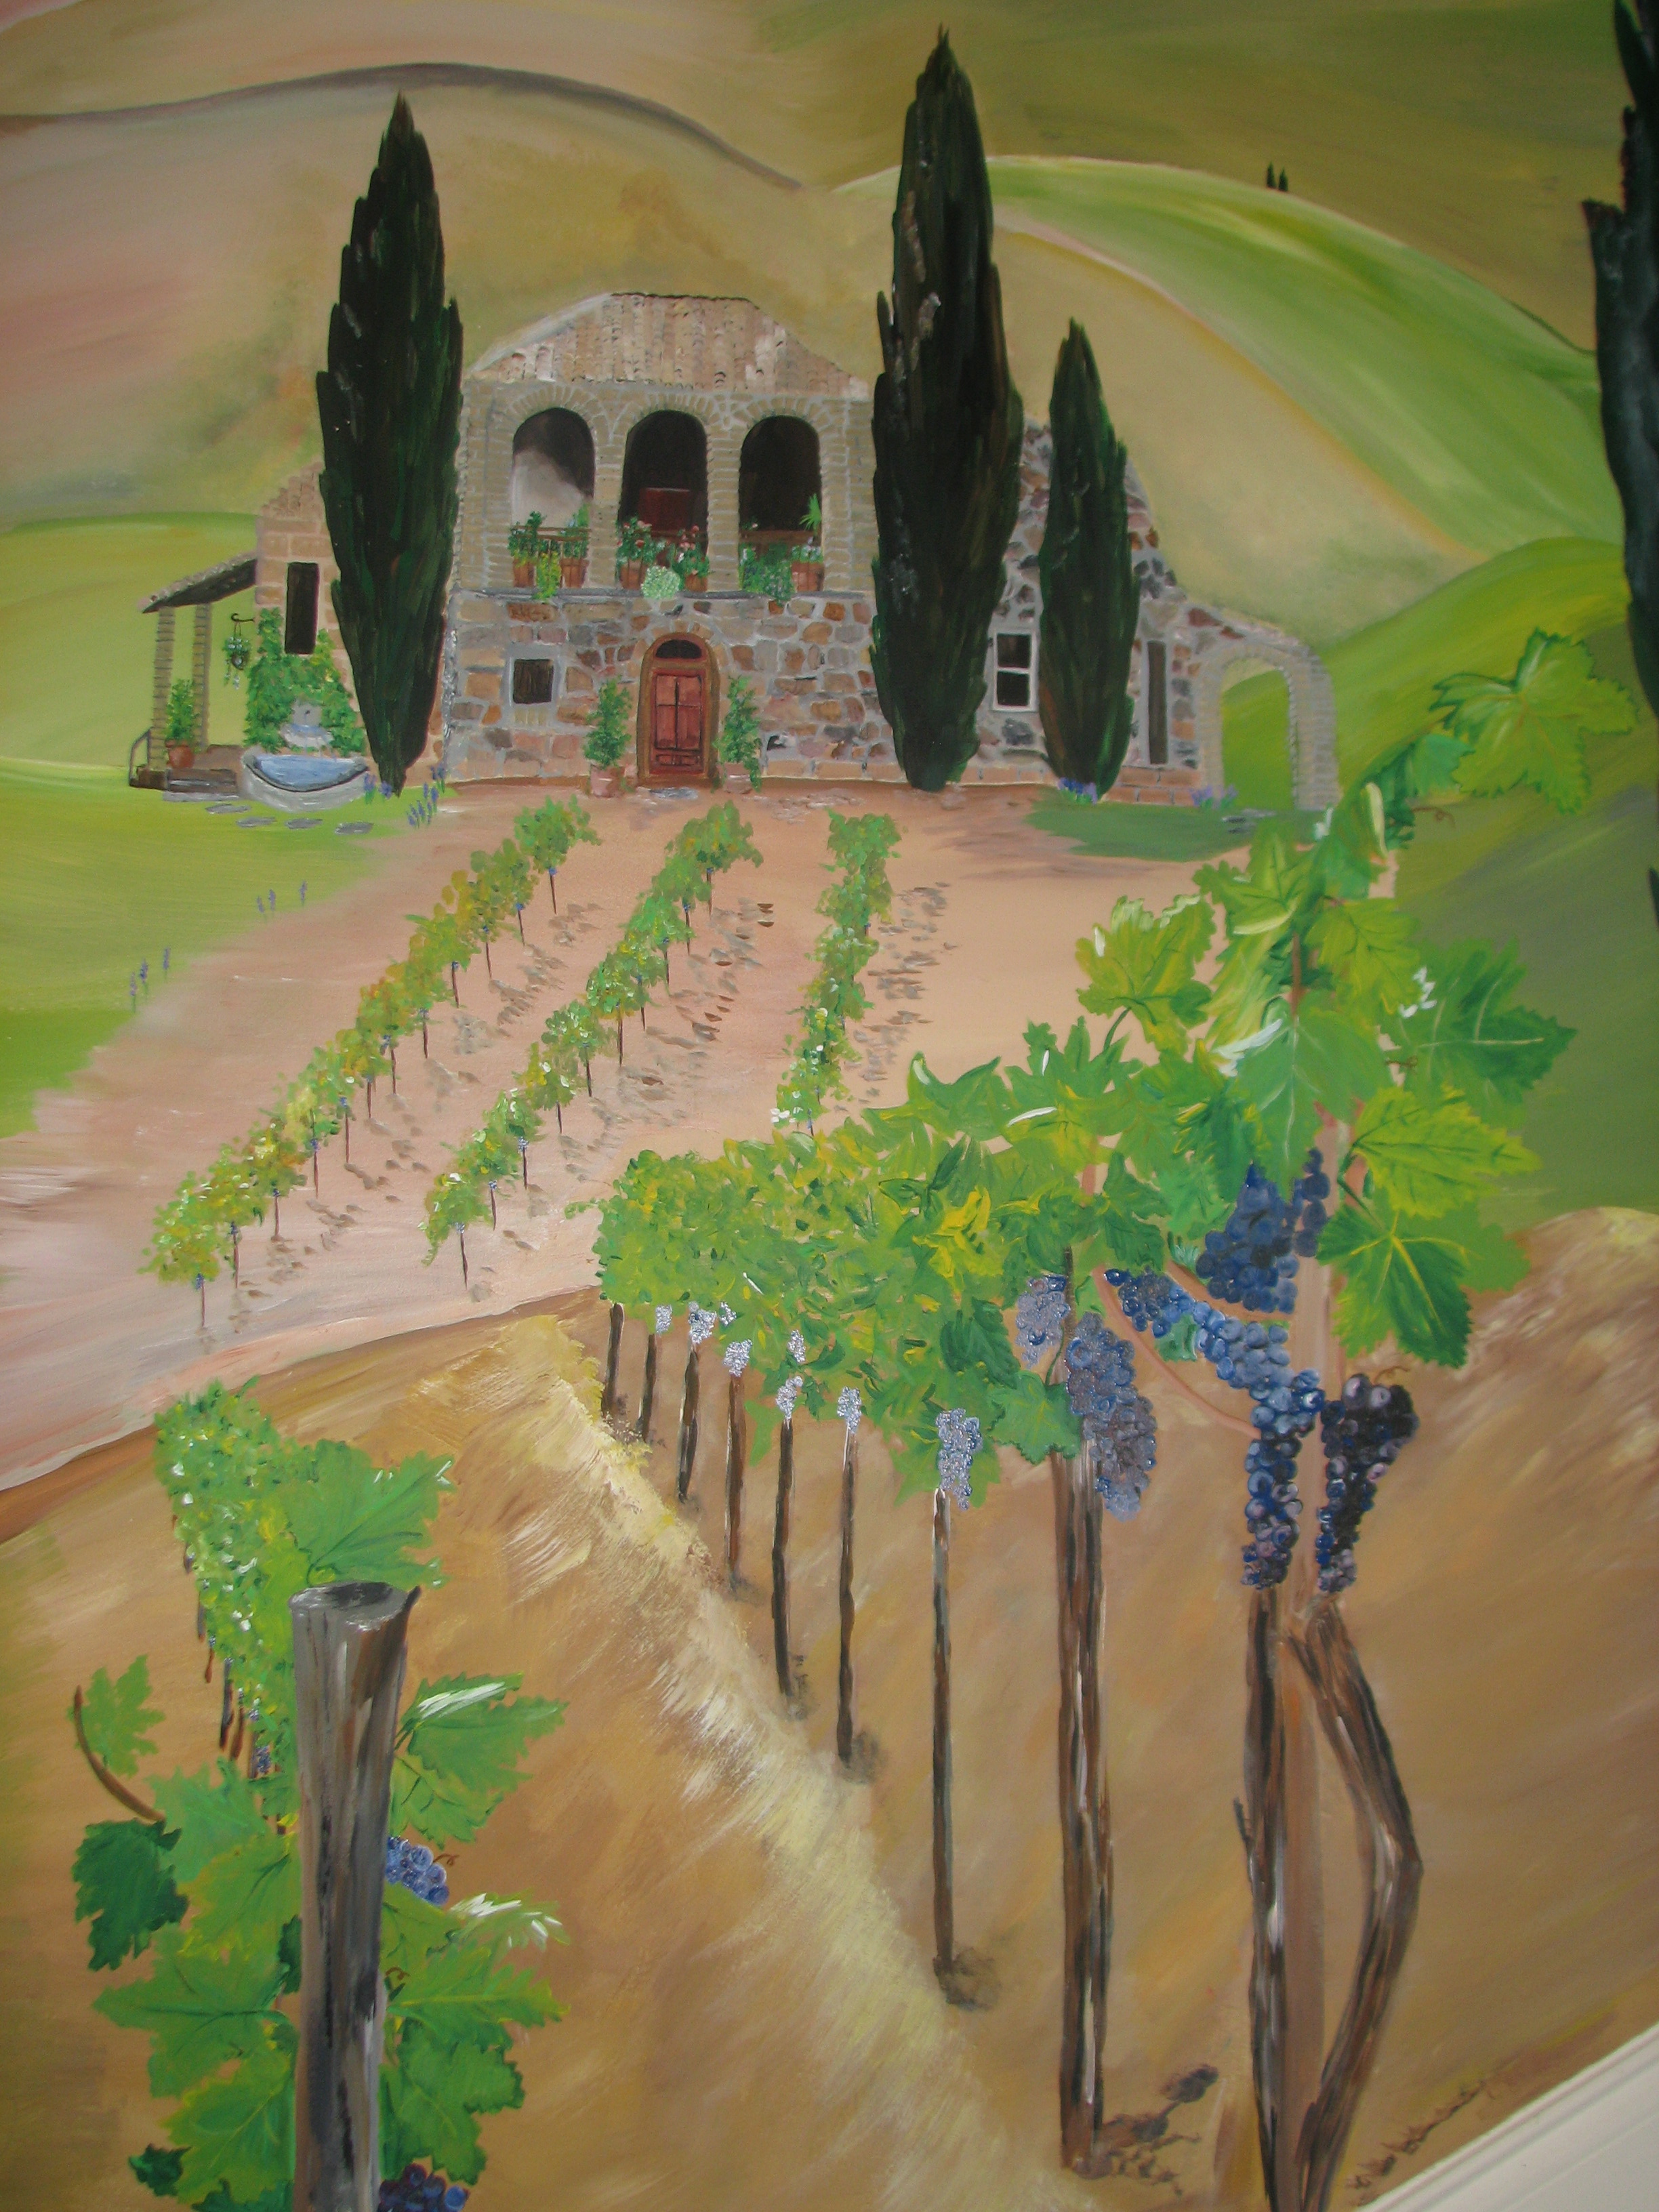
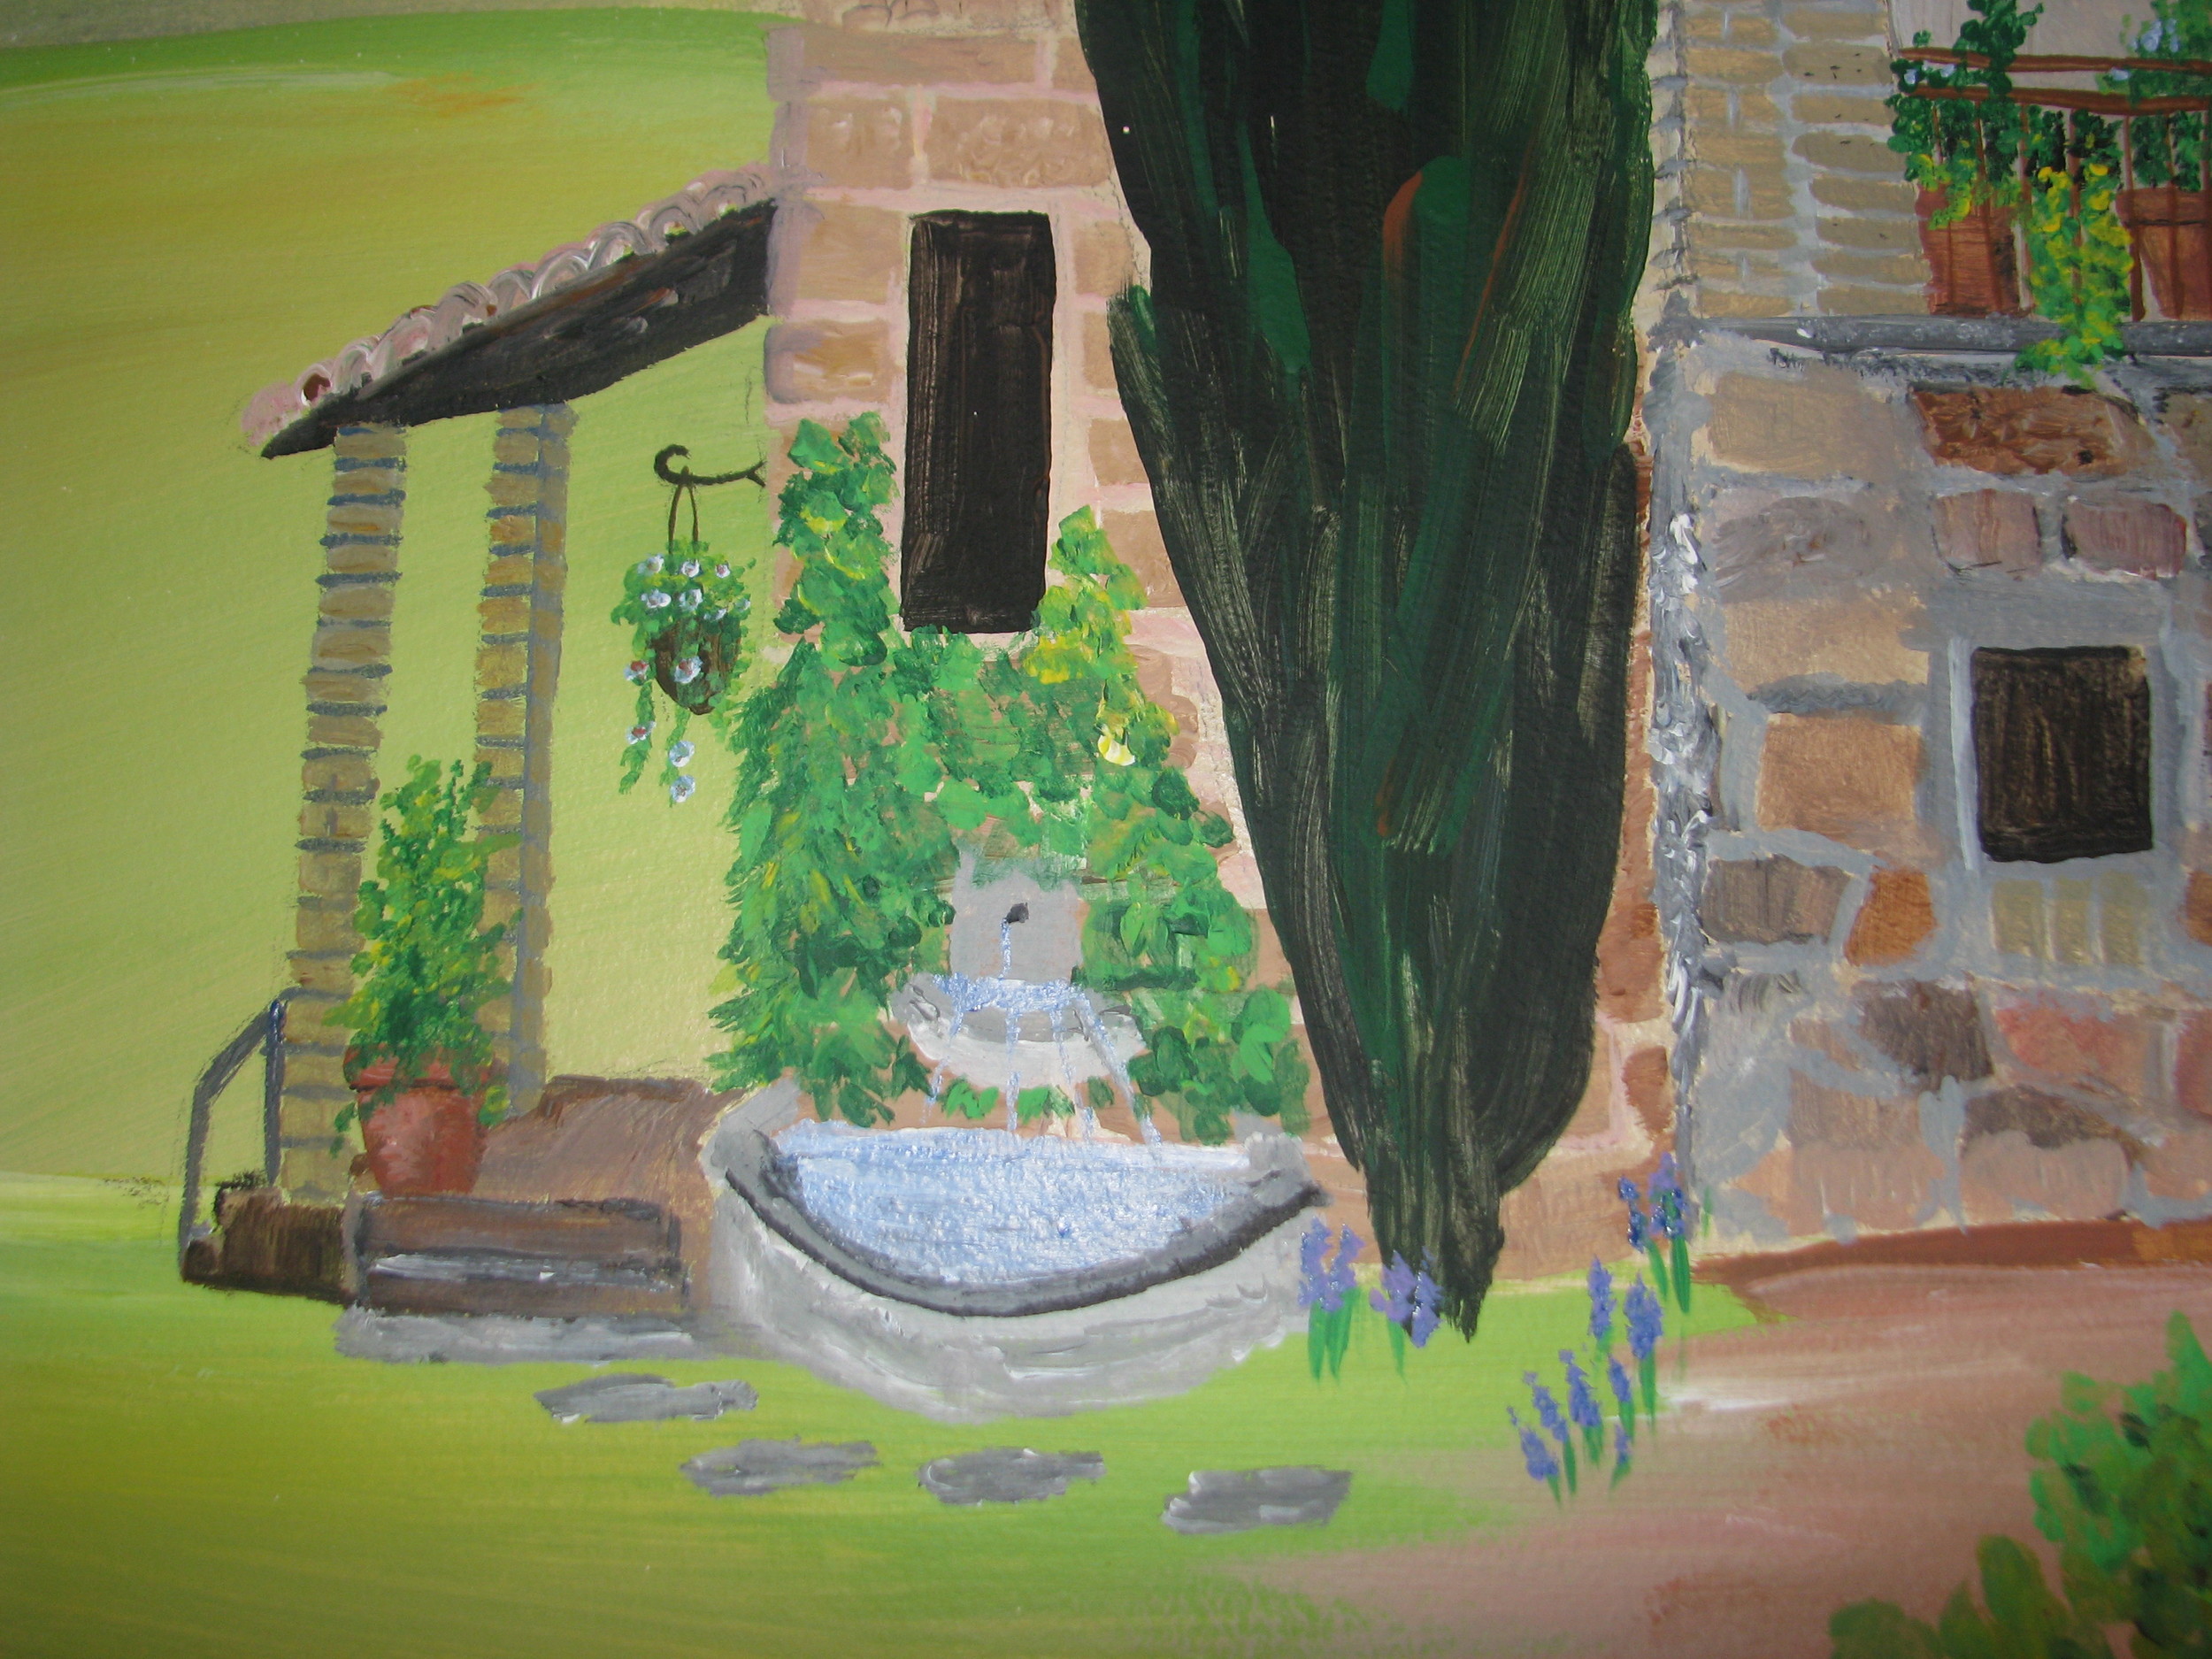
Day 7 – This day brought a new addition to the mural—this is what I love about painting and the process of working with clients! They decided they wanted to add water. It worked out perfectly as I had just the spot left to give them some water for their Tuscan scene, and I added in a little fountain by the house, too! Here were the new developments on Day 7:
Day 8 – I finished up the additions we were making and added more detail across the wall:
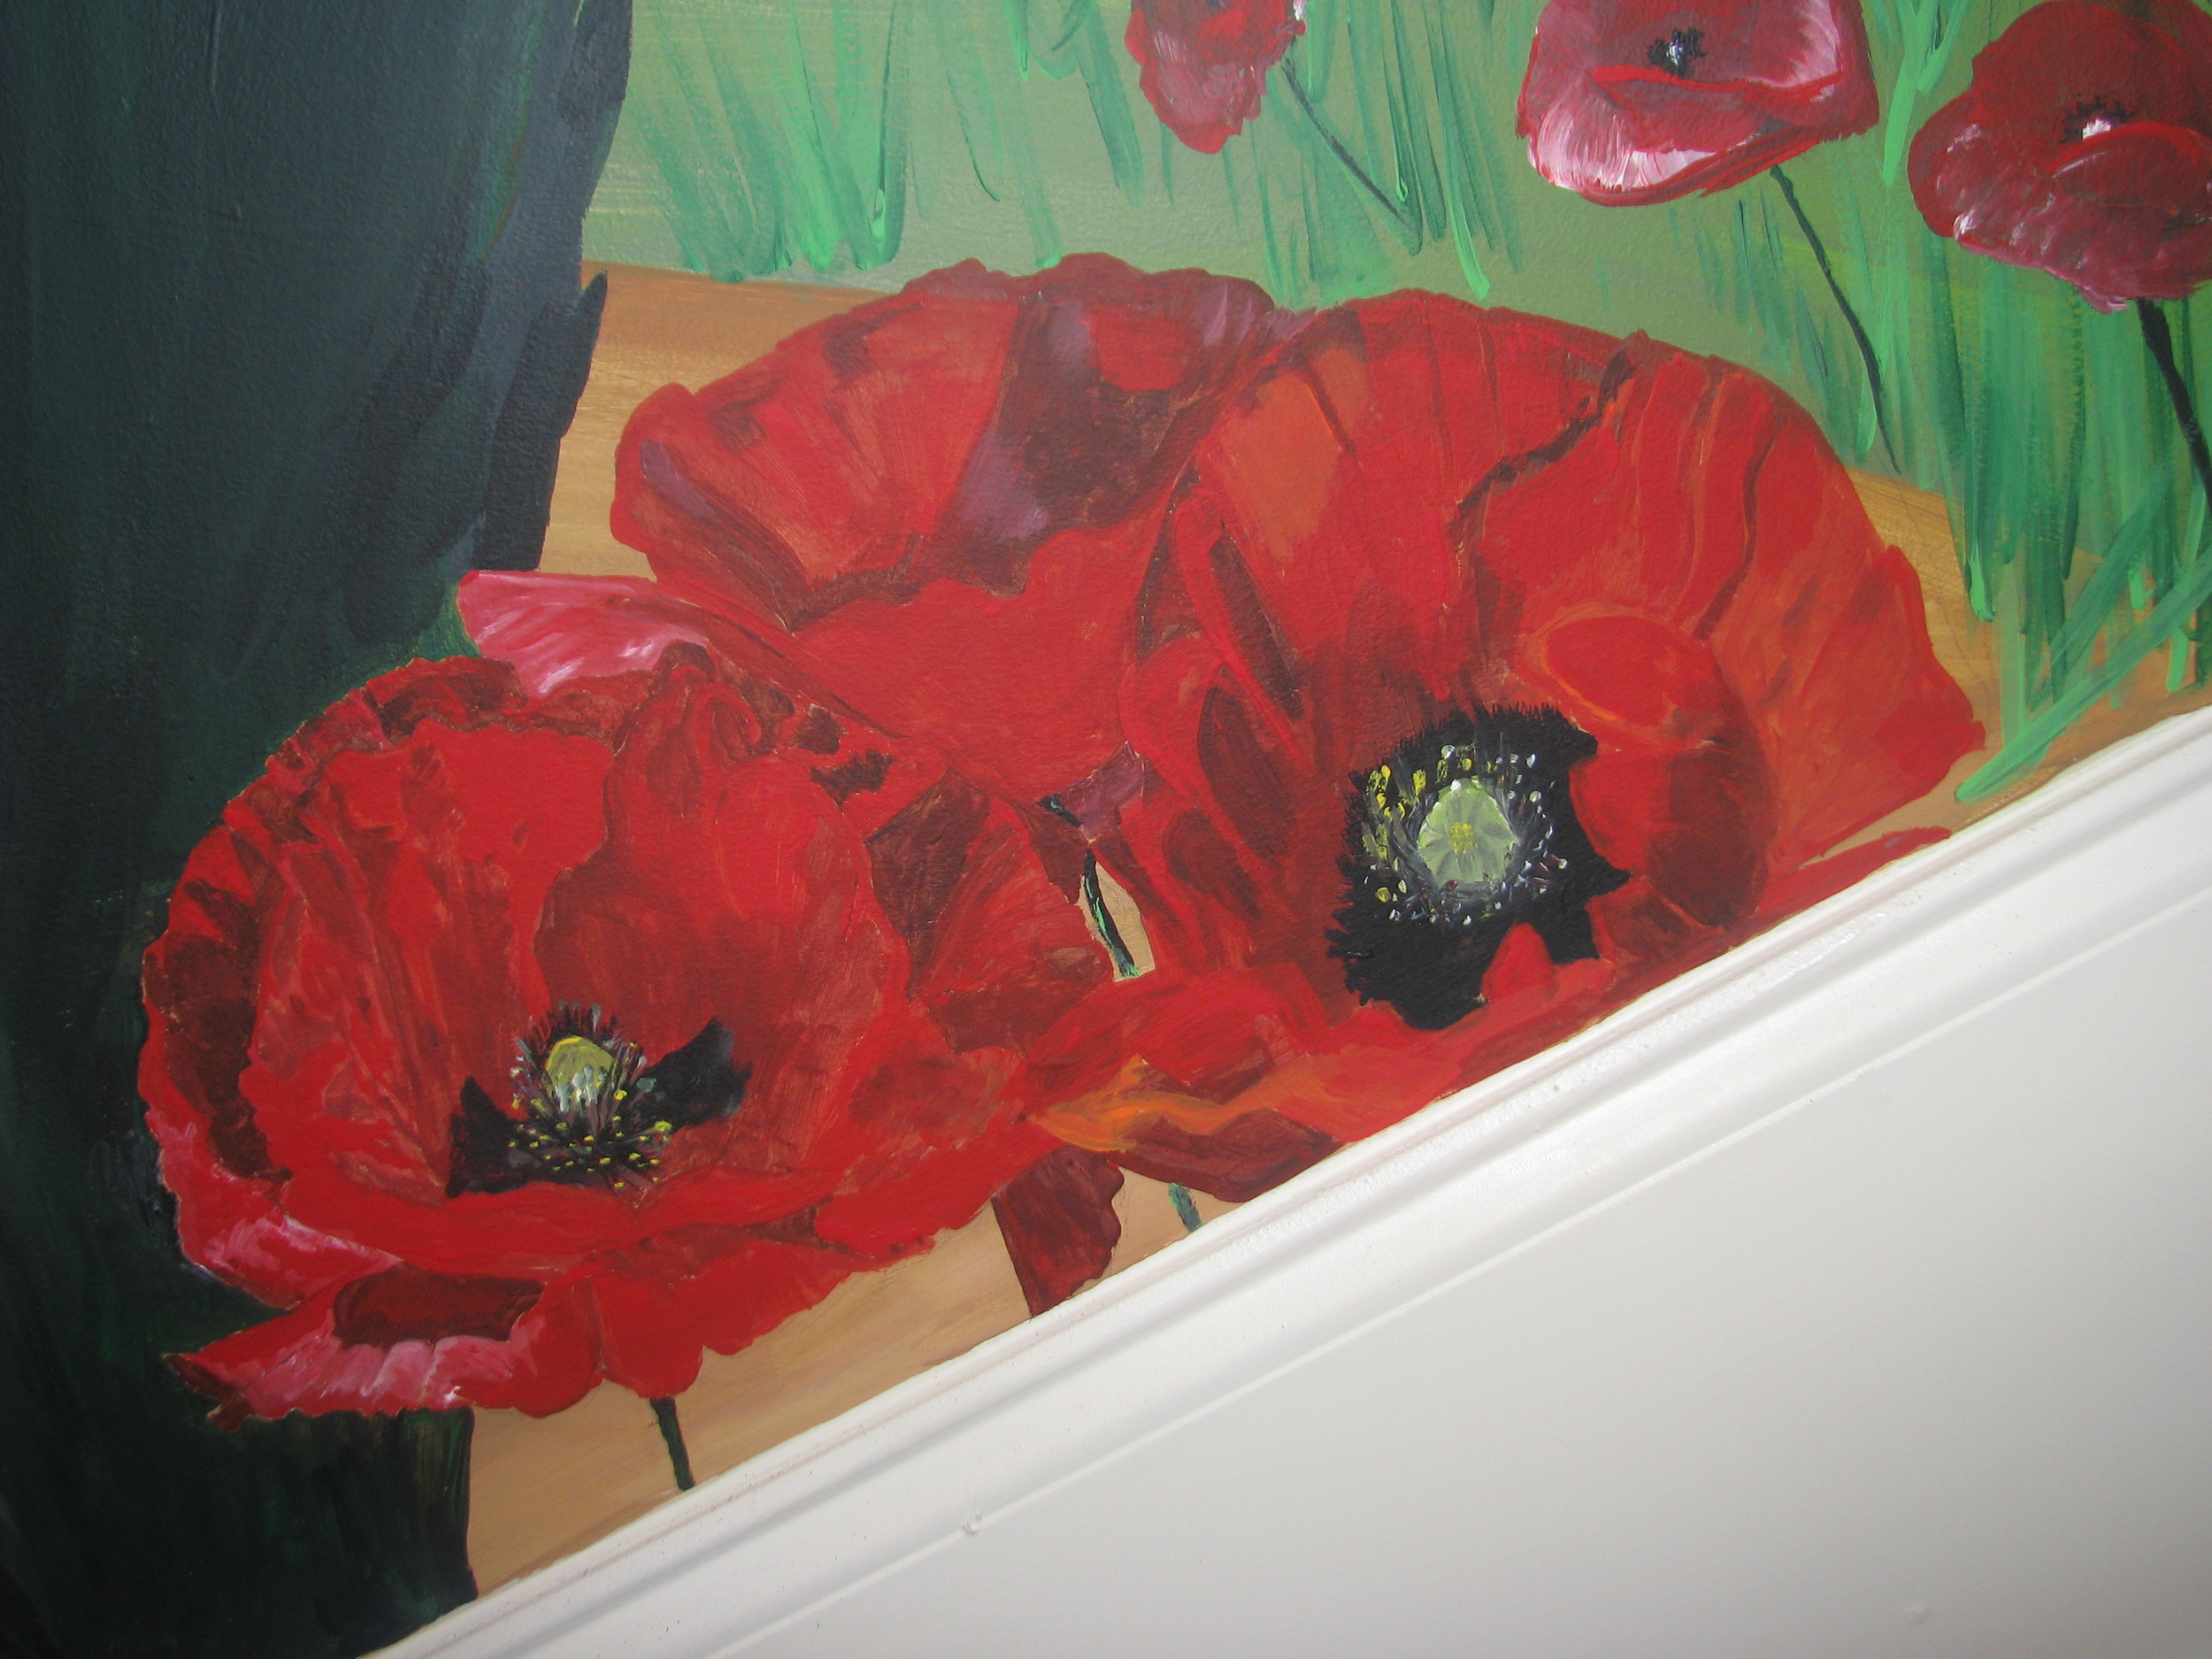
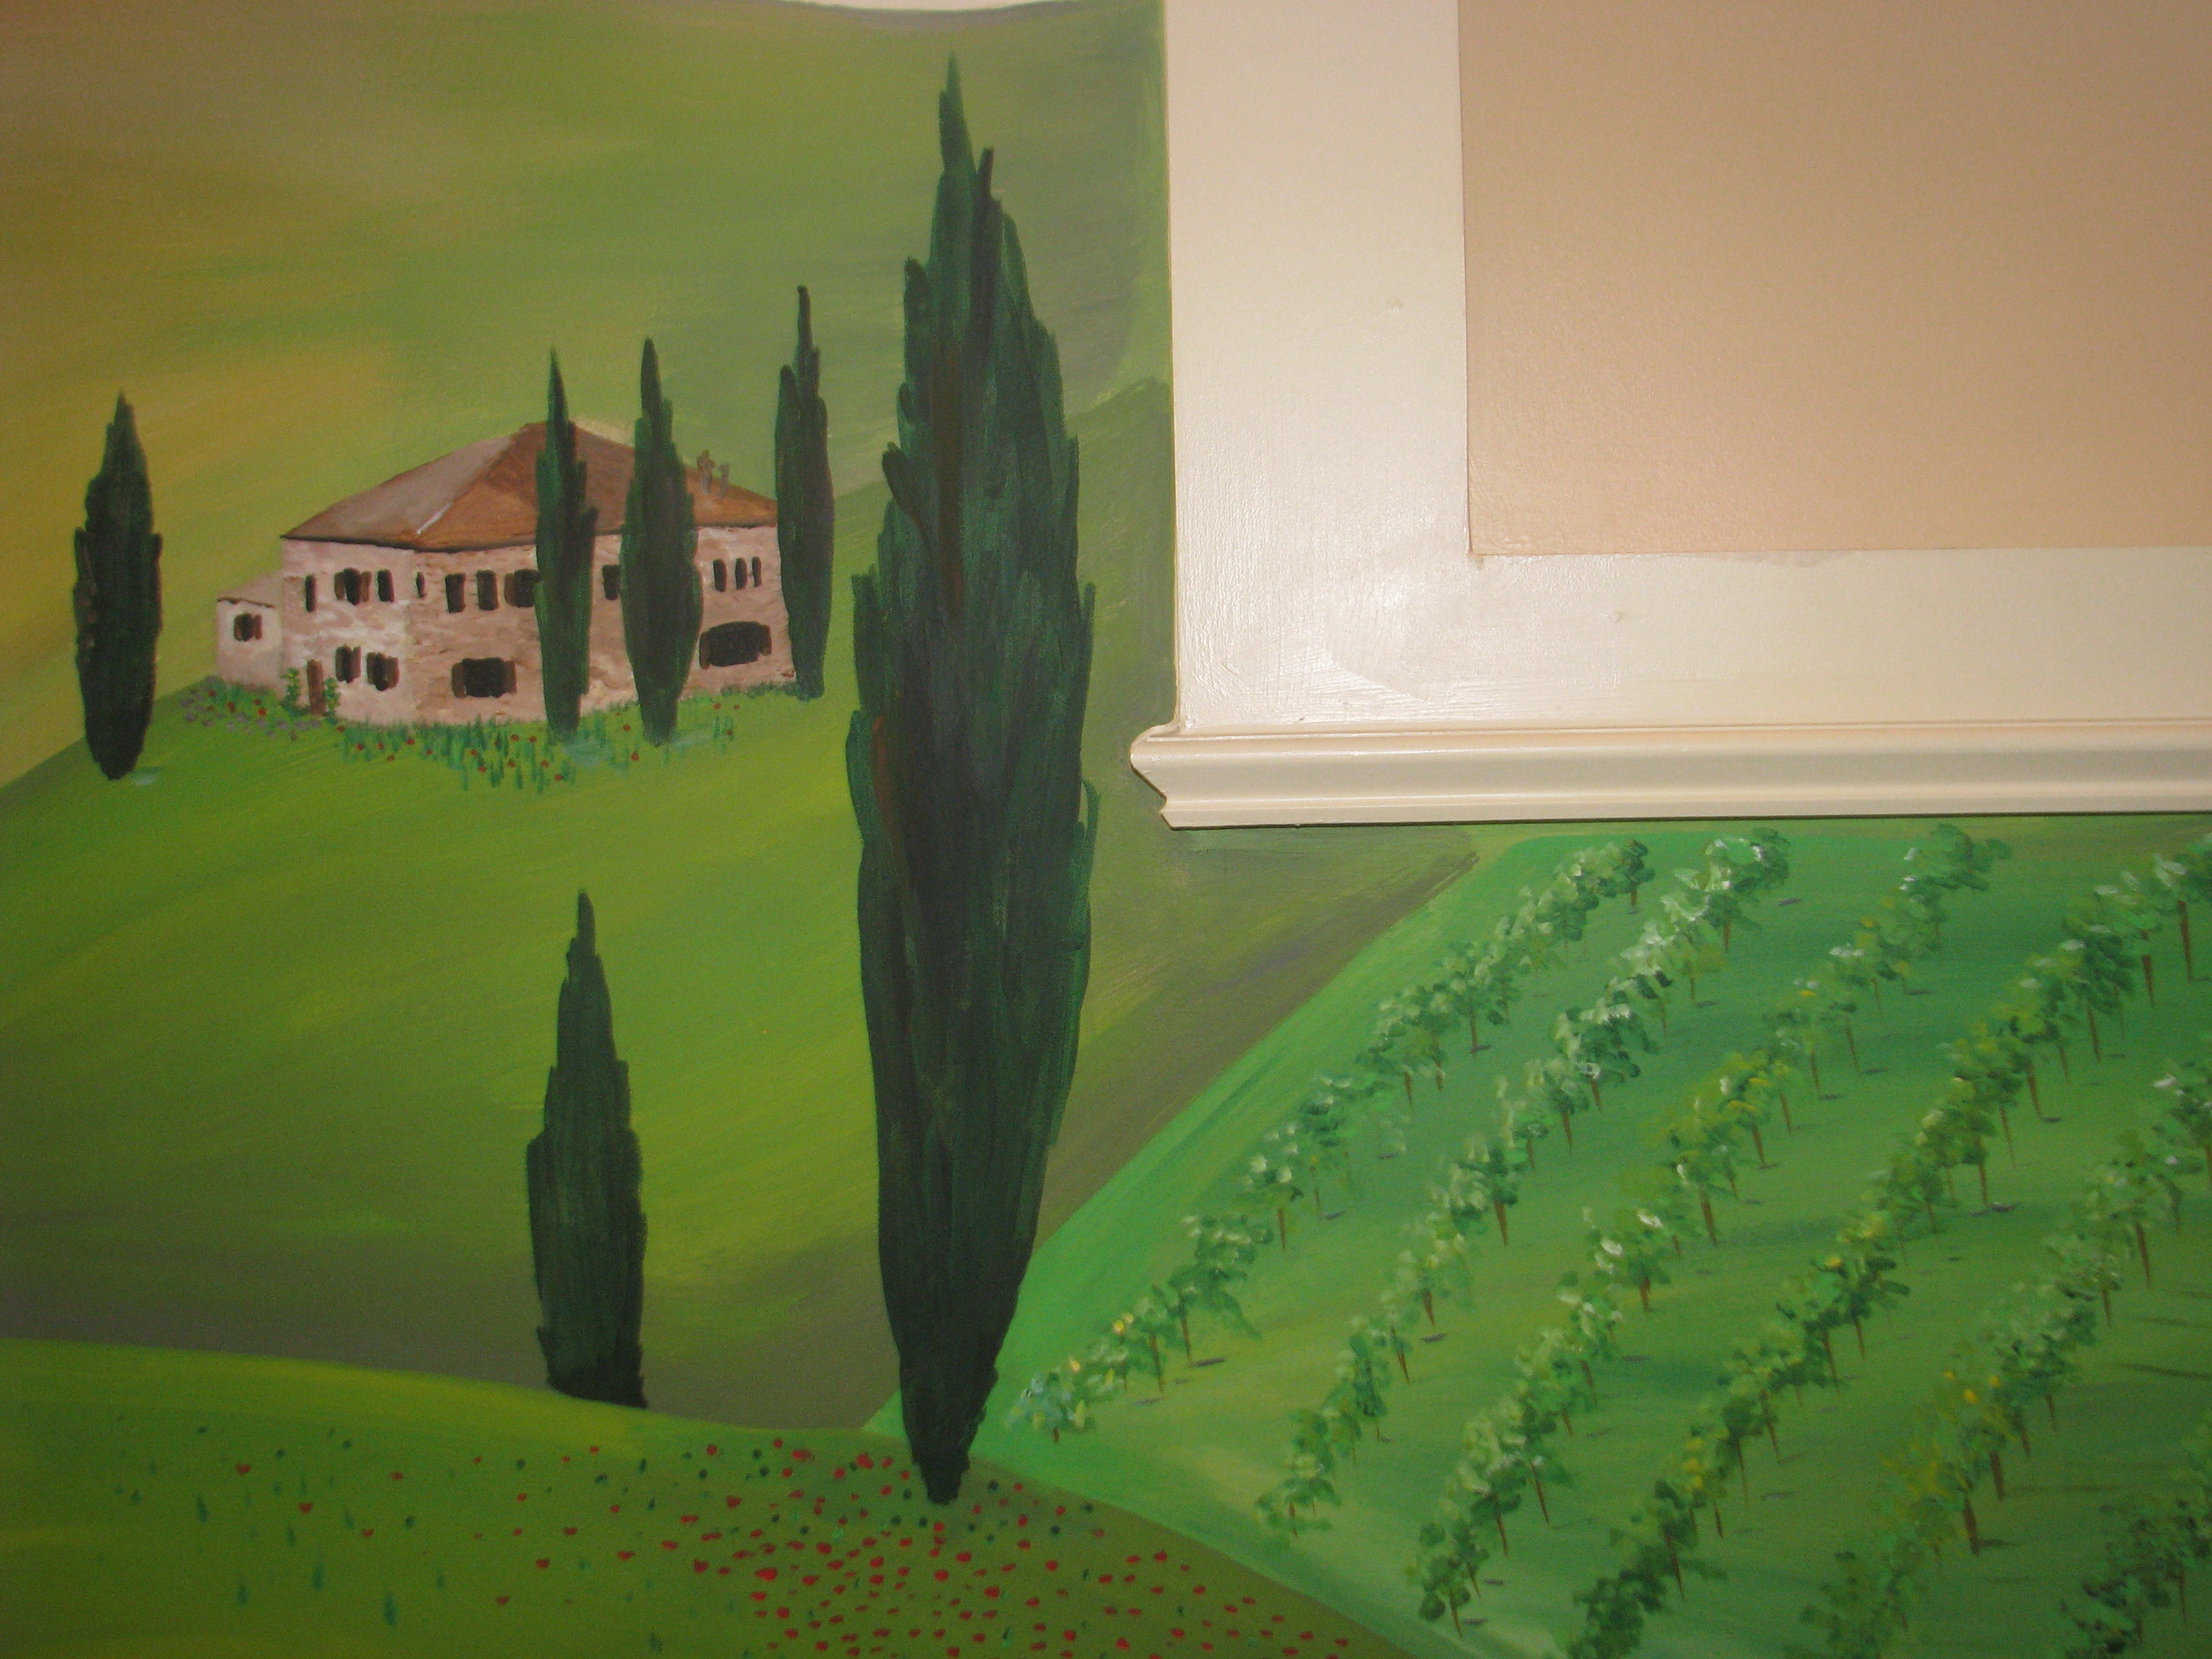
Day 9 – On this day, I was allowed to start adding my favorite: FLOWERS! Bright red poppies were added to put some color on the rolling green hills:
Day 10 – I spent this day on finishing touches and more flowers! There was a hill at the very top of the stairs to which I added lavender flowers, per the request of my clients, to match a flower arrangement in their home. Here is a picture of some flower details throughout the mural and the progress at the end of Day 10:
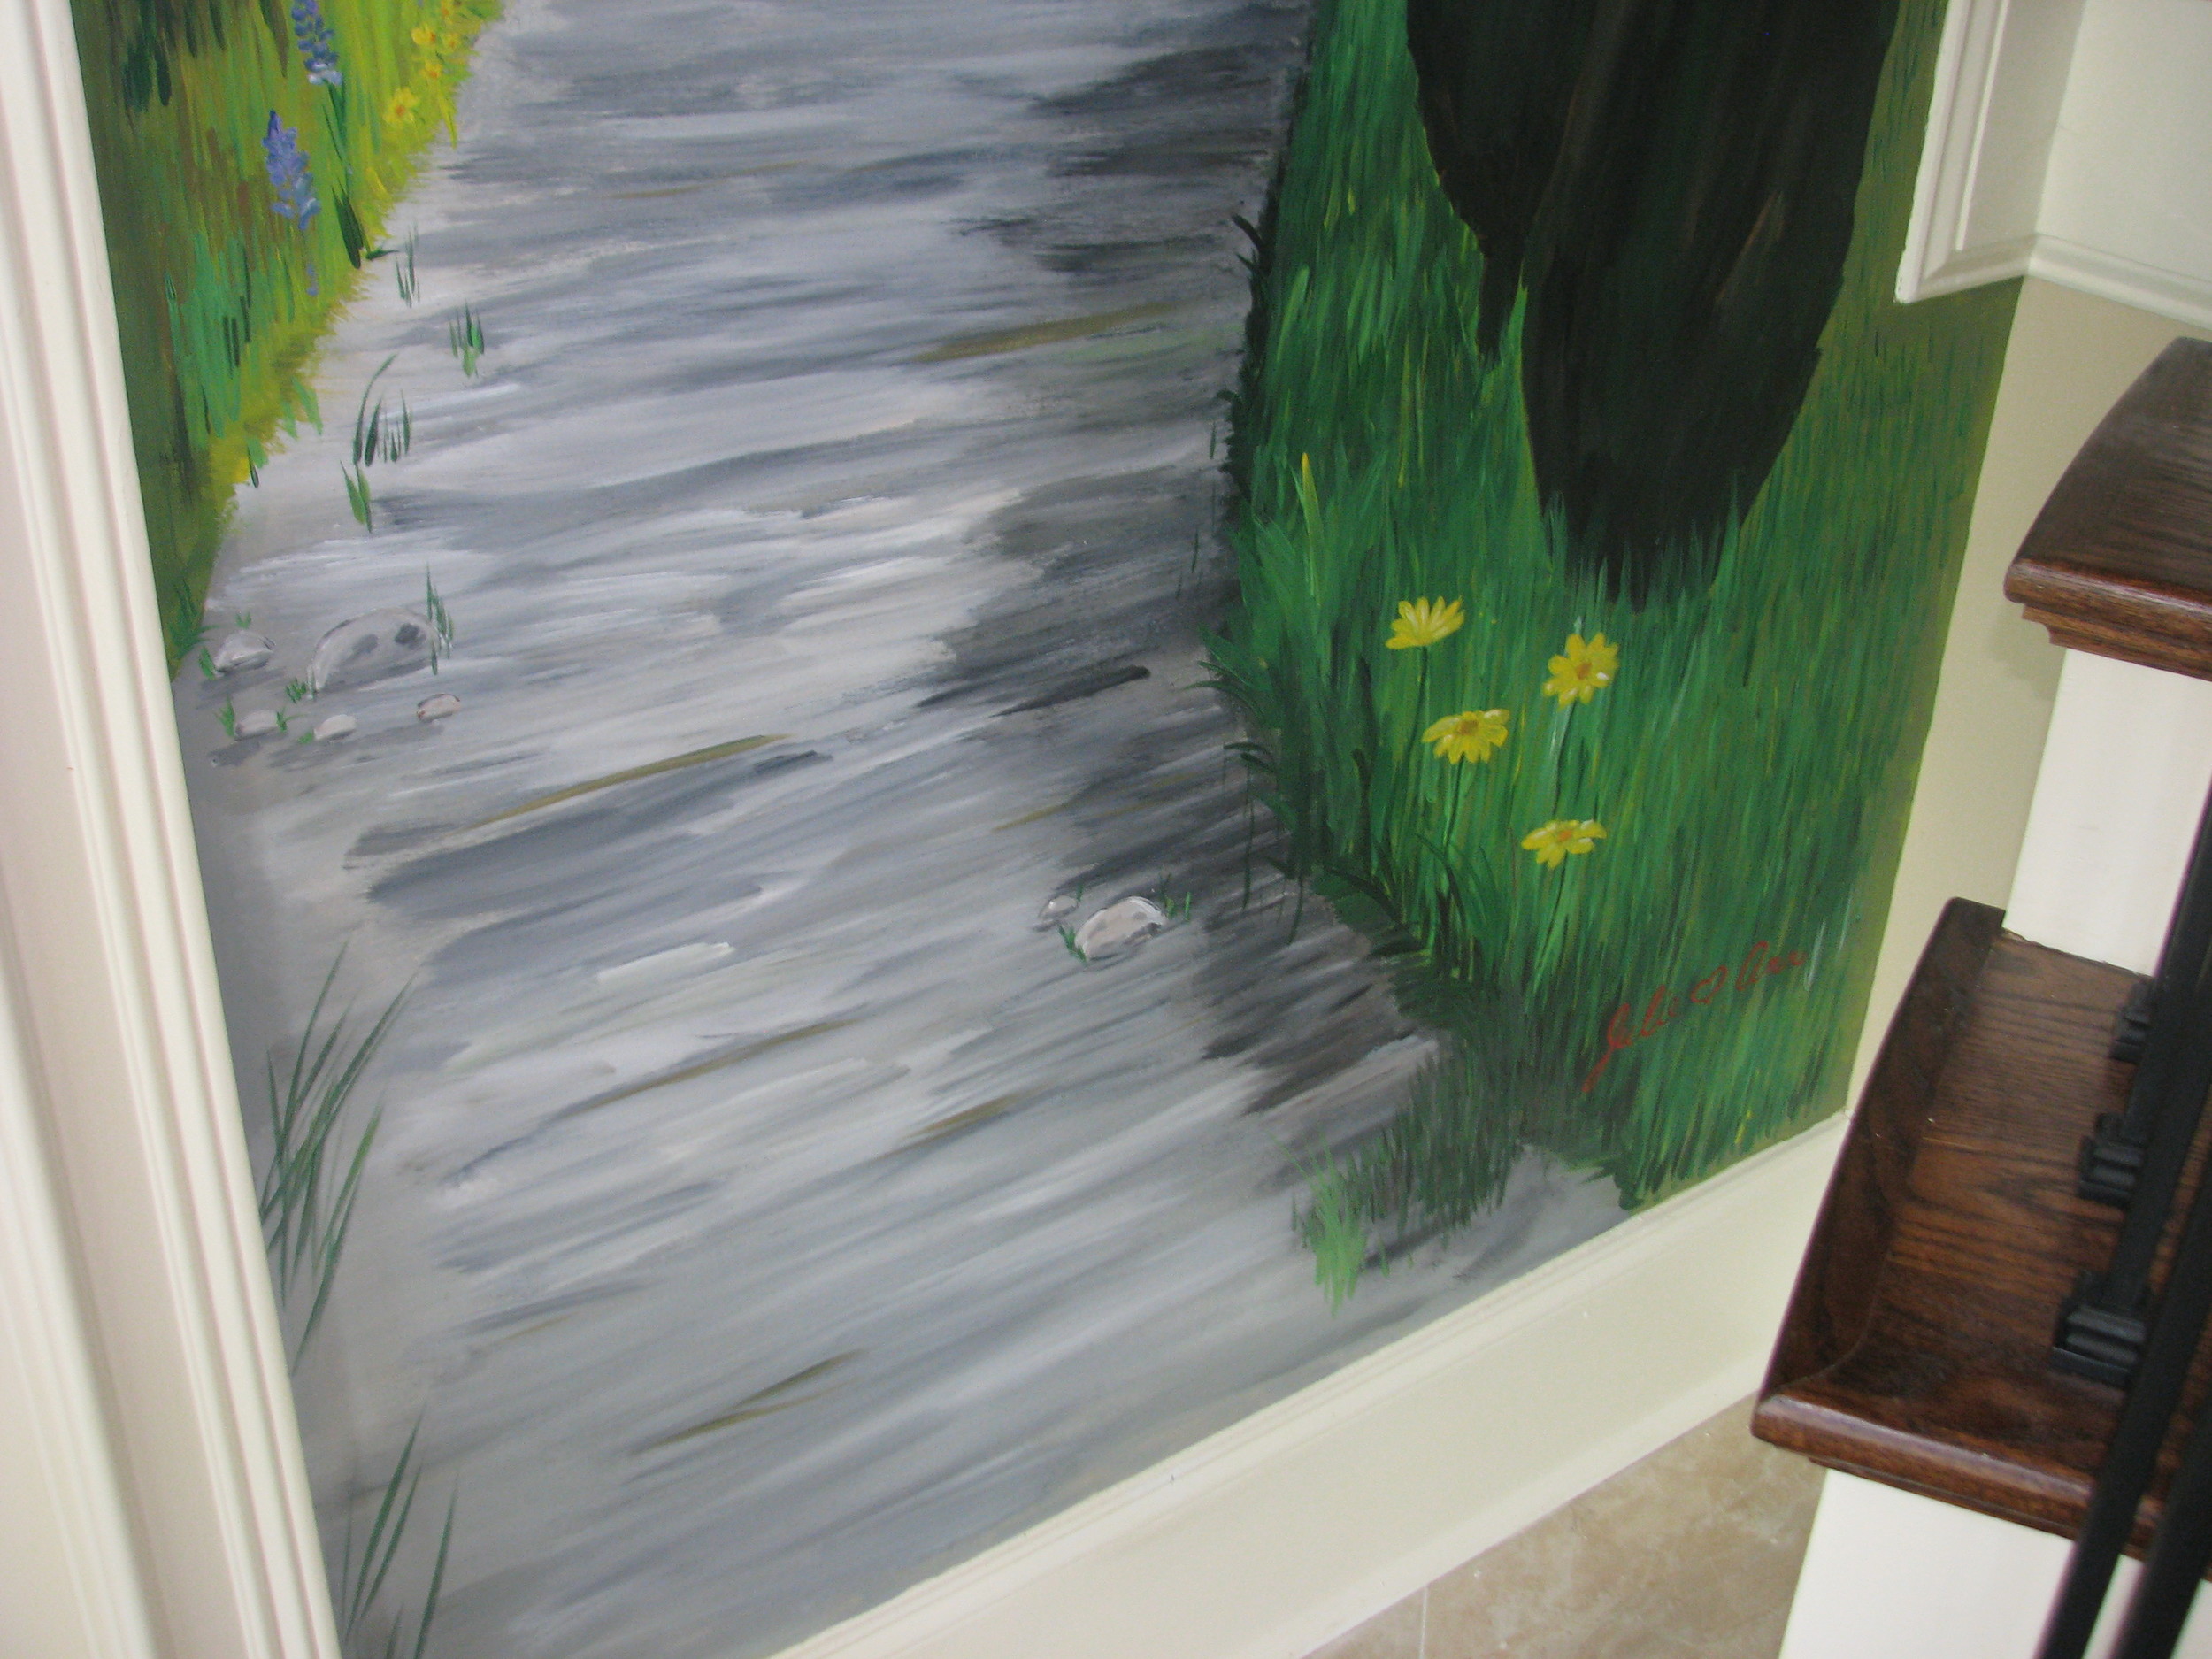
 Day 11 – This was Completion Eve! I cleaned up the path and added some flowers, grass, and stones to make it look more rustic:
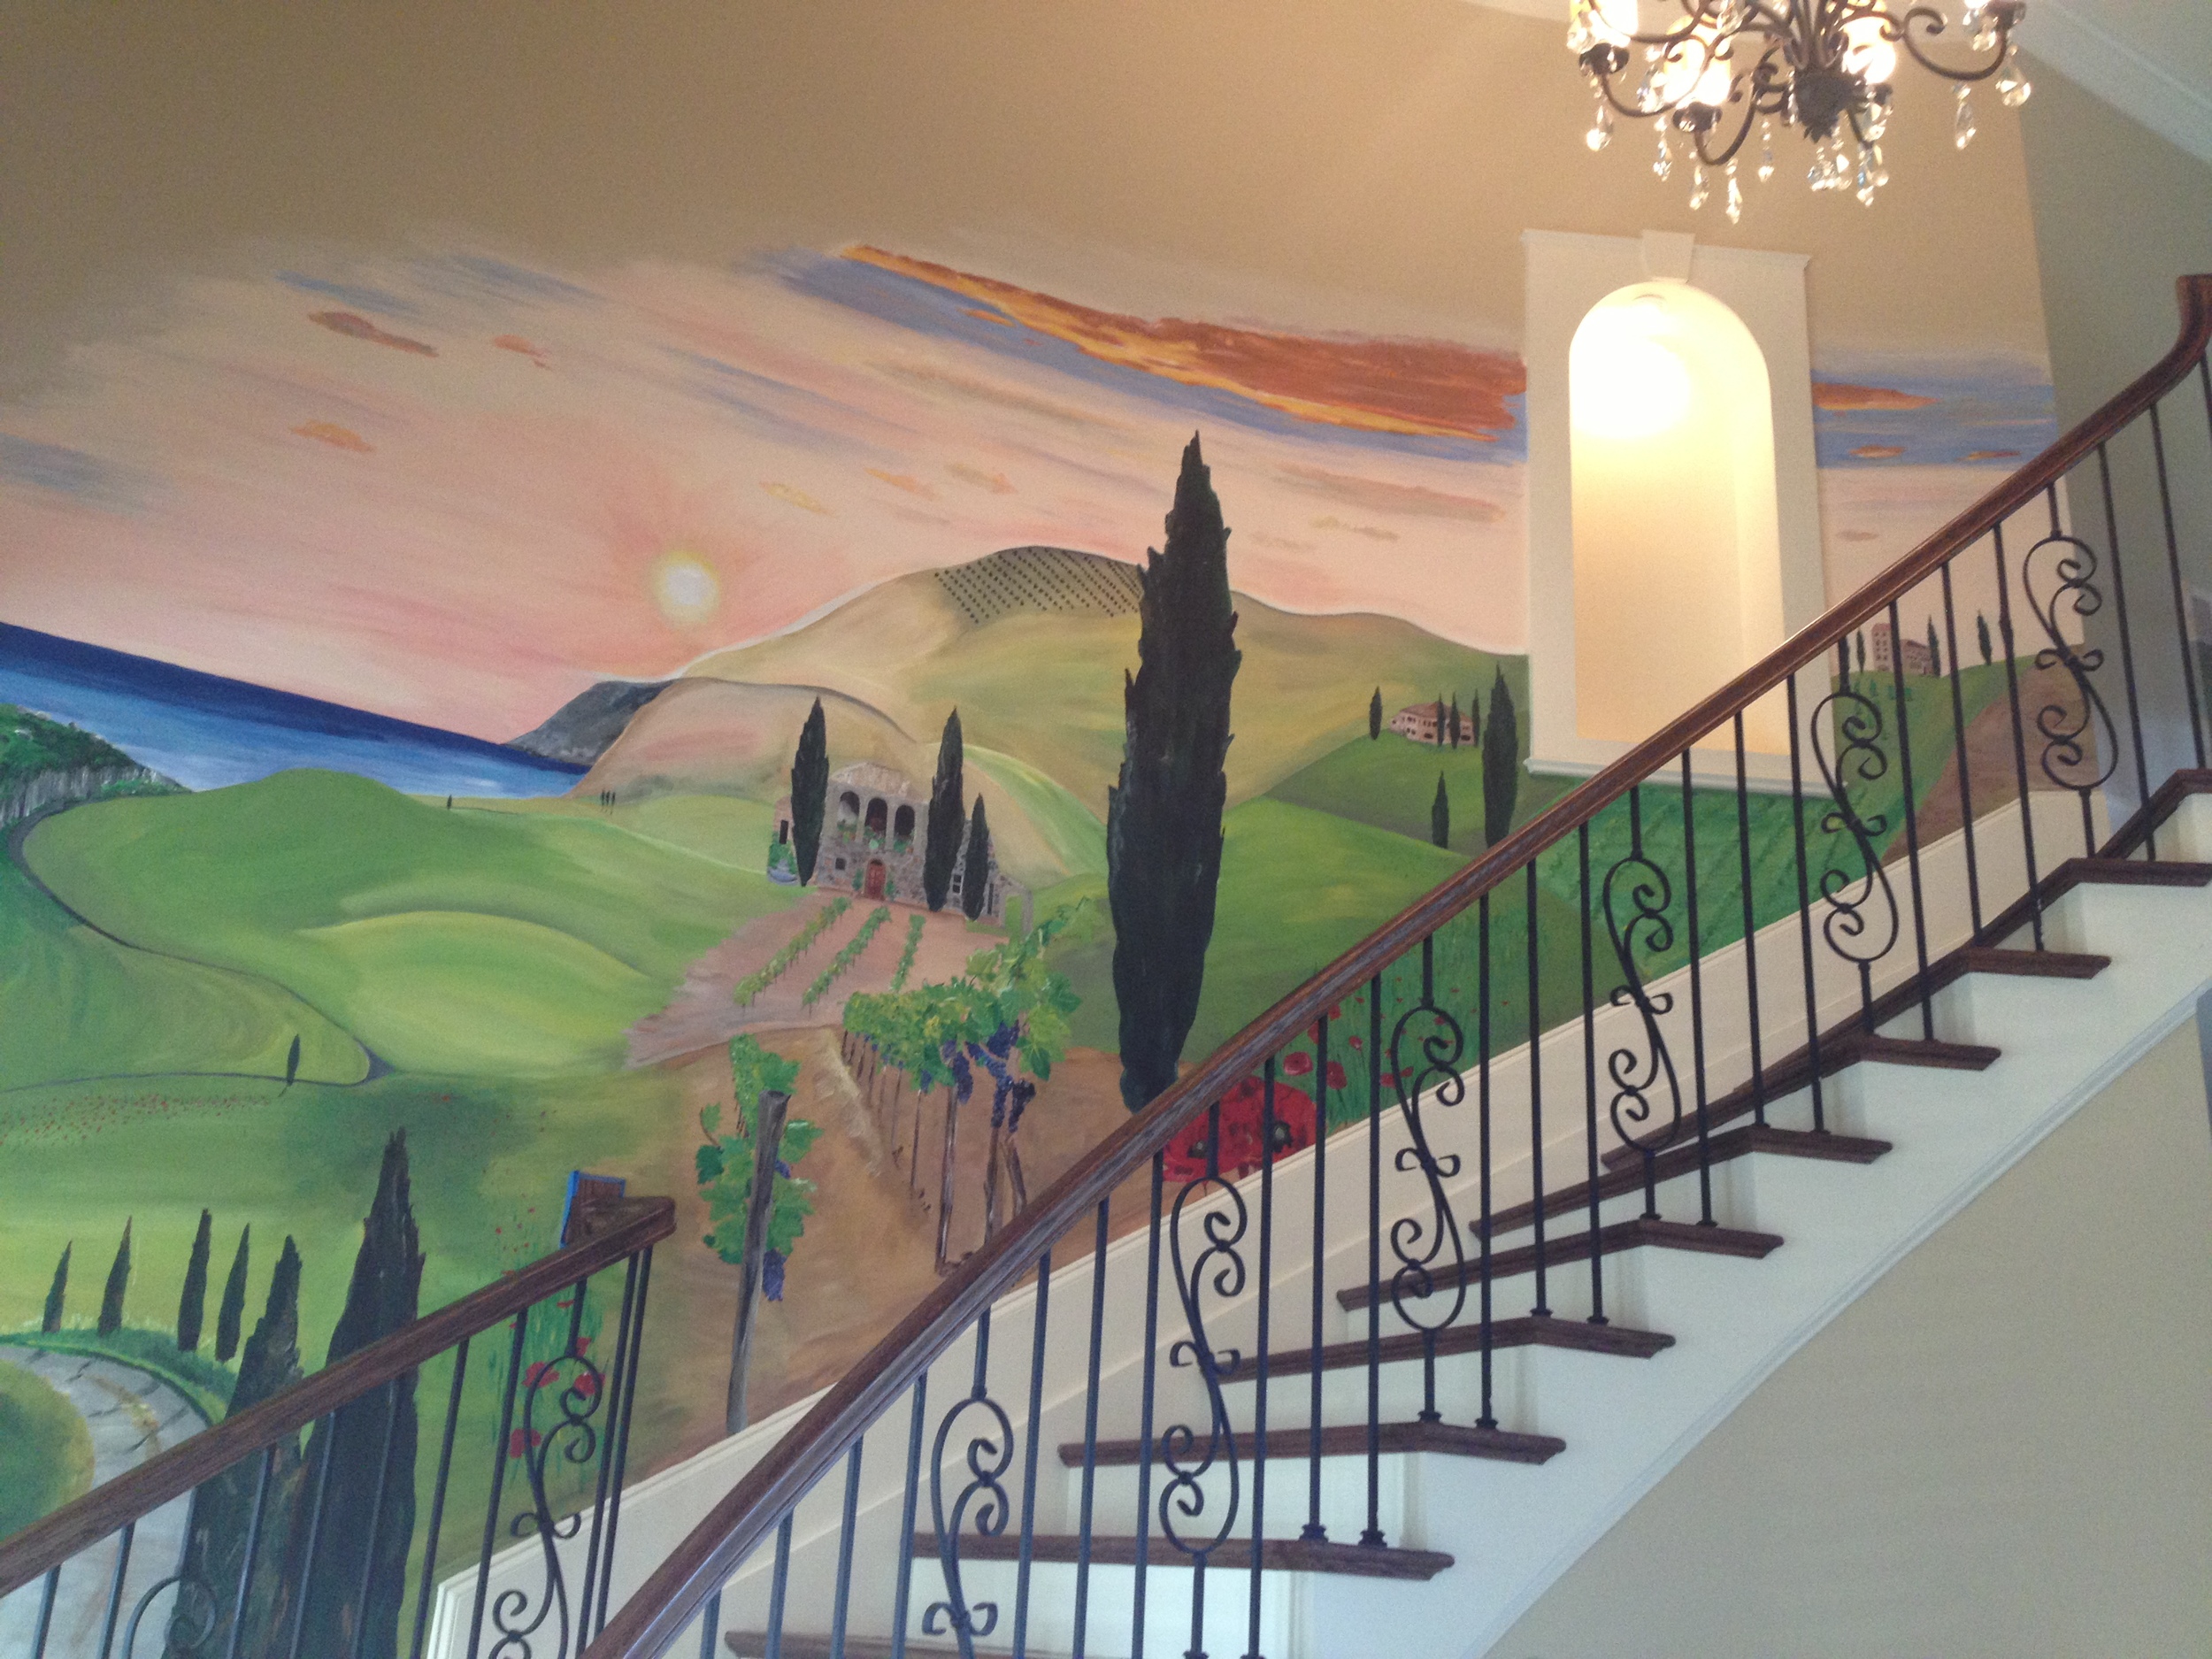
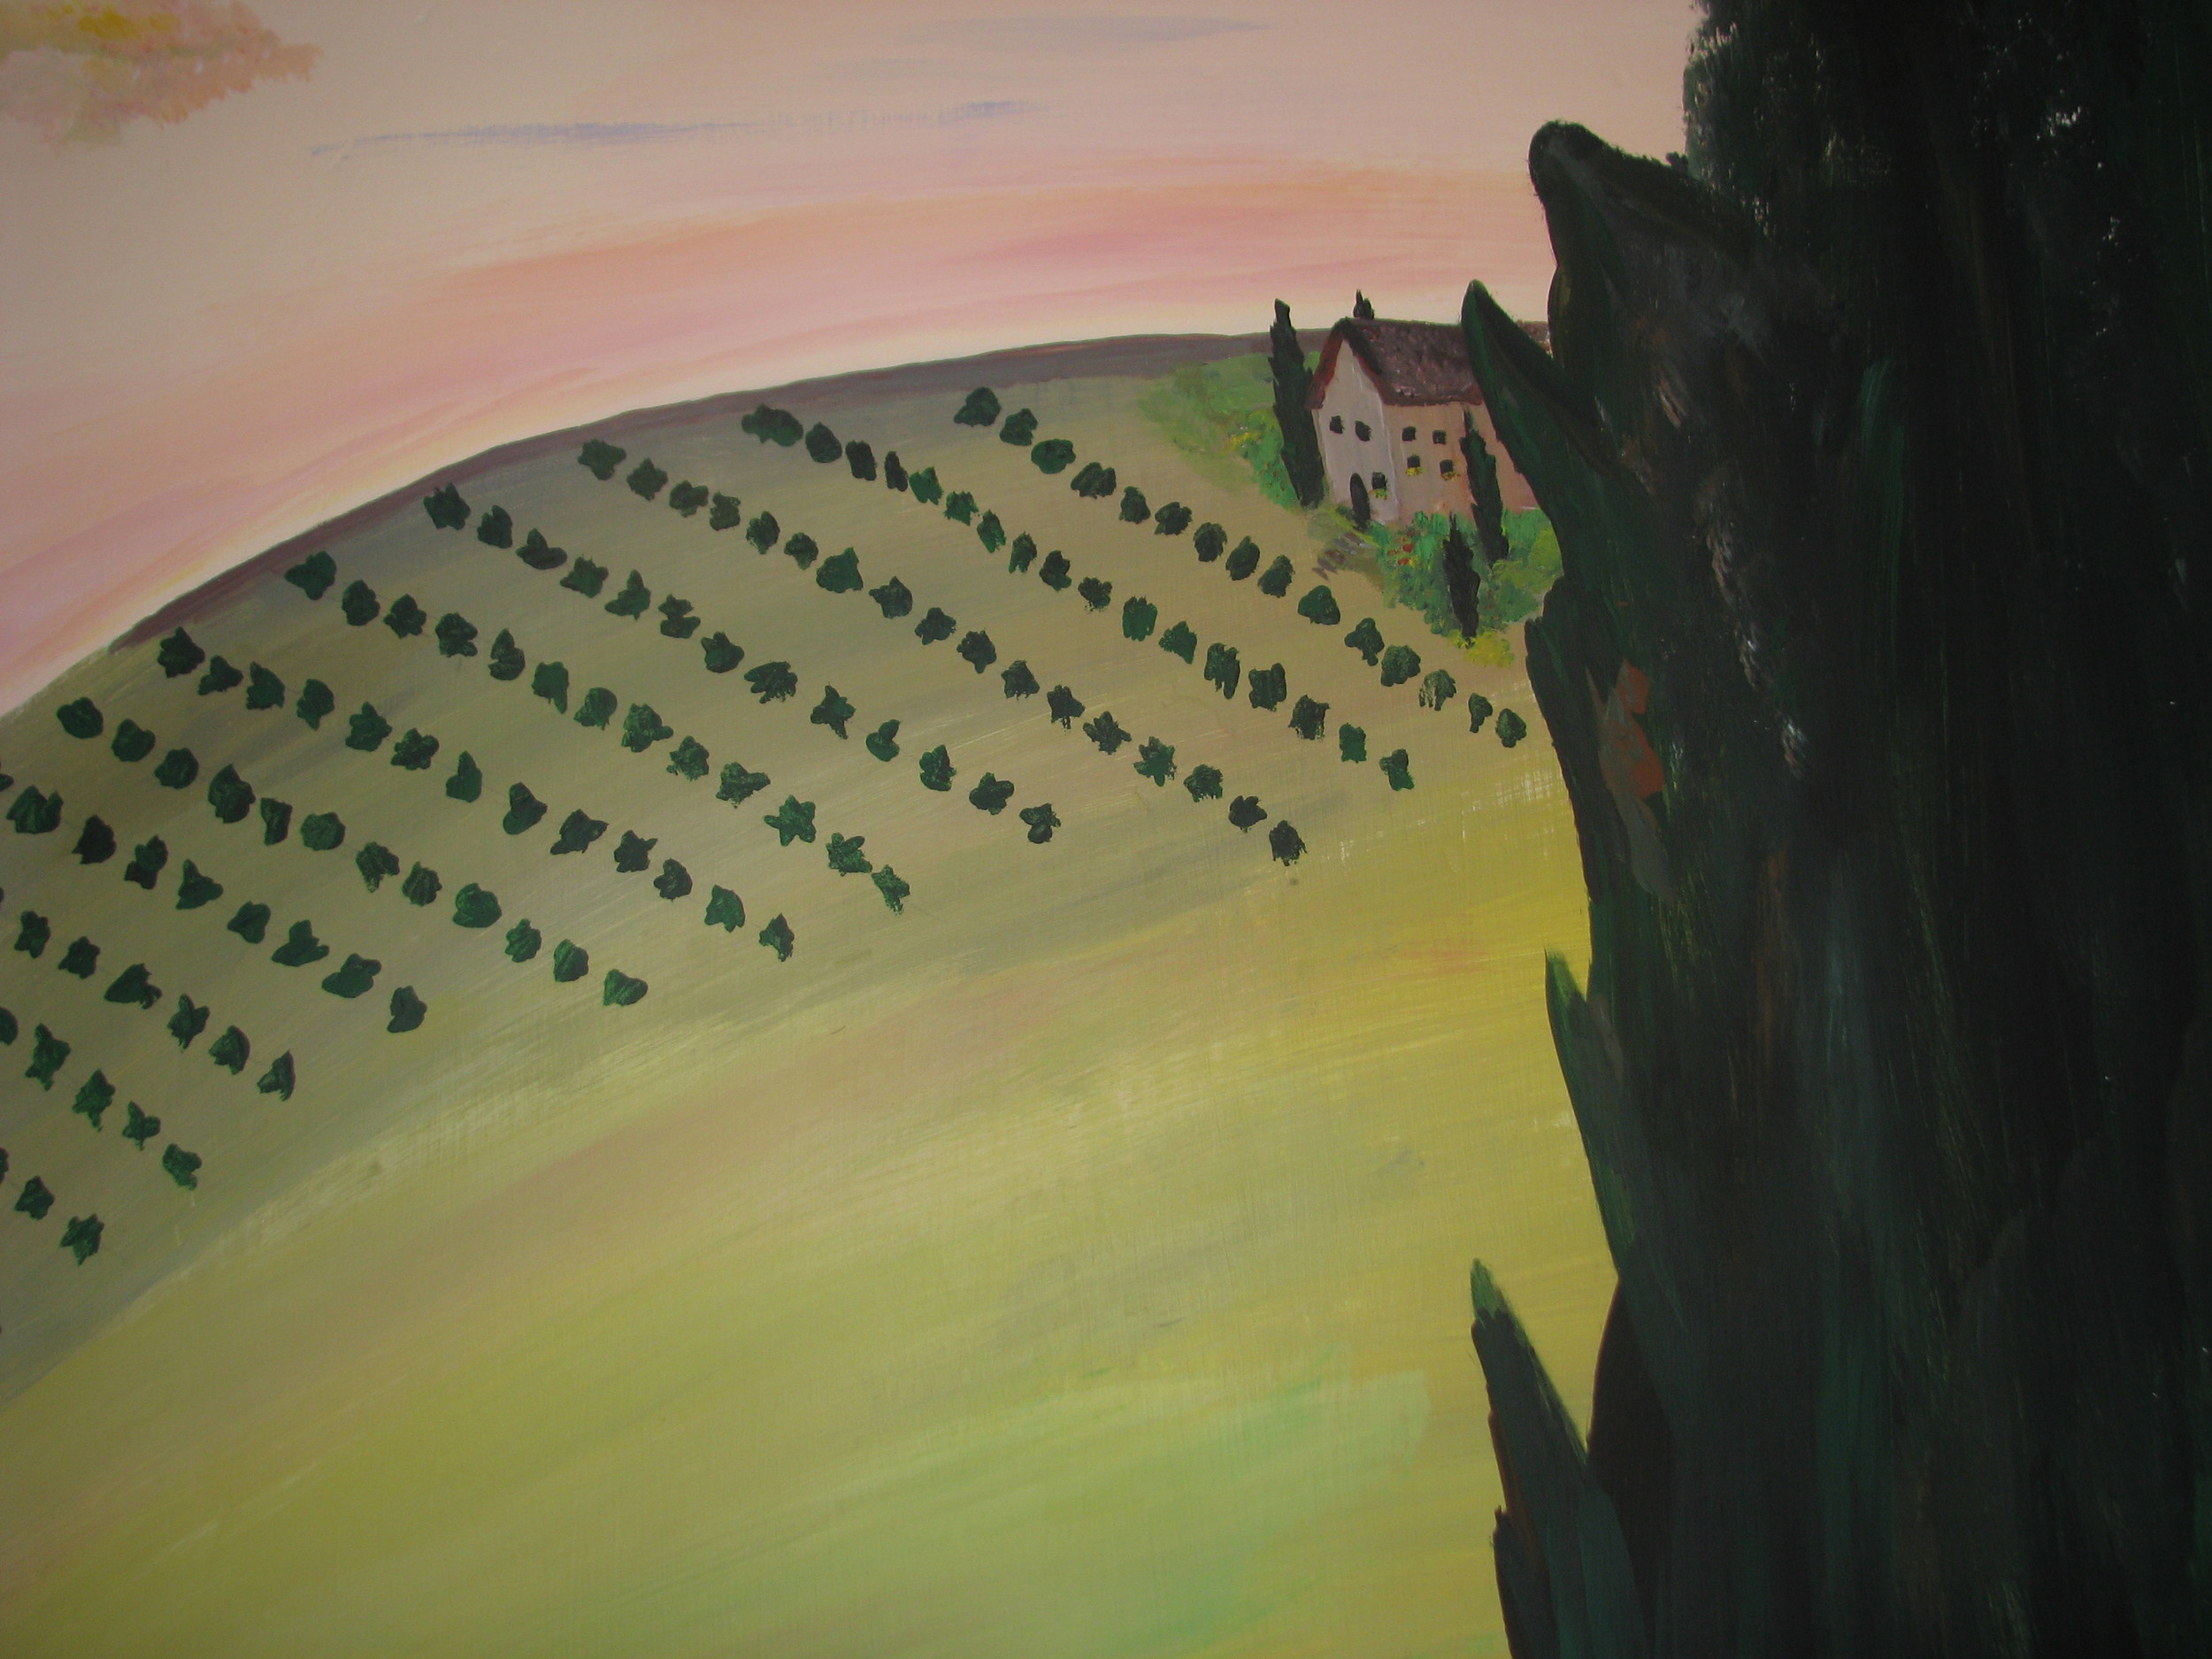
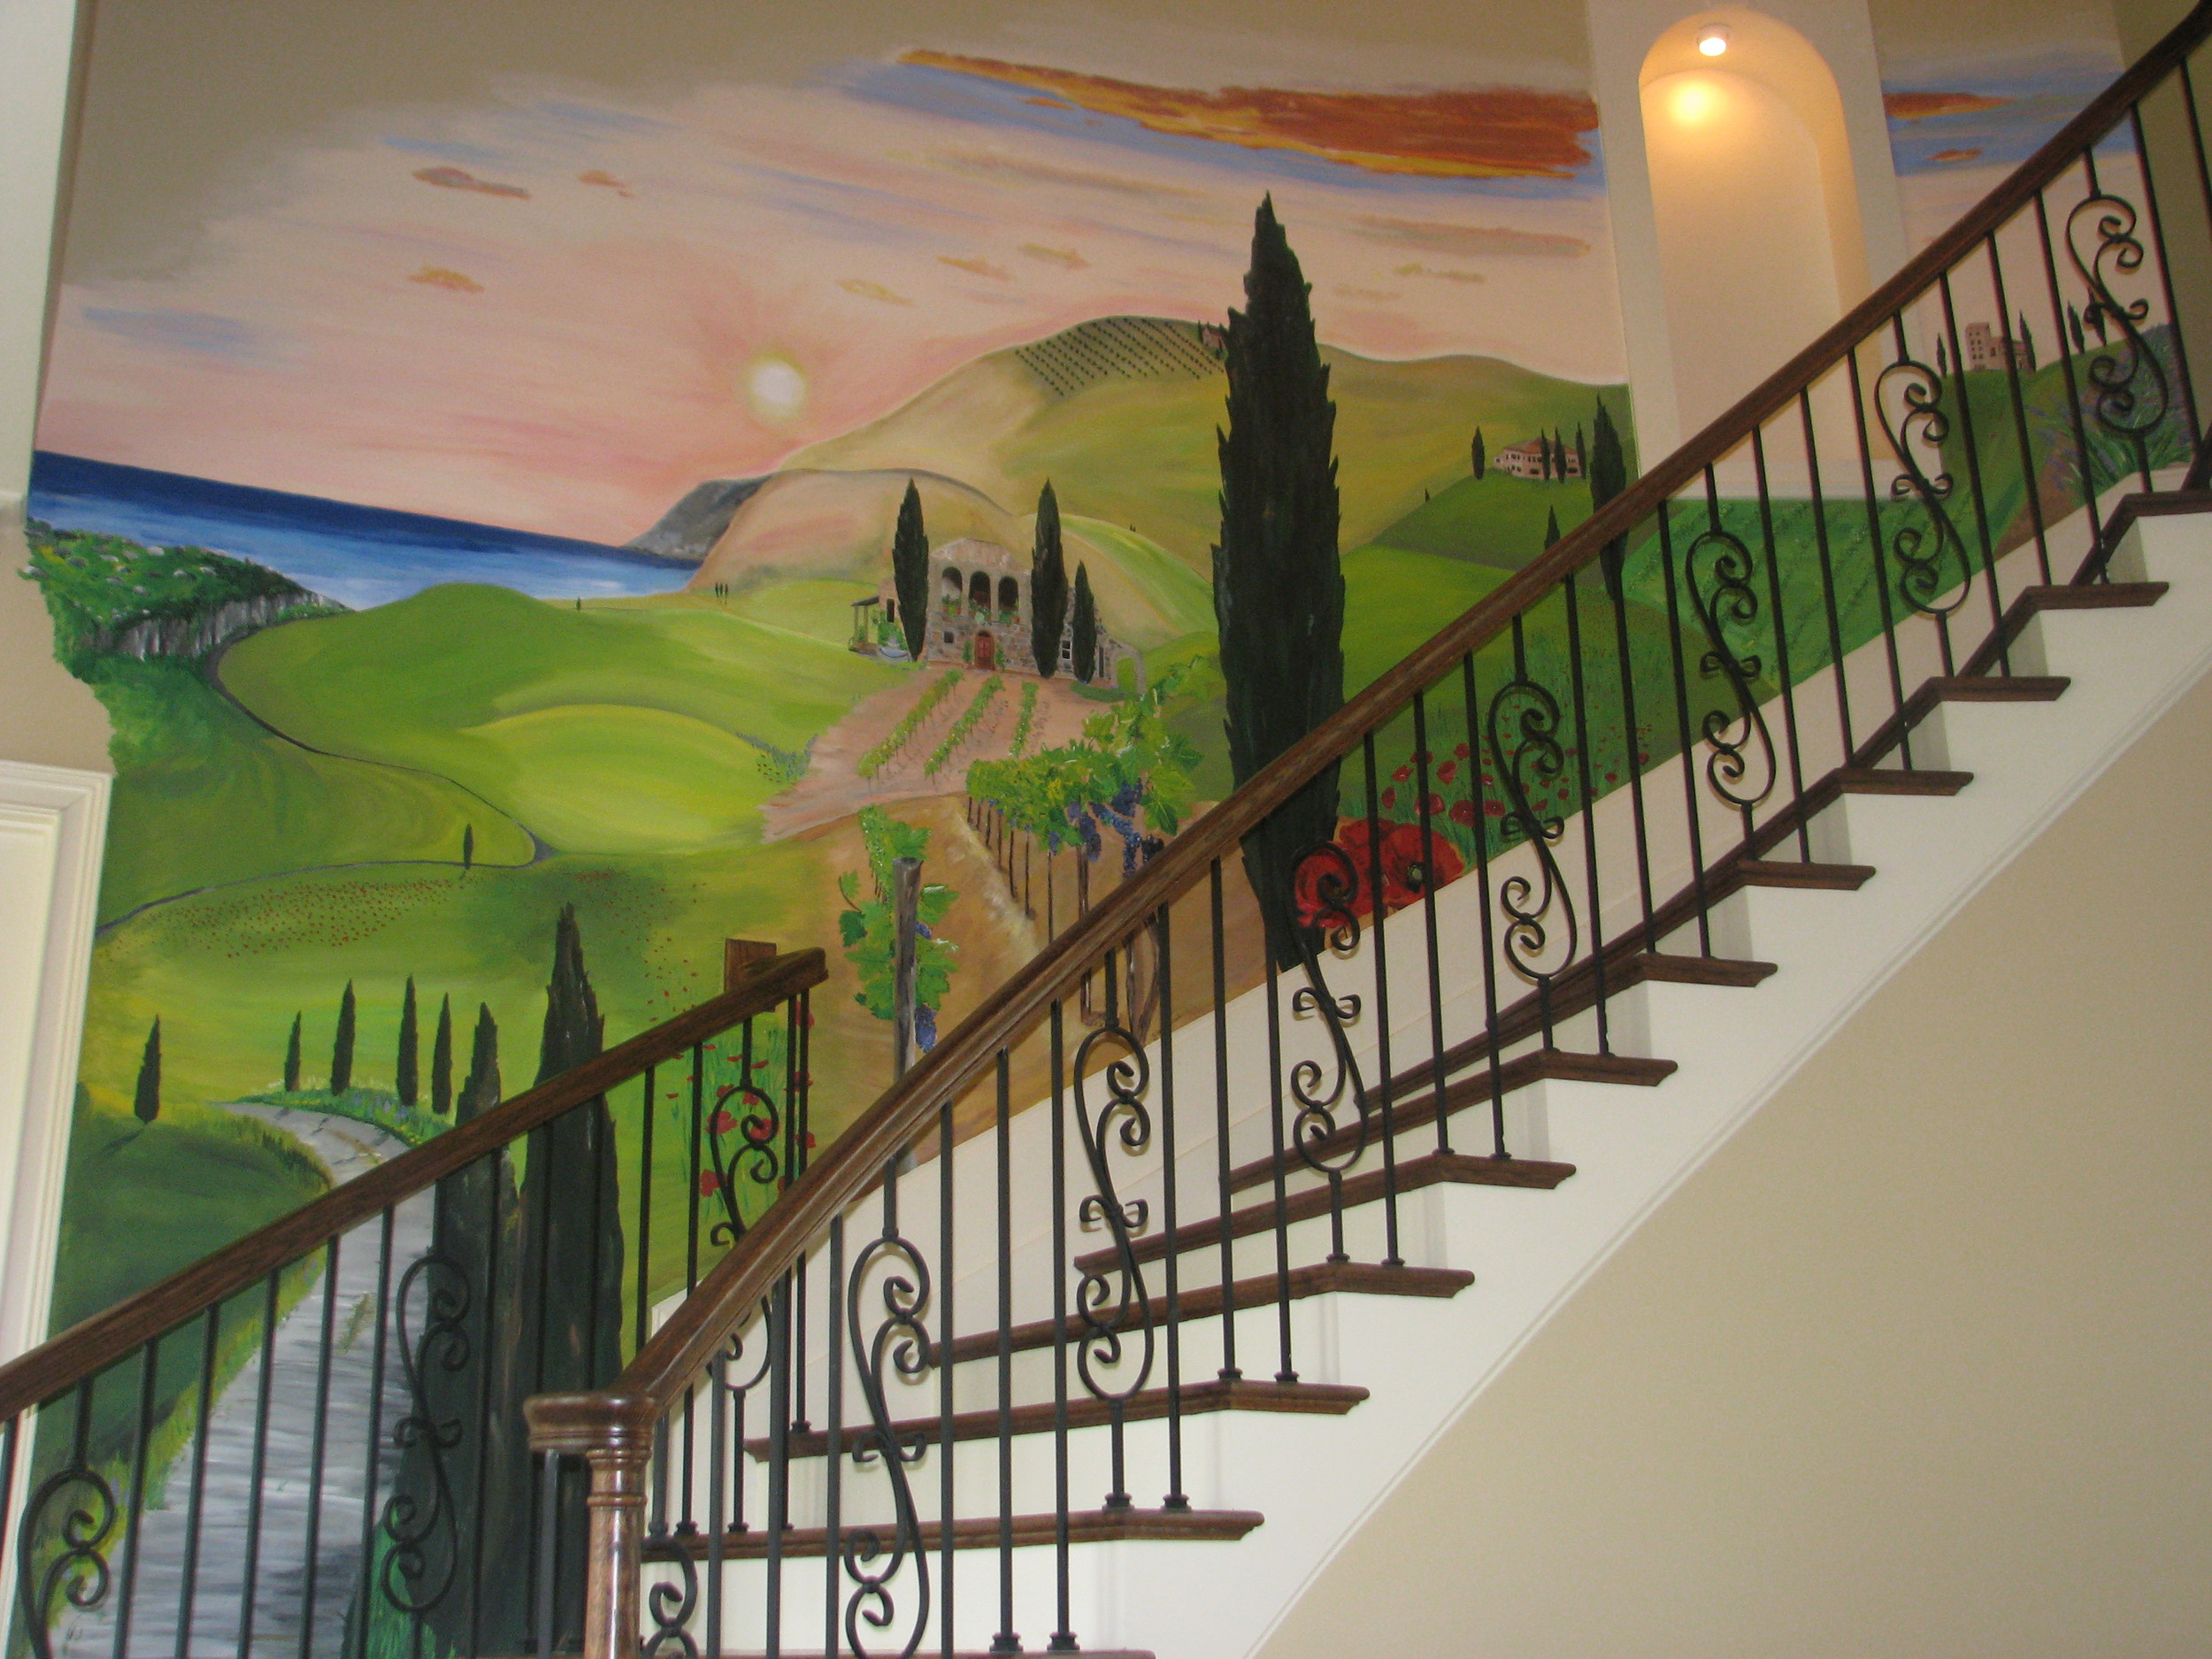
Day 12 – Completion Day! We concluded the house in the center needed a little something more on the side. An addition of a porch balanced out the front view (and, of course, I had to add a few flowers for accent). I changed a field in the top right to have wild flowers and grass instead of uniform trees, added a house by the top crops, and changed some small elements throughout.
And it is done!! Take a look at the final pictures!


