An Artful Transition for a Pre-Teen Room
Step by step images of using art to help transition a little girl's room to a pre-teen room. Part 1: The Playroom Back Wall
Growing up, I loved the world of pretend, I guess it was the creative side in me coming out. I could spend days playing with my dolls inventing the most amazing date nights, beach parties, and outdoor adventures. And maybe it is one of the many reasons I LOVE painting for children and nursery rooms. Whimsical images, fun colors, and impressionistic styles let me take my paint on new journeys all the time. But when I was tasked with my recent commission, I was reminded of another creative part of my childhood: the transition from girl to pre-teen. I remember those crazy years of wanting to be grown up yet still pulling out my Barbies when my older brother's friends left the house. Finally the Barbies were packed up and I took to decorating and painting. Bold colors and patterns replaced all things lace and pink. "Teal" was announced as my favorite color and I covered my dresser in fake cow fur fabric. (I seriously need to find a picture of that dresser.)
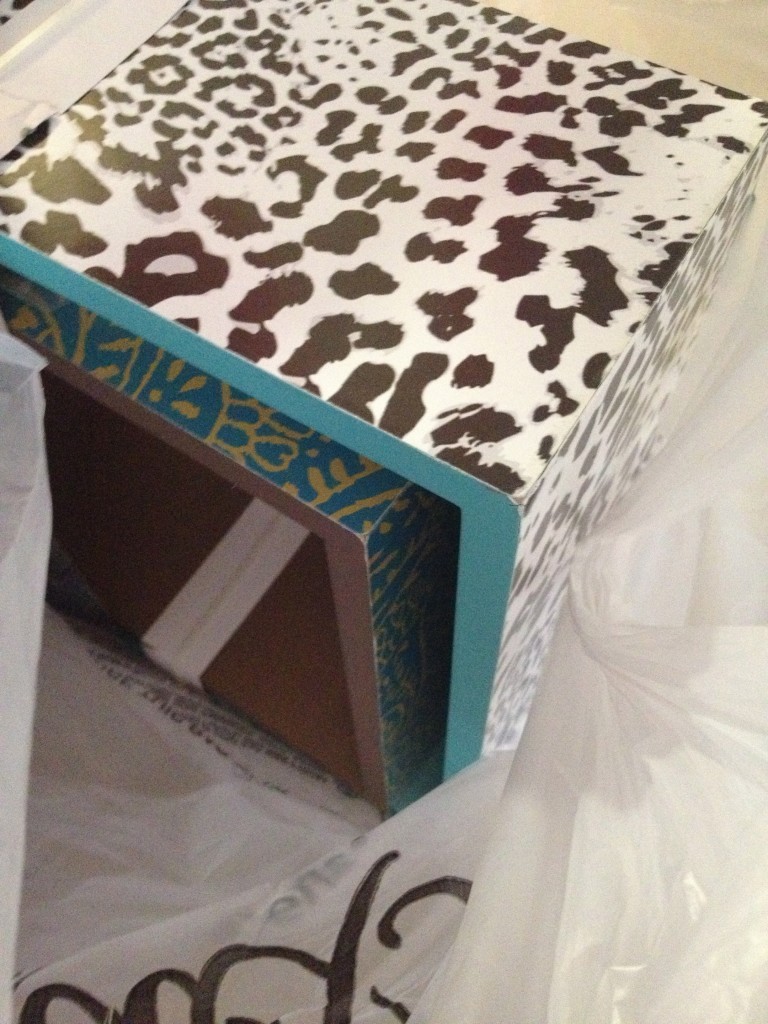
Though that was many years ago, I find that things have not changed as much in the transition department. My recent client asked me to help redo two spaces in her home for her granddaughter who turned ten this past month. All Barbie images were no longer invited and anything that said "Princess" needed to be painted over. I LOVED the challenge! My client showed me two shelf boxes her granddaughter, Sadie picked out and the transition began.
The Playroom
Here are the boxes her granddaughter picked out for her new playroom. It is amazing how this reminds me of the teal and cow print that I loved over 15 years ago!
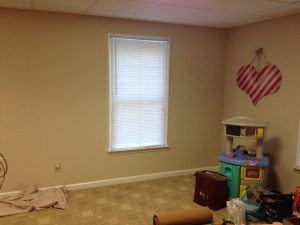
Here are some of the before pictures of the playroom: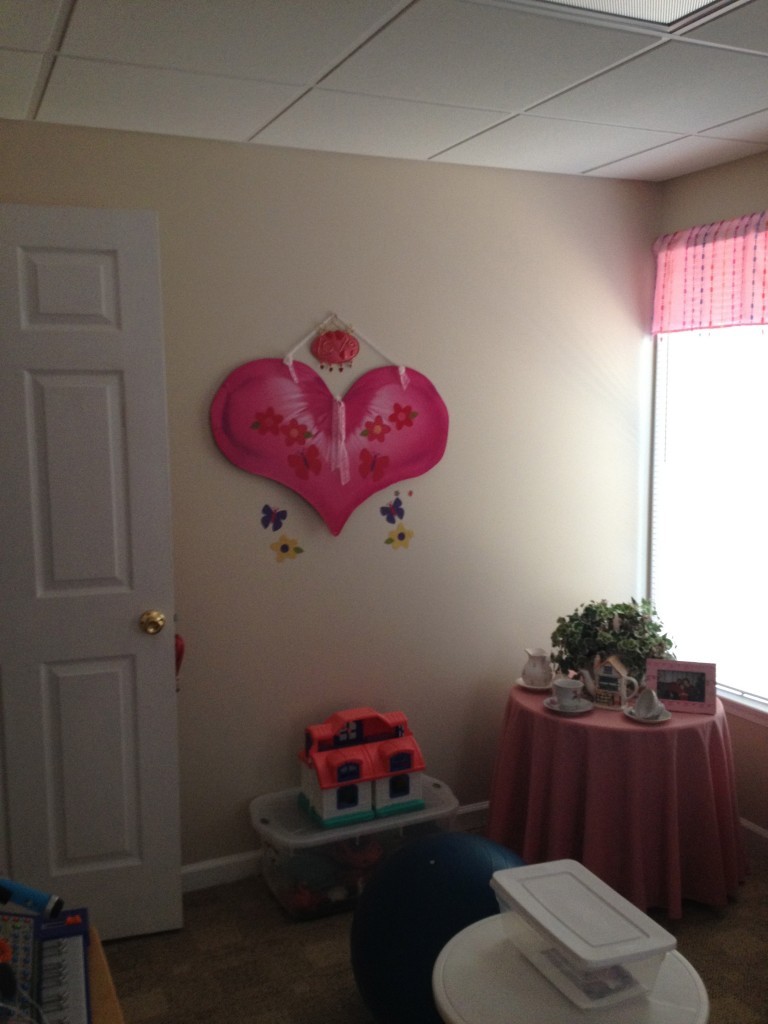
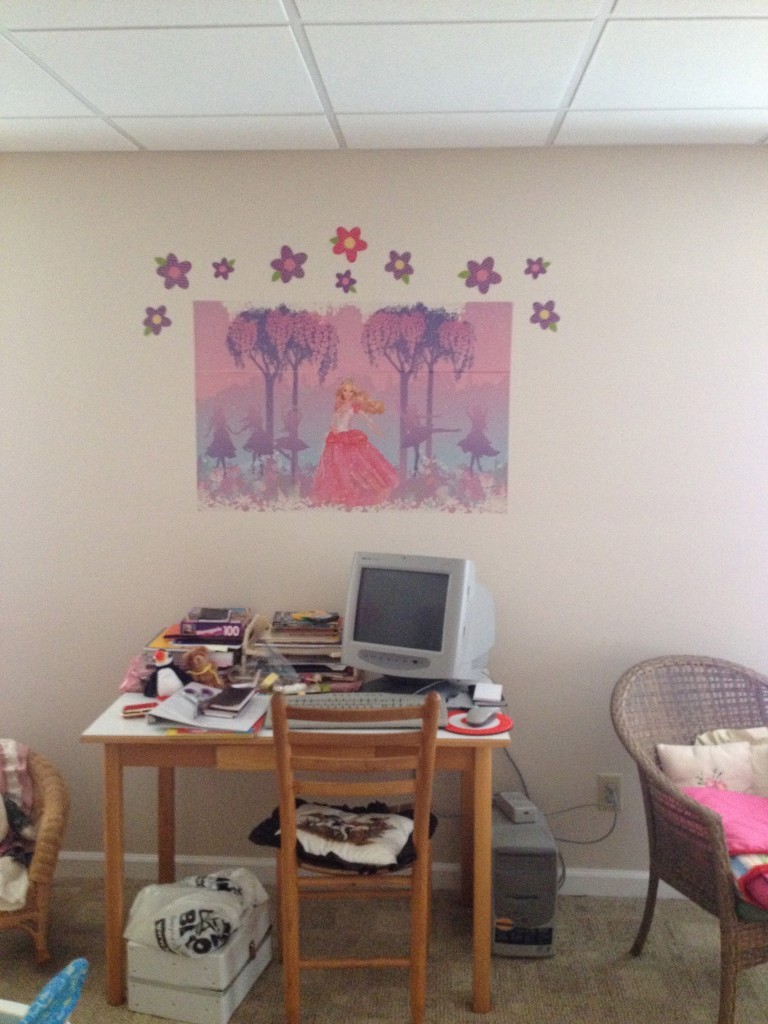
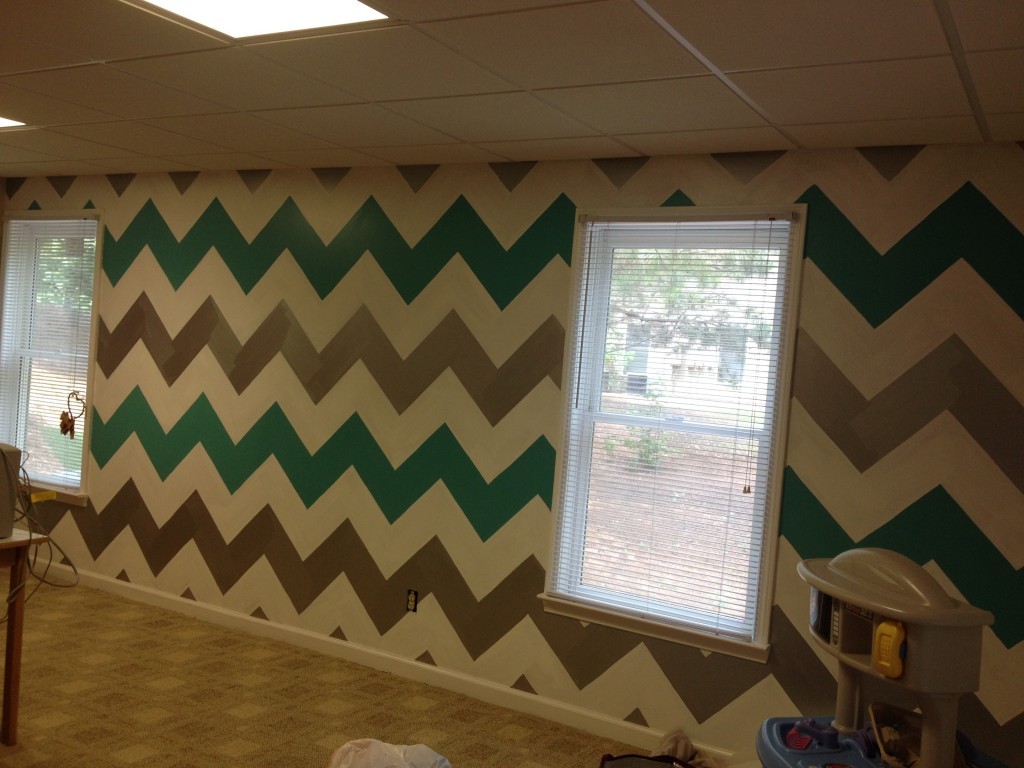
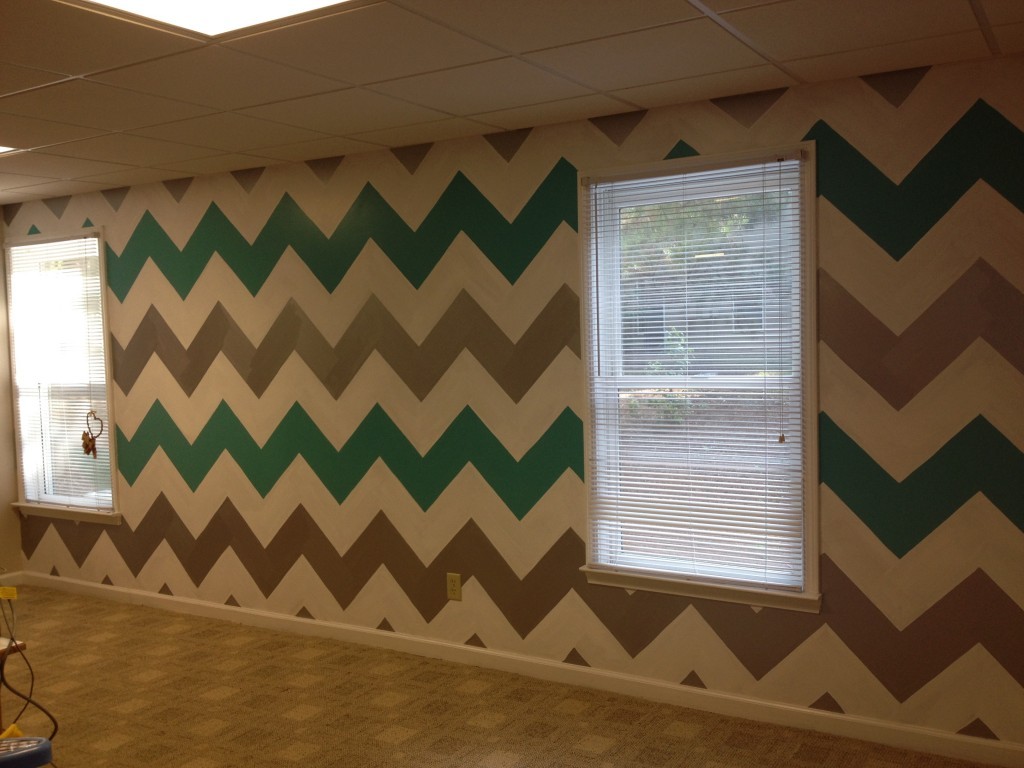
Her grandmother wanted a mural of some type of the back wall where the Barbie poster was hanging. As much as I LOVE going full scale mural on any wall, I wanted to create a more neutral environment--almost a canvas of creativity for Sadie to have as she continues to grow up and enjoy the room. I suggested a Chevron pattern as my mural and my client thought it would fit well.
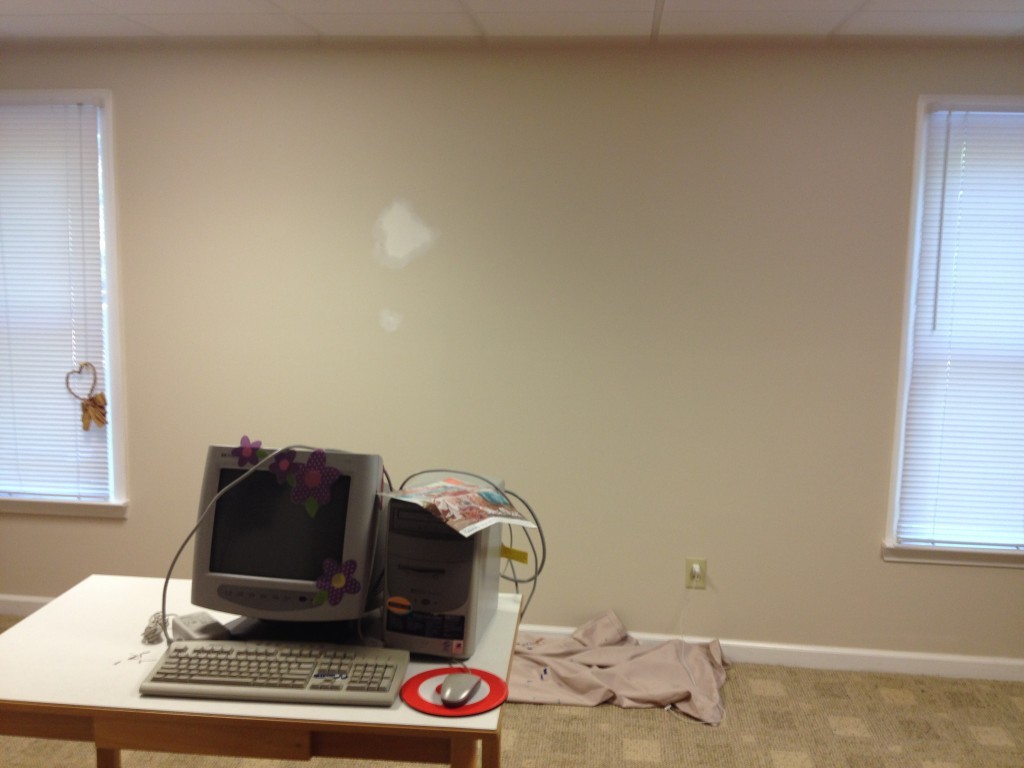
Here is the wall prepped for the Chevron pattern:
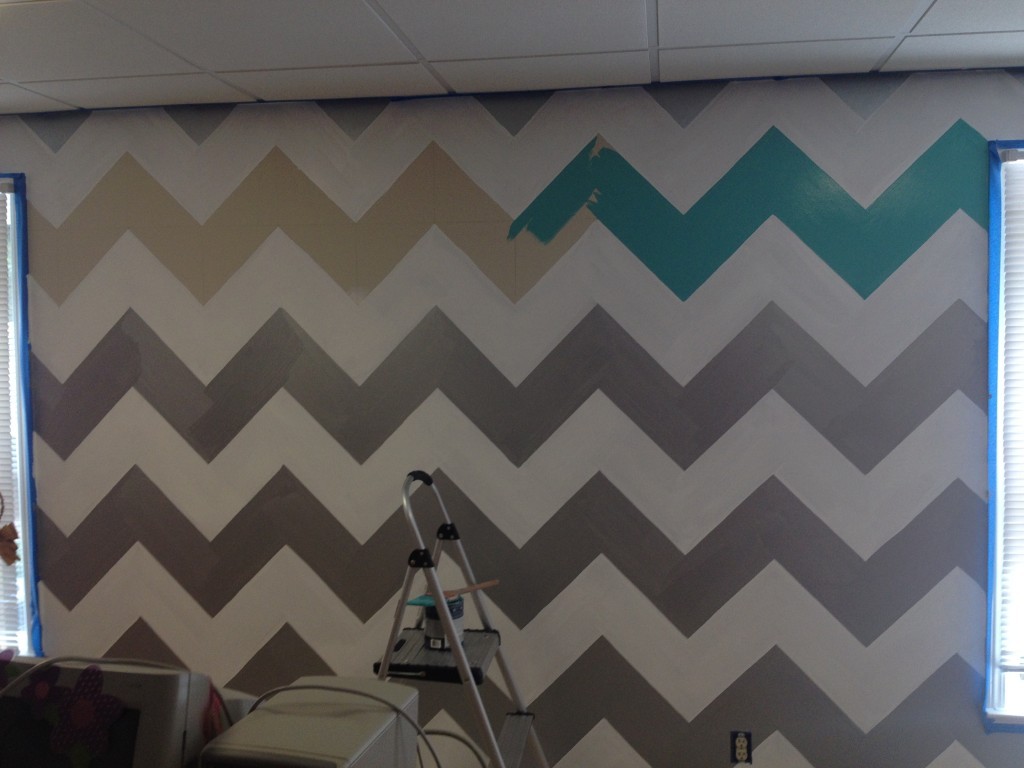
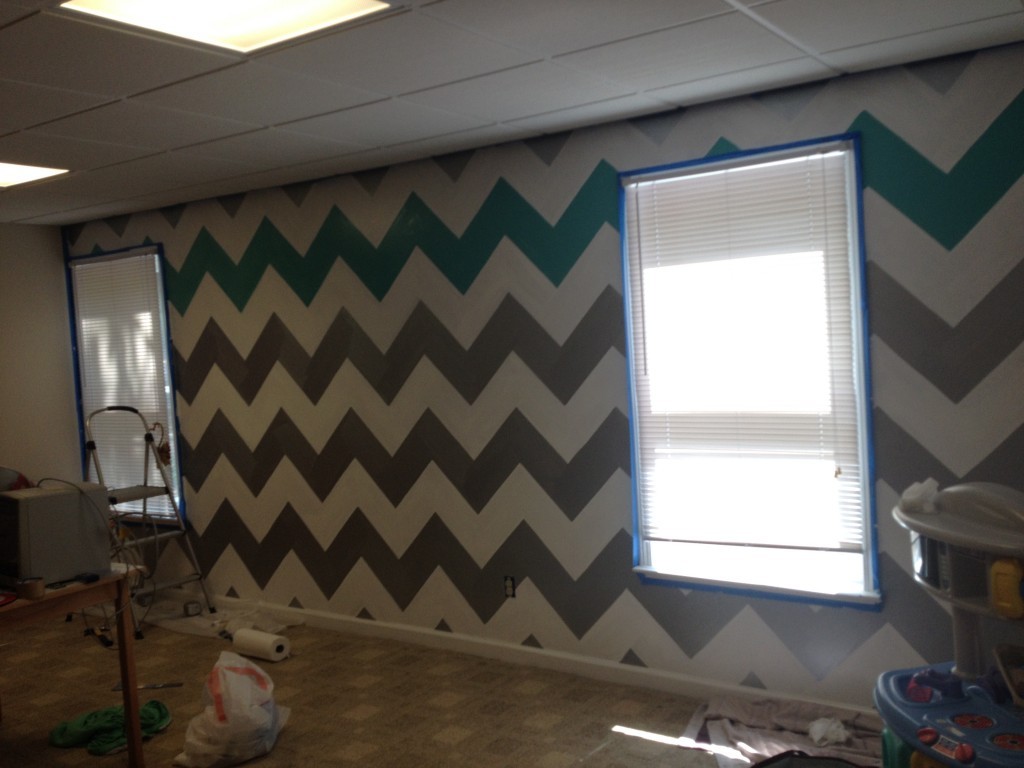
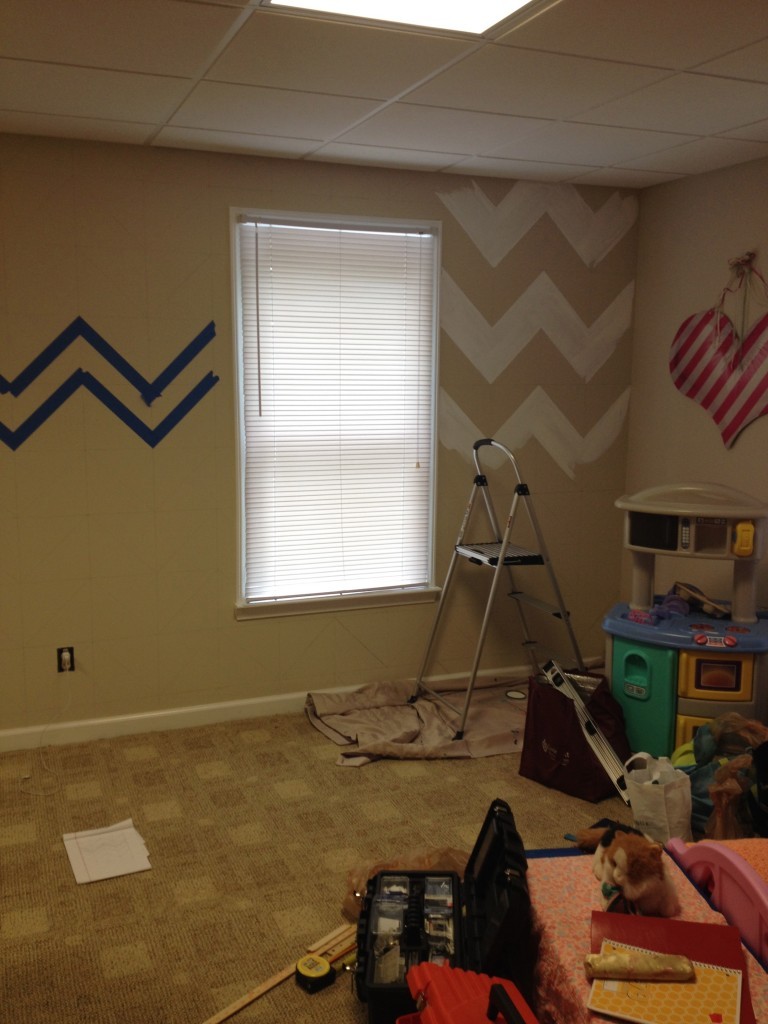
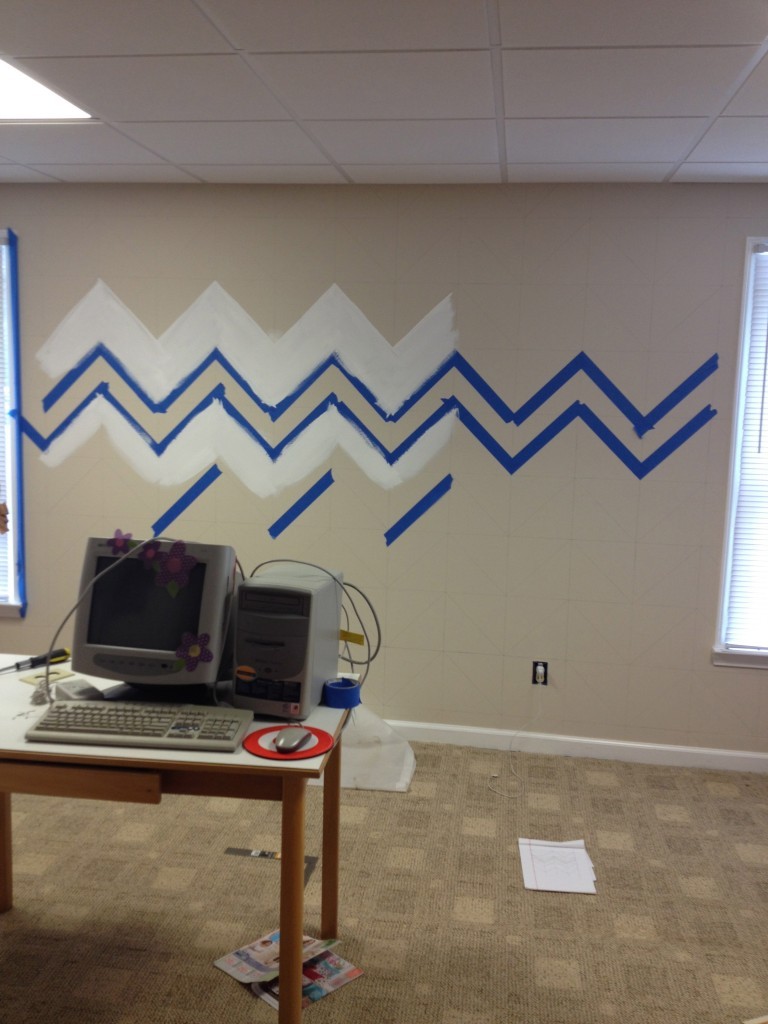
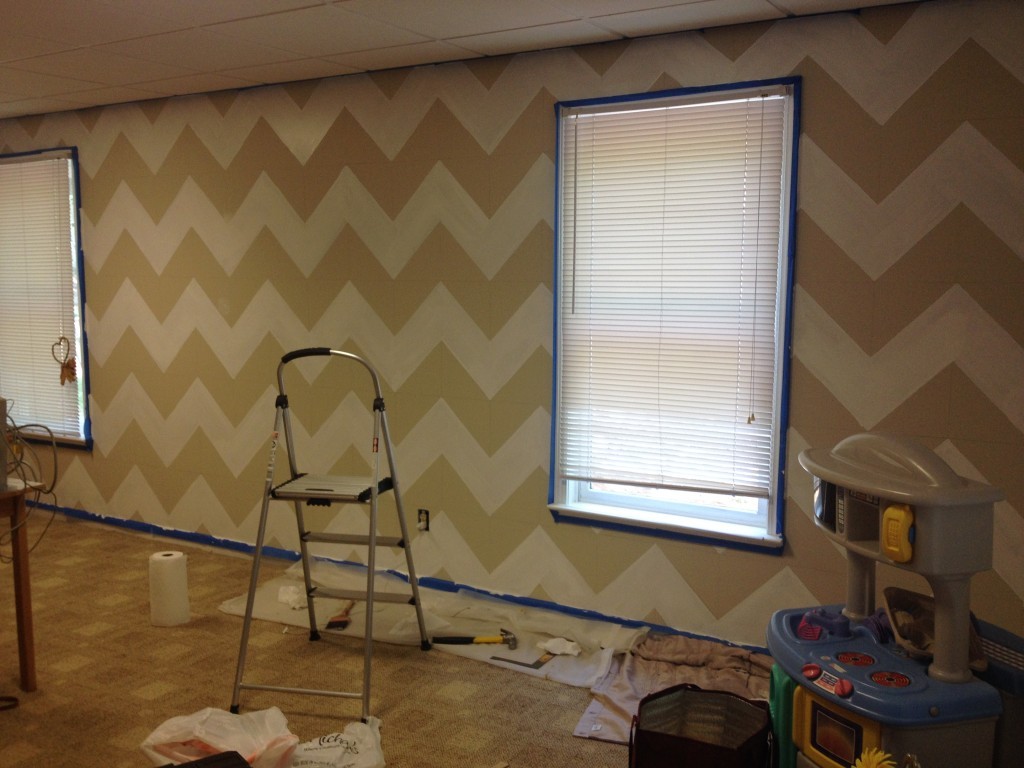
Originally to keep the pattern more subtle we were going to do pure white and silver with one stripe of teal, but once my client saw it, she wanted even more color so we went for two teal stripes. I LOVE the way it turned out. I used a level and pencil to measure out the entire pattern first. I used the exact method I used here. I have always been opposed to taping (using blue painters tape to mask out the design), but I felt that I should try it since this was a much larger space than I had done in the past. And after trying it, I still do not like the lack of control tape gives me, inevitably I will always get some paint under the tape and have to paint over it anyway. But still I make no judgements when it comes to taping vs. not taping…totally what is easiest and best for you!!
Here are some images of my process:
Check back for more step by step transition instructions as I finish the playroom and move upstairs to Sadie's room!

