An Artful Transition for a Pre-Teen Room Part 2
Step by step images of using art to help transition a little girl's room to a pre-teen room. Part 2: The Playroom Chalkboard Wall
Yesterday, I posted Part 1 of An Artful Transition: Transitioning from a little girl's room to a pre-teen room. My client commissioned me to help transform two rooms in her house for her granddaughter to use when she visited. You can read yesterday's post about the transformation of my client's playroom back wall into a fun chevron pattern here. Today, I am going to show you the transformation of the second part of the playroom. She wanted a combination chalkboard/cork board area on another one of the playroom's walls.
I love getting new tools and trying new things, so for this project, I thought it would be really fun to build a frame and nail it into the wall around the chalkboard/ cork board portion. I purchased a saw and mitre box kit for less than $8 at Home Depot. You can pick it up here. Yes, it looks like a toy. Yes, it probably works as well as an easy bake oven does in creating a soufflé, but alas, it was less than ten bucks.
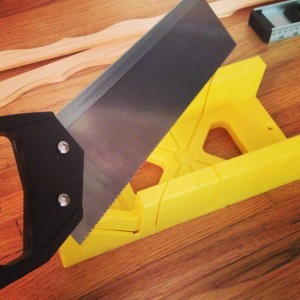 I have a large excess of rulers hanging around my house, so I thought I would use one to practice on before moving to the actual frame.
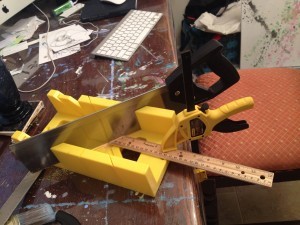
It worked! So, I began cutting the trim for the frame. (That's me cutting at some odd hour of the night. hehe!)
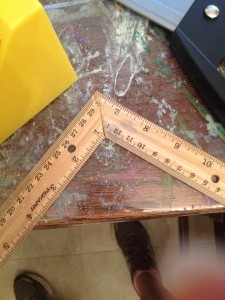
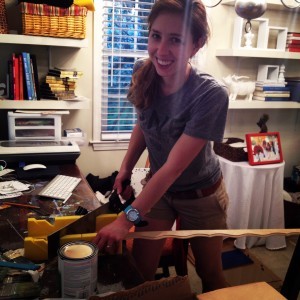
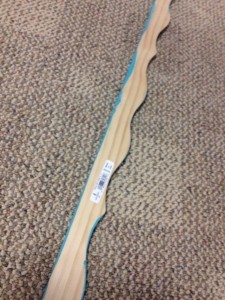
I purchased 2 pieces of DM S2 5/16in. x 1-7/8in. Pine Trim Scallop Moulding from Home Depot. You can pick them up here. I cut the frame. Stapled the frame together with my staple gun and painted the frame teal. It is the same teal I used as highlights in yesterday's Chevron wall.
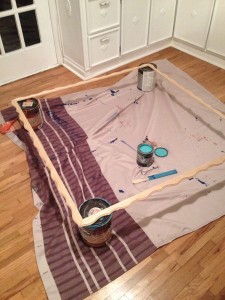
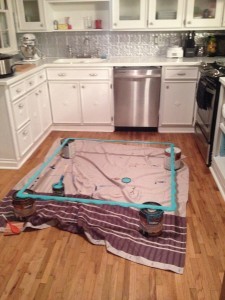
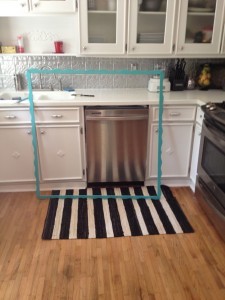
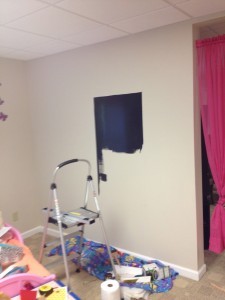
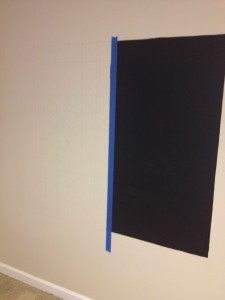
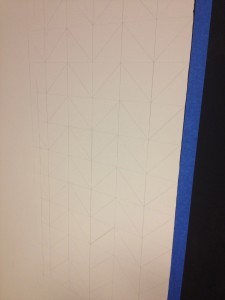
I brought my finished frame to my client's house. When I arrived, I measured her wall to match the opening in my frame and penciled out the portion I wanted for the chalkboard. I painted that portion with black chalkboard paint. At first I was going to cover the entire other half in a roll of cork, but the cork roll would have needed at least a double layer and my client wanted an extra pop of color incorporated in the design. So, we decided to paint a chevron pattern on the other half and have two pre-made cork boards (purchased at Michael's) placed on top. I used my level and pencil to draw out the chevron pattern (you can read the tutorial here.)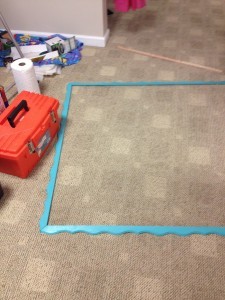
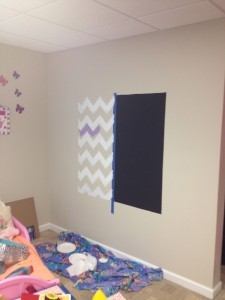
I ended up taking the staples out of the frame and putting each of the four frame pieces up individually because it was easier to hold in place than the entire frame.
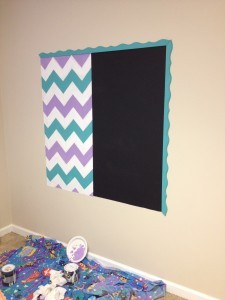
I nailed each piece to the wall and then painted over the nails. 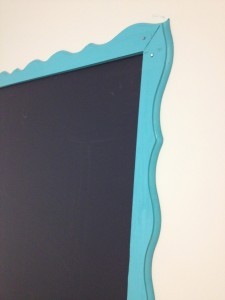
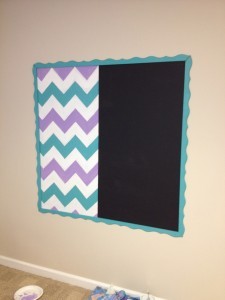
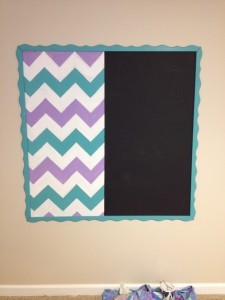
I put up the cork boards and doodled on the chalkboard. I only had a few seconds to play on the chalkboard because Sadie was coming over to see her new room! It was a surprise! 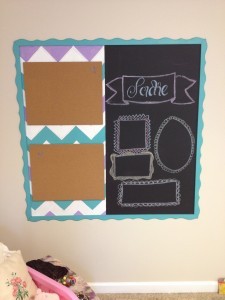
When Sadie arrived to her grandparent's house she saw me sneaking upstairs to start work in her bedroom. Her grandma told her I was the cleaning lady. When we revealed her playroom to her, Sadie remarked "She is a really good cleaning lady!" haha!! :D
Thanks for reading and stay turned for more of this transition. The next post will be on what I painted upstairs!!
