An Artful Transition for a Pre-Teen Room Part 3
Step by step images of using art to help transition a little girl's room to a pre-teen room. Part 3: Sadie's Room
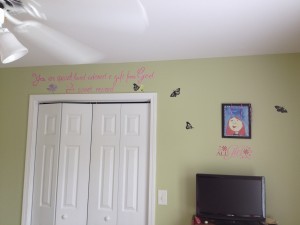
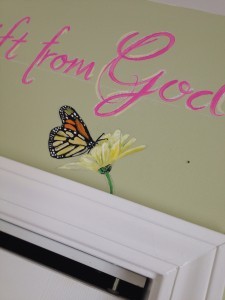
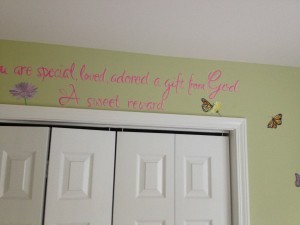
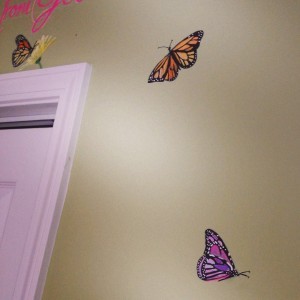
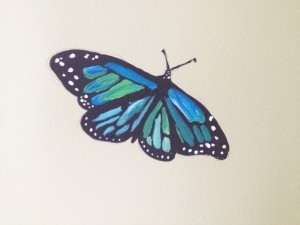
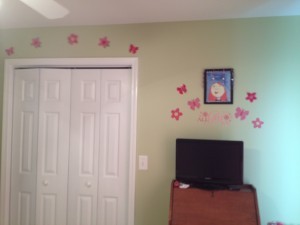
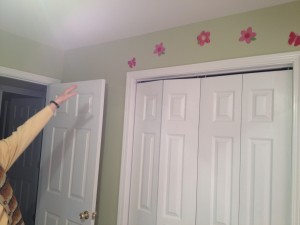
On Monday & Tuesday, I posted Parts 2 & 3 of An Artful Transition: Transitioning from a little girl's room to a pre-teen room. My client commissioned me to help transform two rooms in her house for her granddaughter to use when she visited. You can read both posts about the transformation of my client's playroom here & here. Today, I am going to show you the transformation of Sadie's Room upstairs. My client has a BEAUTIFUL home and such great style. She had already decorated Sadie's (her granddaughter's) room, but had some spots that she wanted some finishing touches on. Currently she had stick-on flowers and butterflies on the wall in all shades of pink. She wanted to spruce up the room without making drastic changes (like the chevron wall from part 1). We decided I would paint a quote above the closet door and put just a few flowers and butterflies around the wall to grab the eye. I decided to paint more realistic flowers and butterflies to add to the more grown up feel of the transition. She wanted to keep Sadie's self portrait on the wall..and I agreed. I Love when children (of any age) can have their art framed and displayed for all to see!
Here are the before pictures:
Before I began painting, I used a word document to format the writing that my client wanted above the closet. I used Ruthie font because I loved the curves and thought it fit well with the decor of the room. It is a free font that is available for commercial use as well. You can download it here. I simply took a picture of my computer screen and showed a few options to my client for her approval. No paper or printing necessary. :)

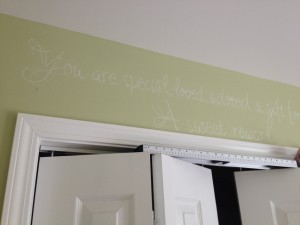
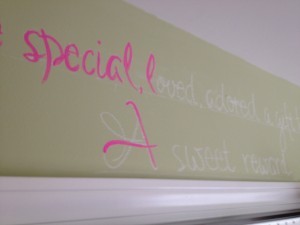
I then used chalk to write out the words on the wall. Chalk allows me the freedom to erase and paint over without having to worry about pencil lines. For detail portions, like the butterflies, I like using a pencil on the wall because I can have more fine lines to follow when I paint.
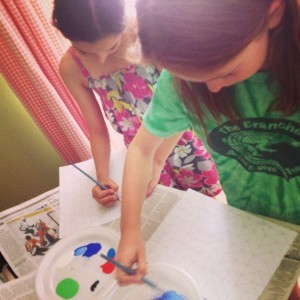
If you read my post in Part 2 here you know that Sadie arrived when I was just about to start painting upstairs. She had a friend with her as well. It was such a treat to see their reaction to the painting and have them join me as I finished her room. She said she had always wanted to learn how to paint chevron stripes, so I taught her and her friend, gave them some paint, and had them paint alongside me while I worked in her room. It was great! I would also get her feedback and approval as I painted along. Her grandma approved too! : )
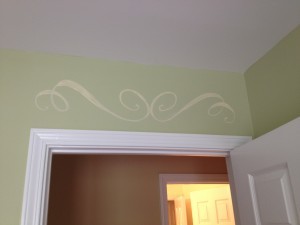
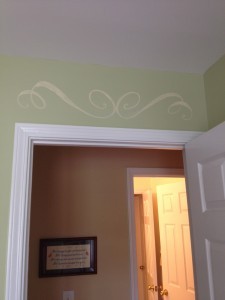
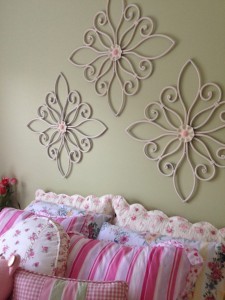
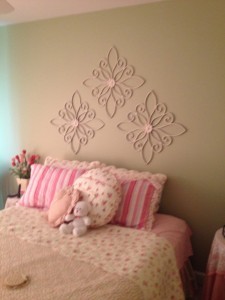
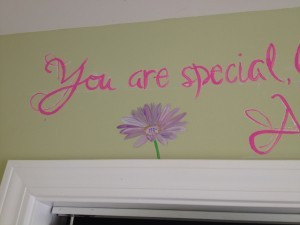
I ended up painted four butterflies, two flowers, a quote, a ribbon design above her door, and pink centers on some metal art pieces that were hanging above her bed. Sadie loved it and so did her grandma!! It was so much for to get to paint while involving my ultimate client: Sadie!