Monterey Bay Ocean Mural for a Nursery
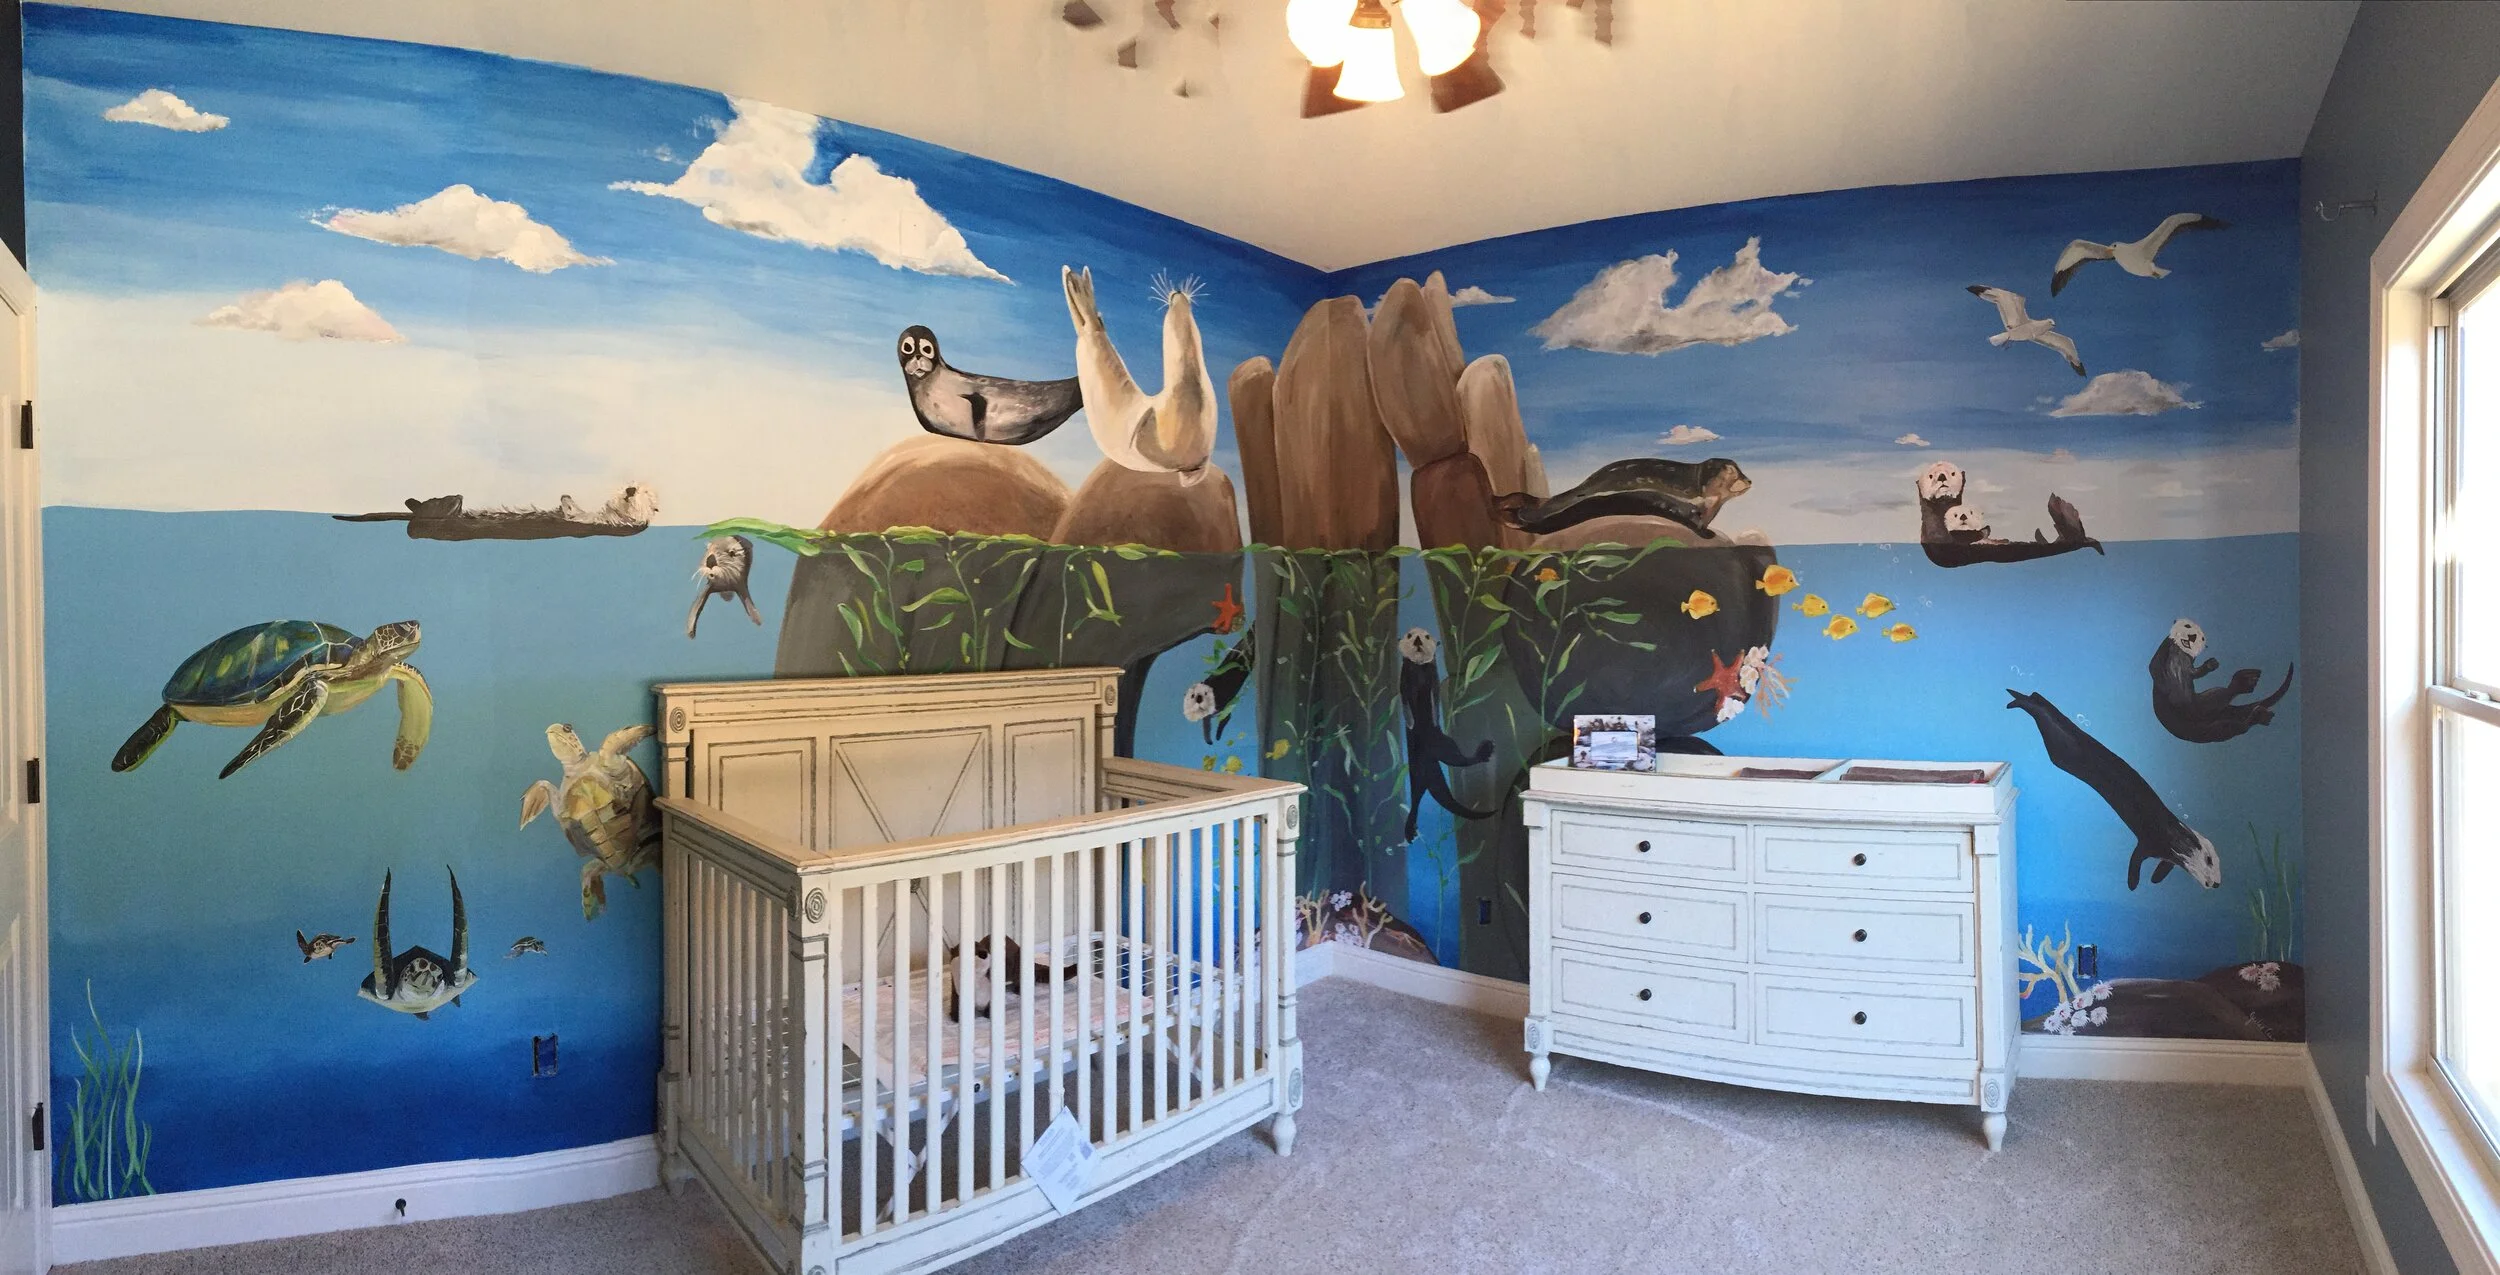
This Monterey Bay inspired Ocean Mural nursery was so much fun to create! I often write how much I love certain projects, but I REALLY LOVED this one! From the pre-planning to the execution, this project allowed me to take on new challenges. I was able to paint sea otters, seals, sea turtles, kelp, rocks, birds, and starfish all in one piece!
My clients were expecting their first child and wanted to create an under water scene in their nursery. They had great memories of traveling to Monterey Bay together and they loved sea otters and sea turtles. After discussing their vision, we decided to have the mural painted with a side view of the water, where we could have animals above and below the water line. They wanted to make sure the mural was not "cartoony," so I spent a good amount of time collecting reference materials of real otters and undersea creatures.
The project took me six and a half days to complete, plus a day for priming and planning. My clients had given me dimensions of the room, but to my surprise, the ceiling was much higher than I had imagined. It may be hard to tell in the pictures, but the room felt grand and gave me a lot of extra space to have a scene above and below the water line. I sketched out the vision for the nursery and created space for the crib and changing table to go per my client's instructions. Making sure to plan for furniture is always important. I didn't want to spend a lot of time working on the detail of a sea otter if we were only going to cover it up with a crib. You can also get creative with a piece of furniture and have otters or fish peaking over or around a certain piece.
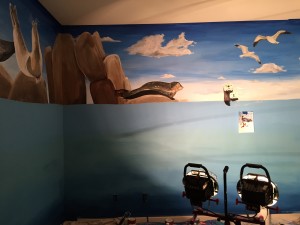
Once the room was primed and the sketch complete, I started painting the sky. I worked my way from the top of the mural to the bottom. Luckily for me, most of the detail happened in the ocean and I didn't need to worry about moving a ladder so much.
Take a look at the step by step process below! Thank you so much for checking it out! I would love to hear from you! If you are interested in connecting or contacting me about a commission painting, click here! Have a fabulous day!
Ocean Mural by Julie Ann McKevitt | Atlanta Artist
Atlanta Beltline Mural
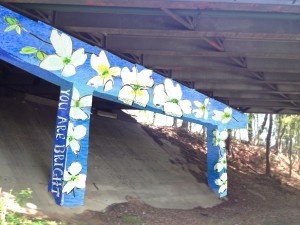
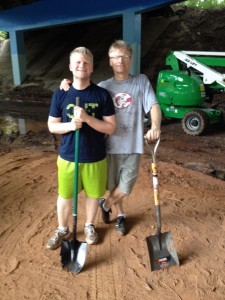
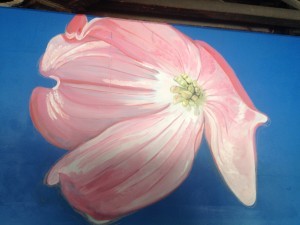
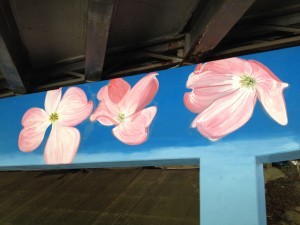
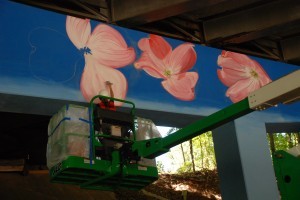
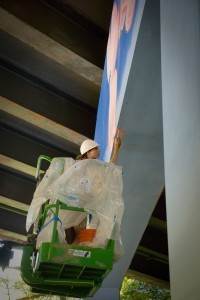
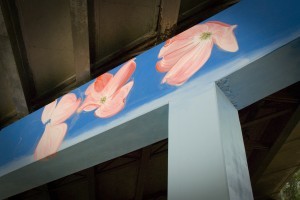
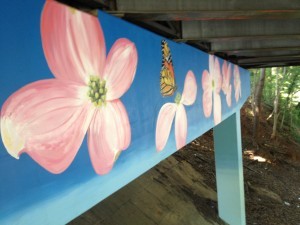
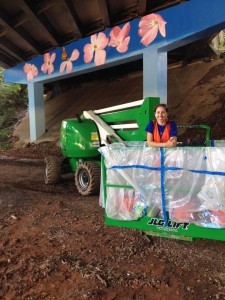
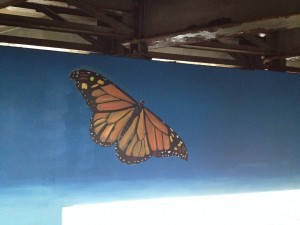
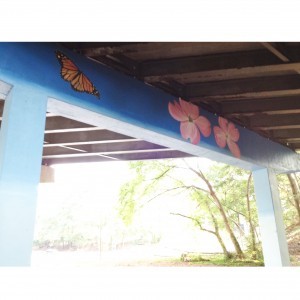
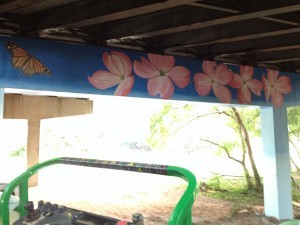
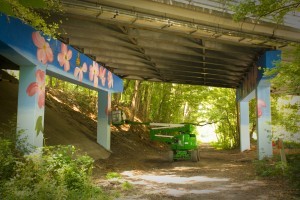
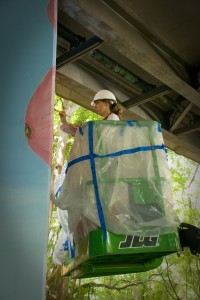
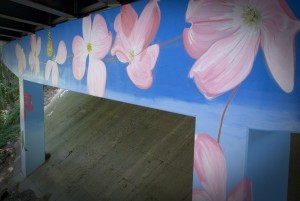
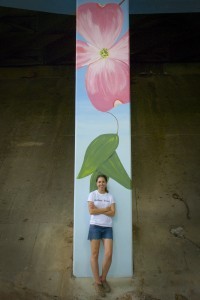
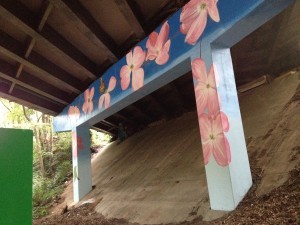
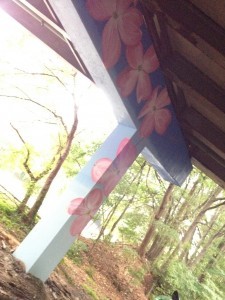
I finished the Art on the Atlanta BeltLine Mural last week!! It was an incredible honor to be a part of such a wonderful group of artists and creatives! This has been my largest mural to date and I am thrilled to share with you all the finish piece! I want to take a moment and say a big THANK YOU to the Atlanta BeltLine staff, Amy Sparks for taking some amazing photos, Kyle Brooks who gave me pre-painting tips, everyone who came out and said hello from the local neighborhoods, (including the gentleman who offered me donuts and coffee), Amy Motteram who donated photography of Dogwoods, my friends who stopped by for a quick visit, and those who stayed all day, and last but not least my husband, Aaron McKevitt. You painted, picked up trash, supervised, and supported!! THANK YOU!!
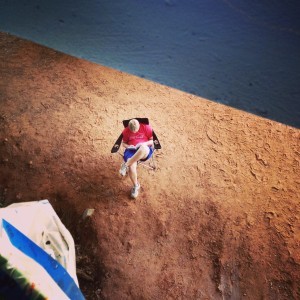
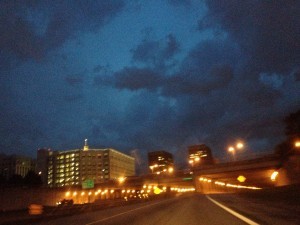
There was a lot of adventure over the 10+ days I was out on the BeltLine. The heavy rains left my lift stuck in the mud at one point and the night before my last day on the BeltLine let's just say someone took their own souvenir from my lift, leaving me grounded for a few hours. I finished the piece as it was raining and getting dark, so forgive my last few pictures, but the beautiful cloudy night sky Atlanta gave me as I left was an amazing site to see! This is an AMAZING city and I have been overwhelmed by the love and support from so many community members. I have enjoyed loving on the west side through paint and I hope to get another opportunity like this again sometime soon.
There will be an official mural unveiling party on September 6th. Community members are invited to put their handprint on the back of the mural and there will be free popsicles! All are invited!! Visit Facebook.com/julieannmckevitt/events to RSVP! I would love to see you there!
And now the mural pictures!
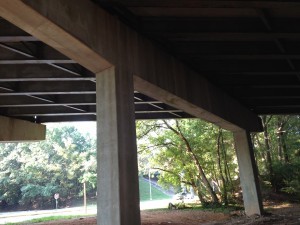
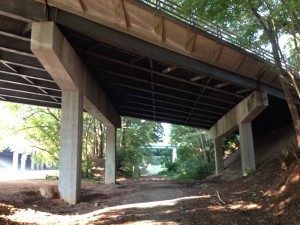
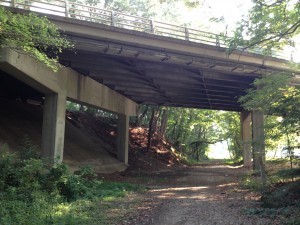
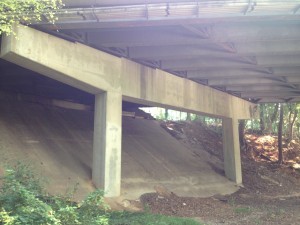
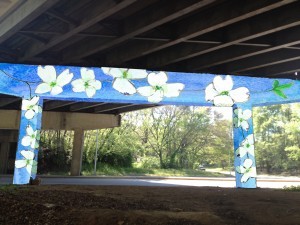
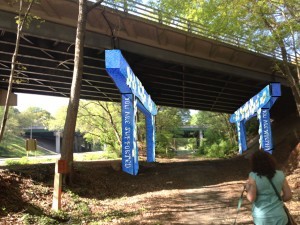
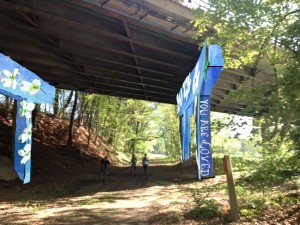
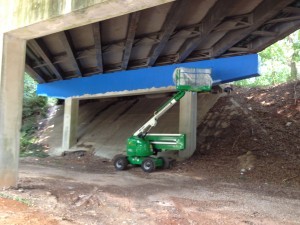
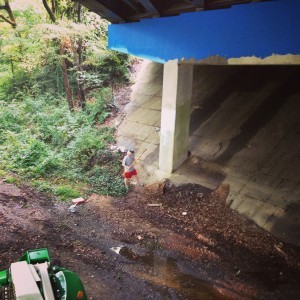
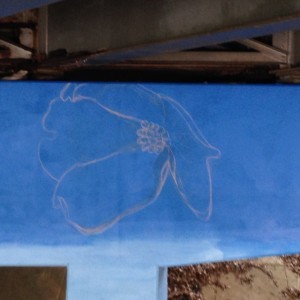
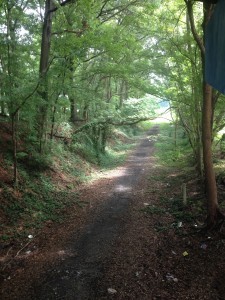
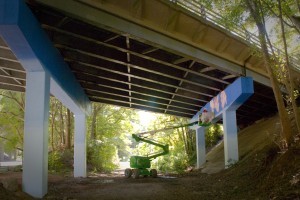
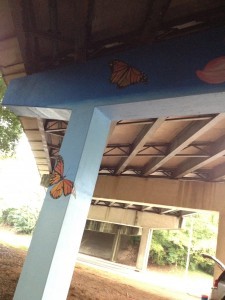
Below you will see the pictures of the blank concrete pylons (my canvases!) followed by four digital images I created for my proposal. After talking with the BeltLine staff we decided to add butterflies, change the flowers to pink dogwoods, and take out the words.
Kate's Club Art Day: Empowering Teens who have faced loss
Last Sunday Paint Love had the incredible privilege of partnering with Kate's Club, an Atlanta-based organization founded by Kate Atwood that empowers children and teens facing life after the death of a parent or sibling. Two Paint Love artists, Kim McGill Stuart and Penny Treese, both wax encaustic artists, led the club's teen students in purposeful art projects supporting the mission of Kate's Club and empowering the teens who have faced loss and grief. What resulted was an amazing afternoon spent sharing and creating. We witnessed the touching genuineness of Kate's Club students, the love of their staff, and the support of their wonderful volunteers! It was an honor to be a part of the work they are doing and we are so proud of Kim and Penny for creating an incredible day with such thoughtful and beautiful projects. The staff of Kate's Club loved the art projects so much many staff members joined us downstairs to participate and create artwork of their own!! We are beyond excited that we get to go back at the end of this month to teach another group of teens! A big THANK YOU to our artists and Kate's Club for creating a place where we can PAINT LOVE in the lives of youth!!
Below are some pictures and descriptions of the projects Kim and Penny so carefully planned and so lovingly demonstrated!!
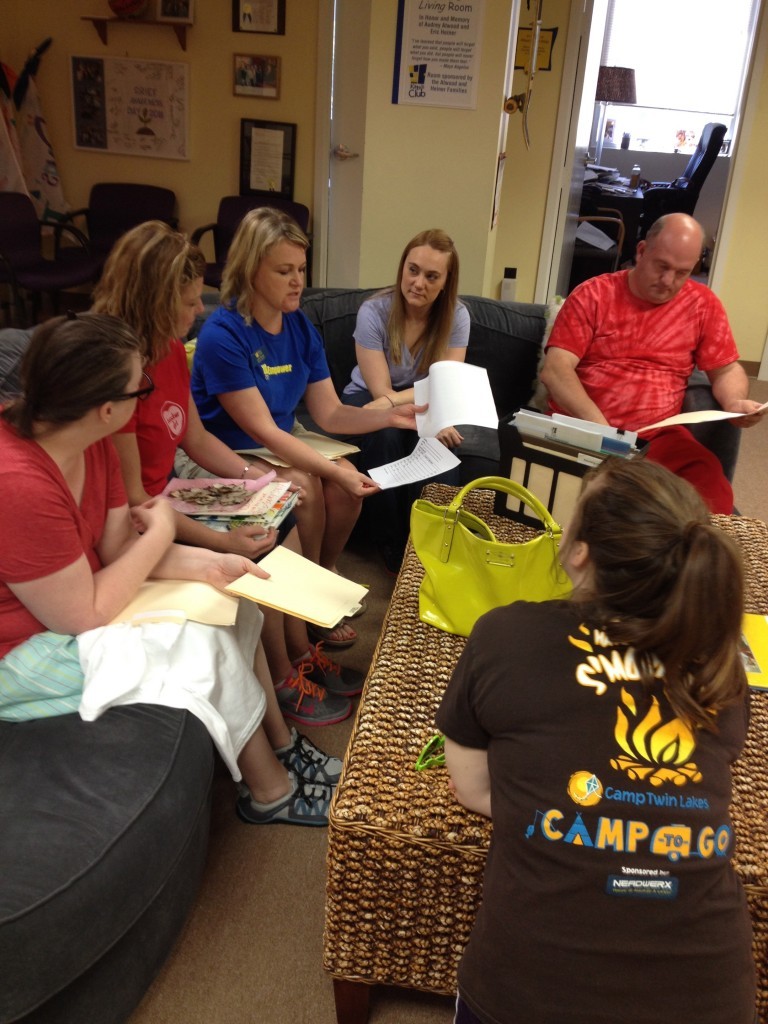
Before starting our projects for the afternoon, we had a quick pre-event group meeting. There were several other great organizations volunteering that day at Kate's Club including Ron Anglin, a comic and educational juggler, Camp Twin Lakes, and the Junior League of Atlanta.
Project One: Burnt Paper and Melted Wax on Canvas
Each student was able to participate in two projects. The first project was led by Penny Treese. She wanted this project to represent "Burning Away Sad Thoughts and Creating New Ones."
Penny gave each student a large sheet of paper. They used the sheet to write or illustrate their feelings, thoughts, and emotions. They were given time to move around the room and find a comfortable place to write everything down from happy thoughts to feelings of loneliness or sadness to drawings of meaningful objects.
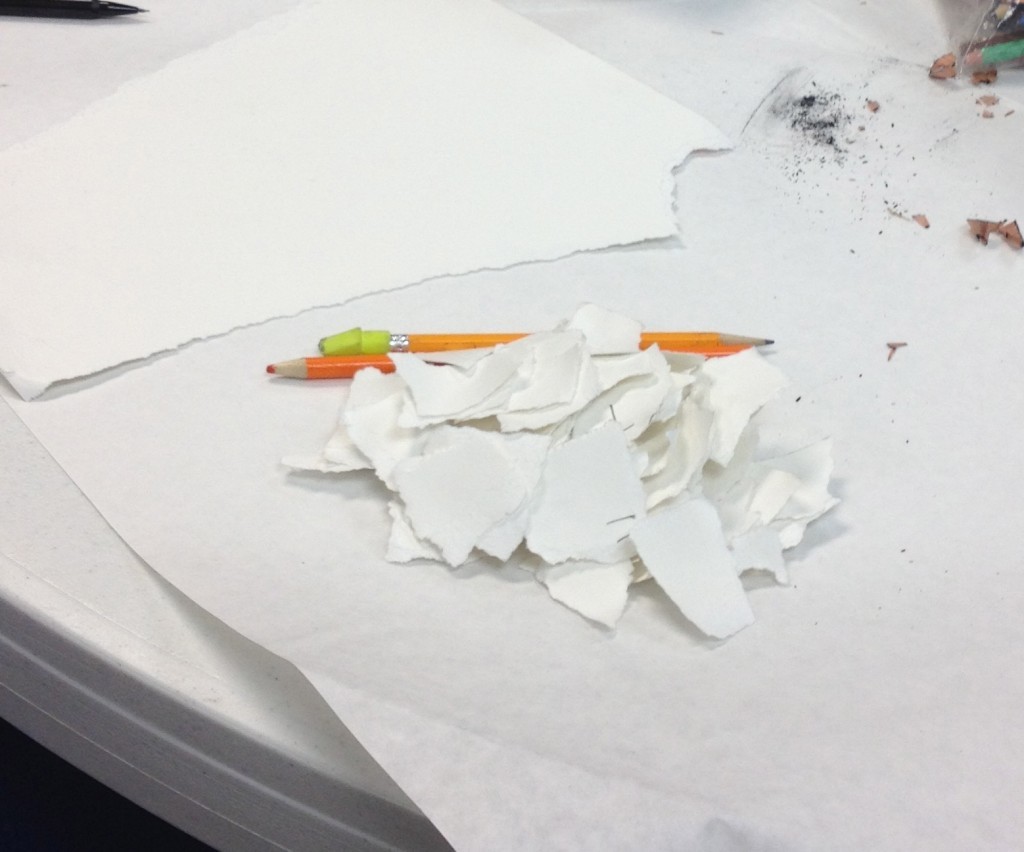
Once the students filled up their sheet of paper, they ripped the sheet into as many pieces as they liked and placed the pieces in a bucket.
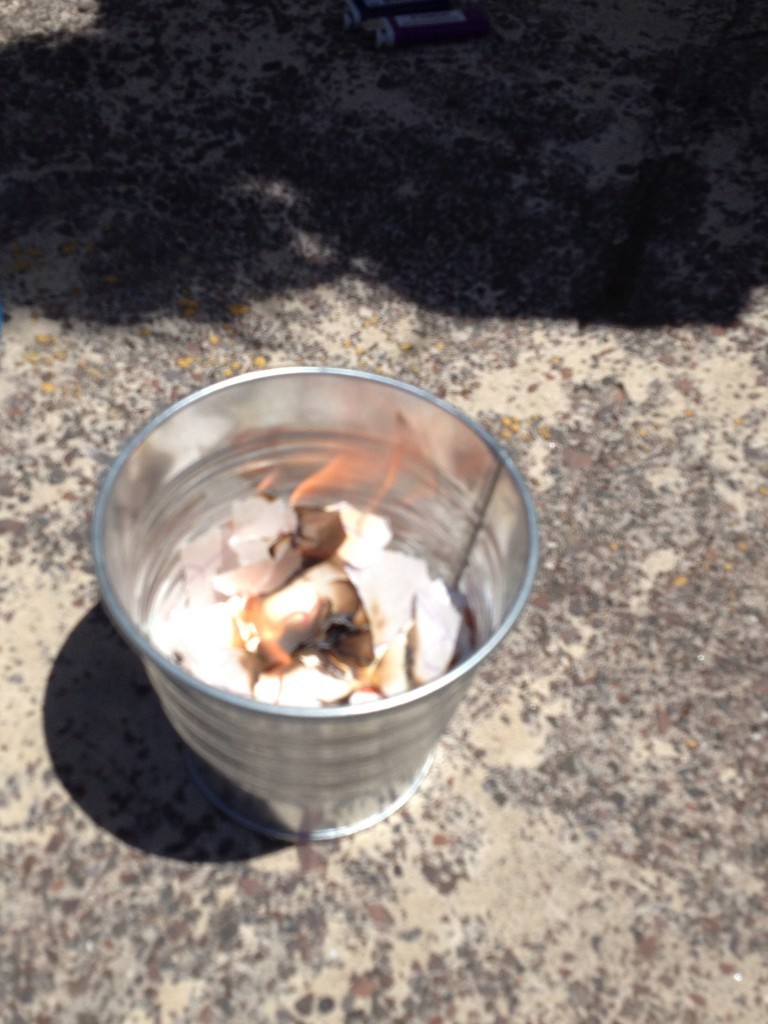
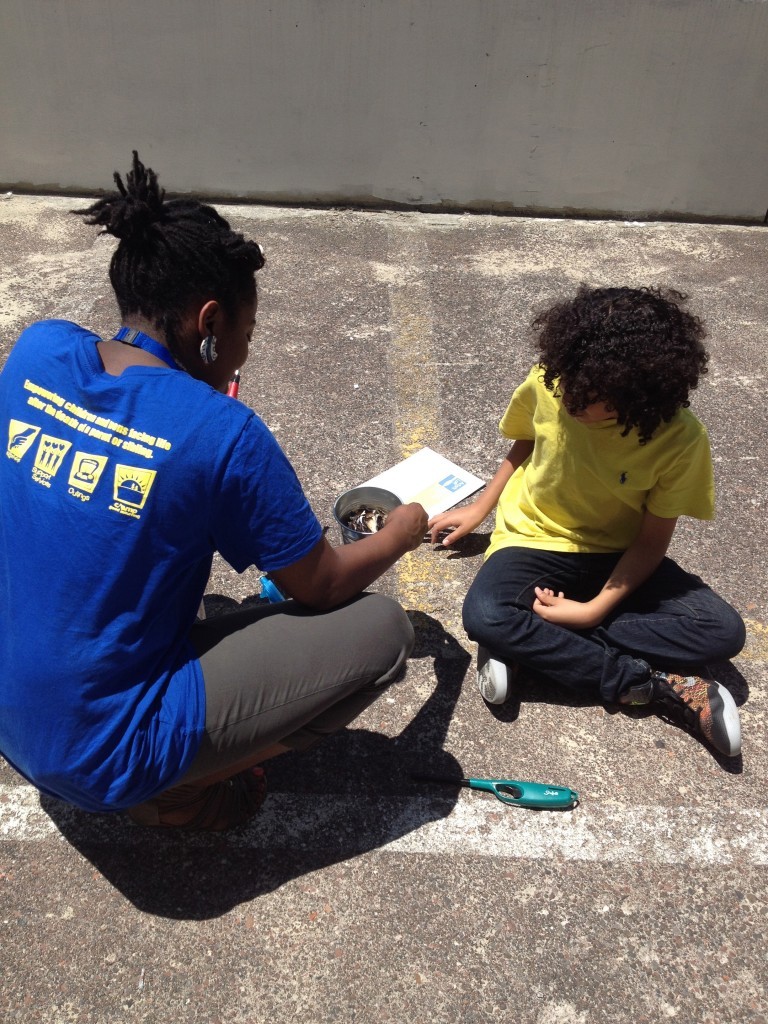
We took the students outside and set their torn pieces of paper on fire.
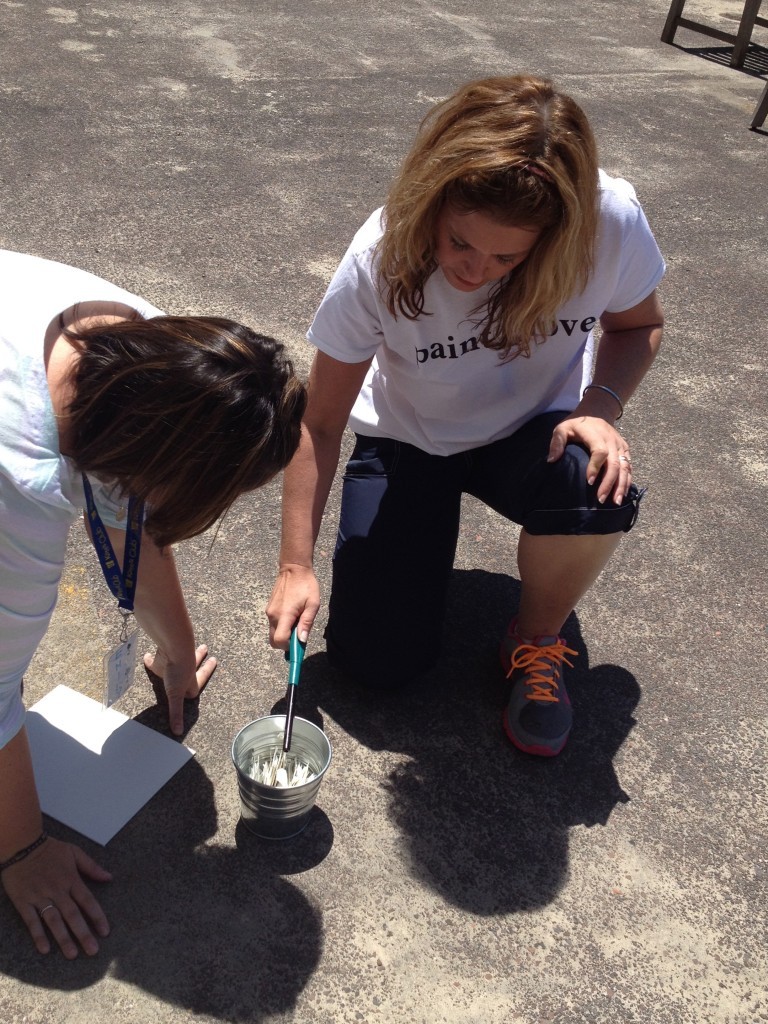
Penny asked the students to watch their thoughts go up in smoke and image their fears going into the heavens, into the universe, where they can’t hurt anyone.
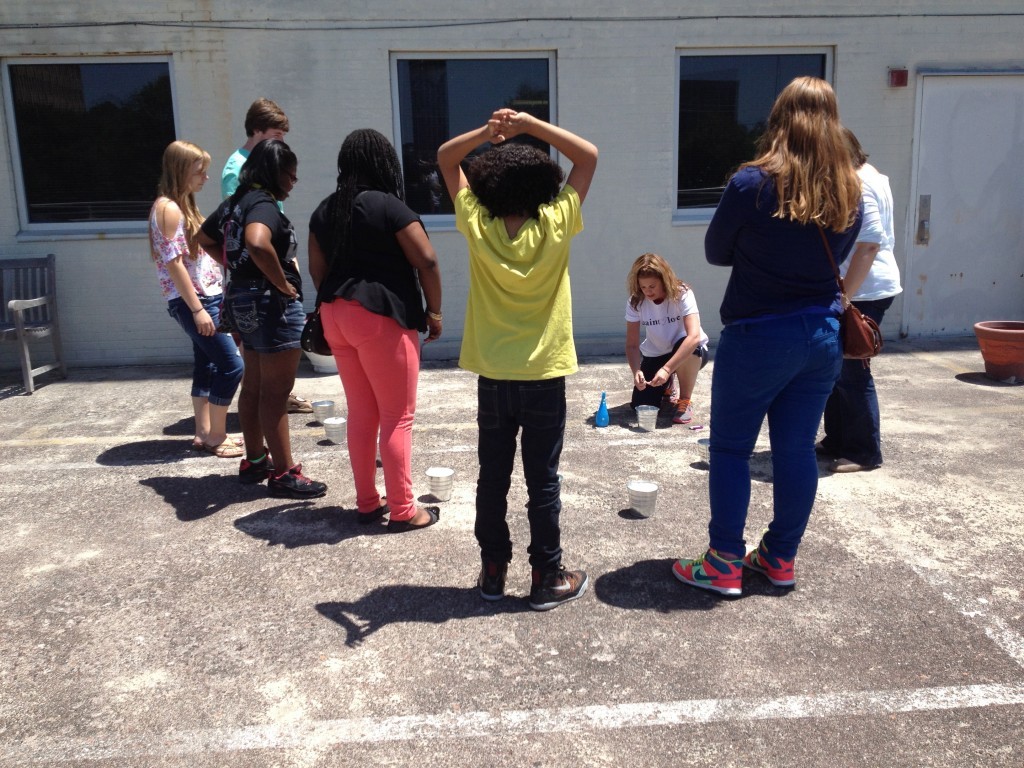
She encouraged the artists to watch the ripped pieces and fragments of the words burn. Penny asked the students to notice how their hearts felt as they watch the flame and smoke rise. We helped the students cover their bucket to extinguish the flames before the paper burnt completely to ash. (We also brought some water to make sure the fire was completely out.)
We love that Kate's Club staff and volunteers joined in on the projects as well!
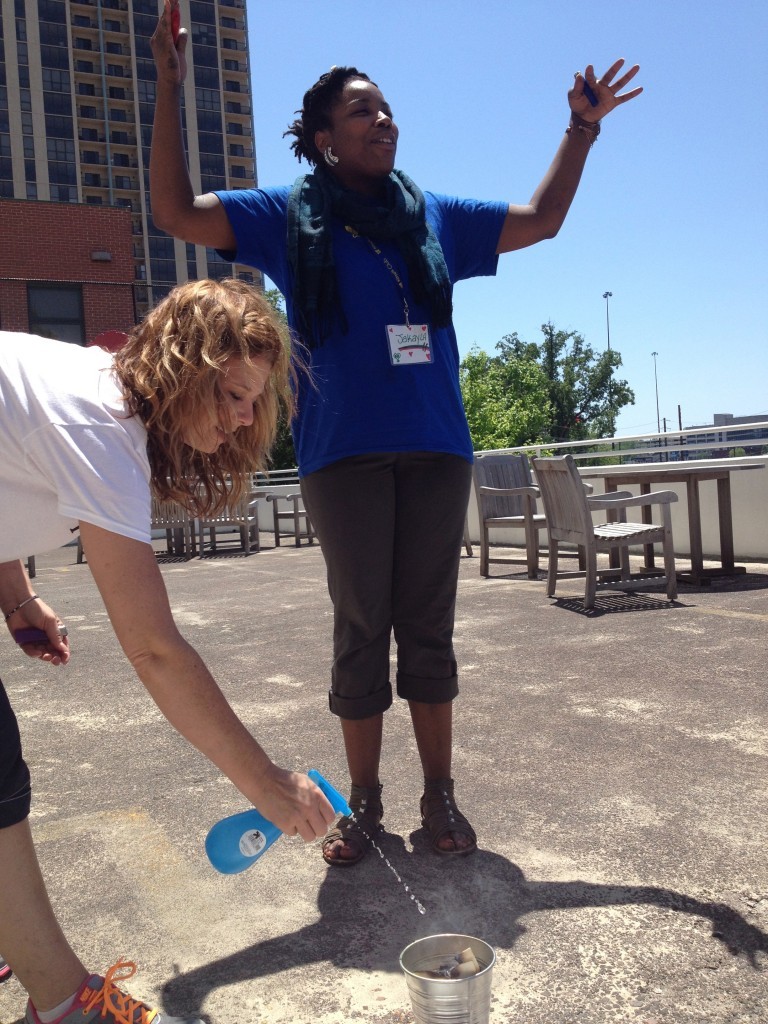
After all the students were finished with their buckets outside, we took them inside to create their artwork.
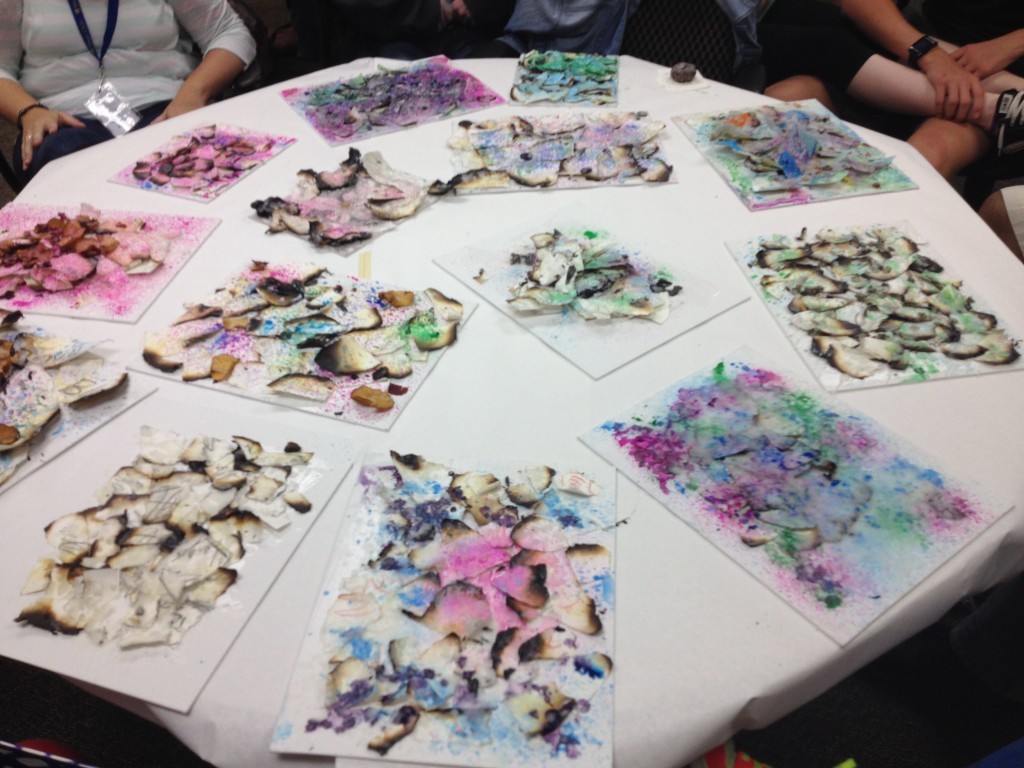
The students took the burt pieces of paper and ashes and covered their canvas with them. They added paint, flower petals, tissue paper, and/or other items to collage with and create a piece of art that captured their feelings. There was no right or wrong.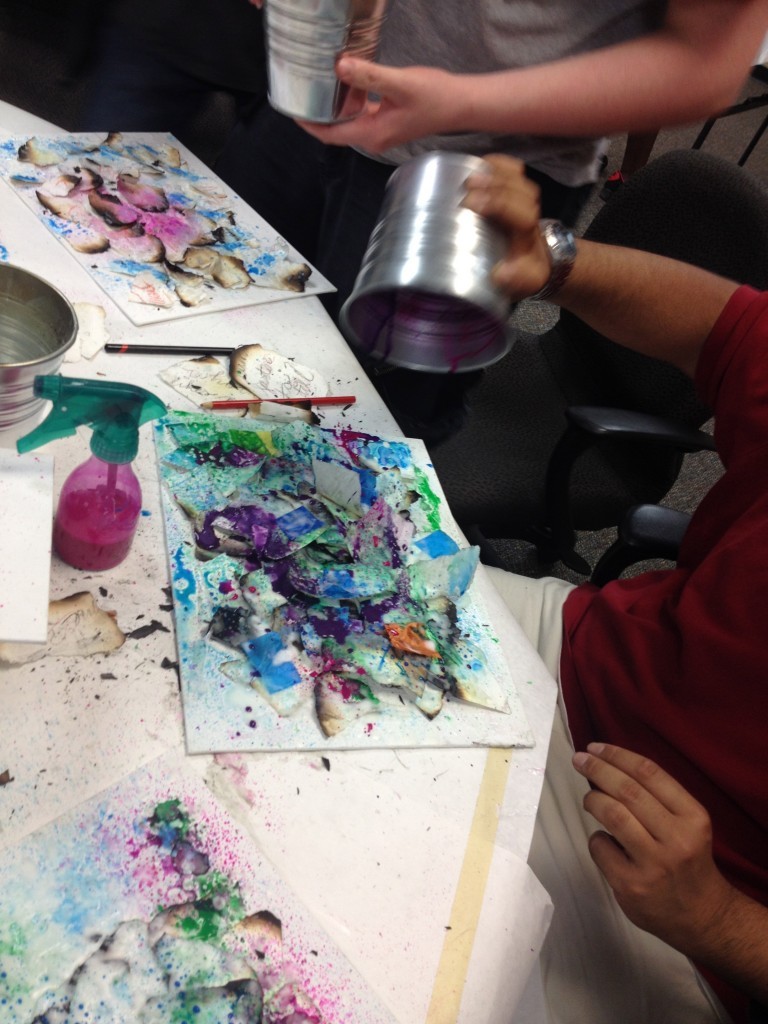
Finally, the students dripped melted wax over the top of their piece to protect and preserve the paper and collage items.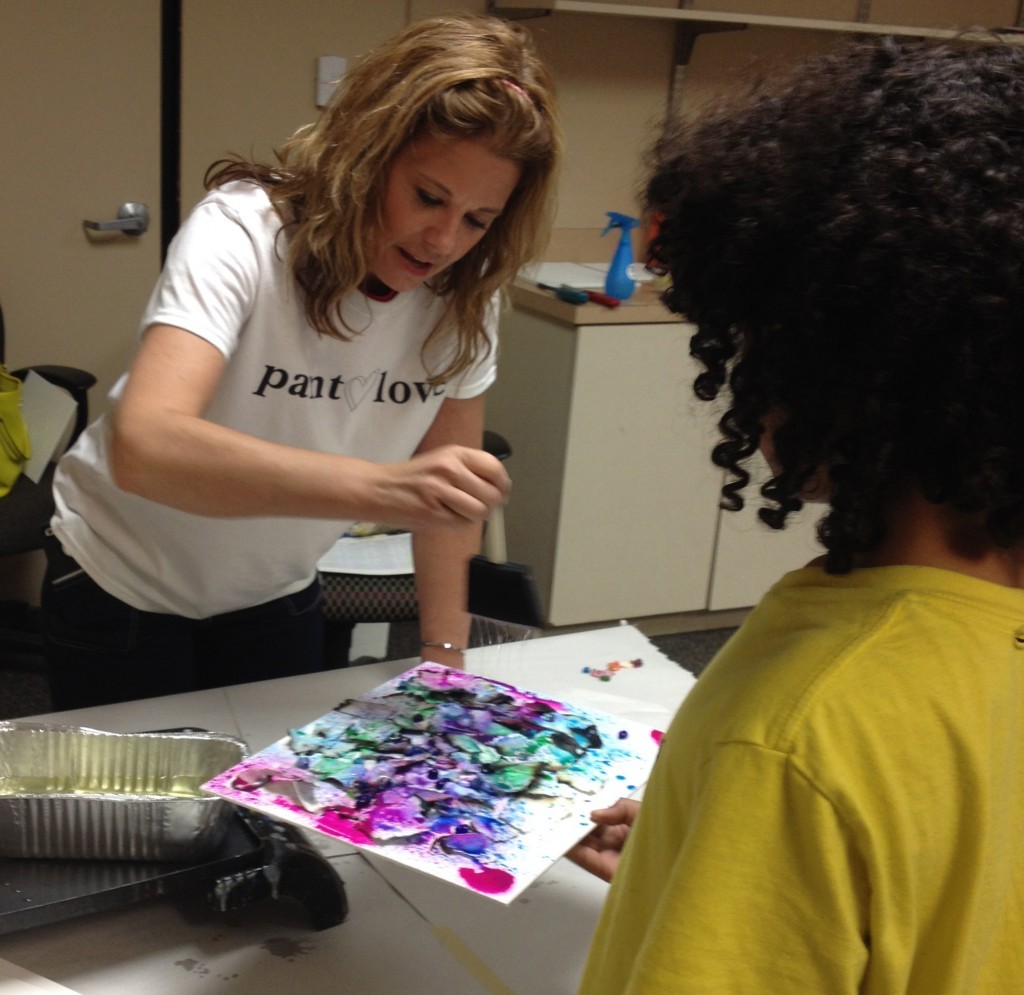
The pieces turned out AMAZING! It was so much fun to watch the students dive into this project, carefully choose collage items, spread out their pieces of paper, and add color. They loved the process and we loved watching them create something they were proud of and a piece that was very meaningful for them. 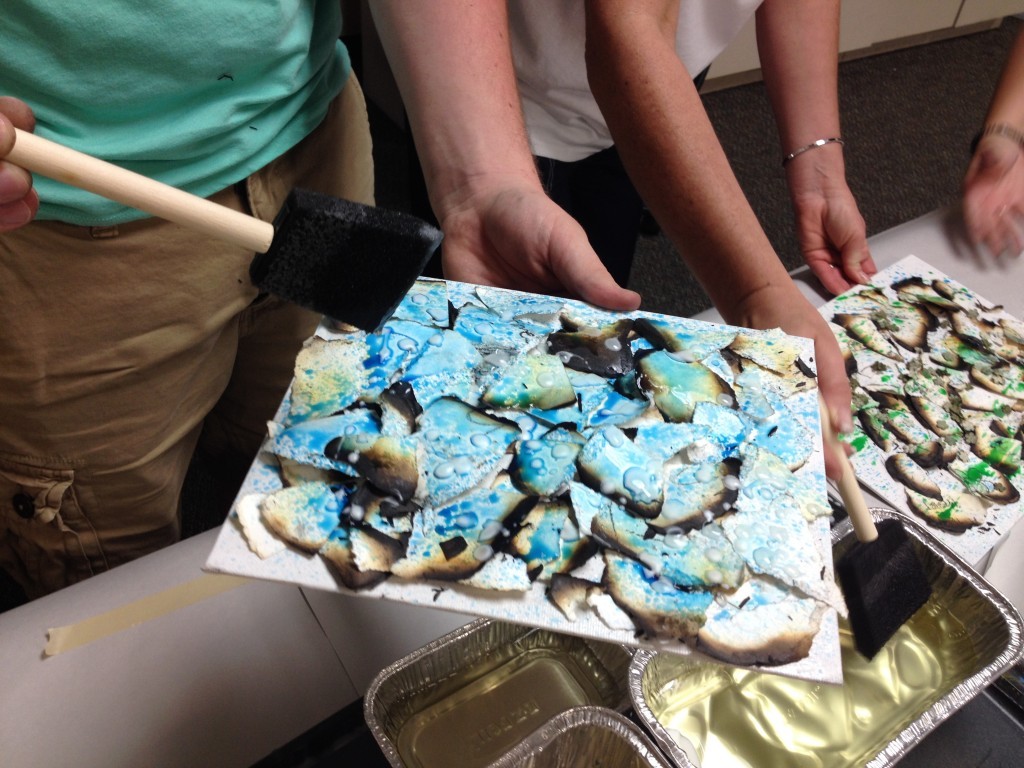
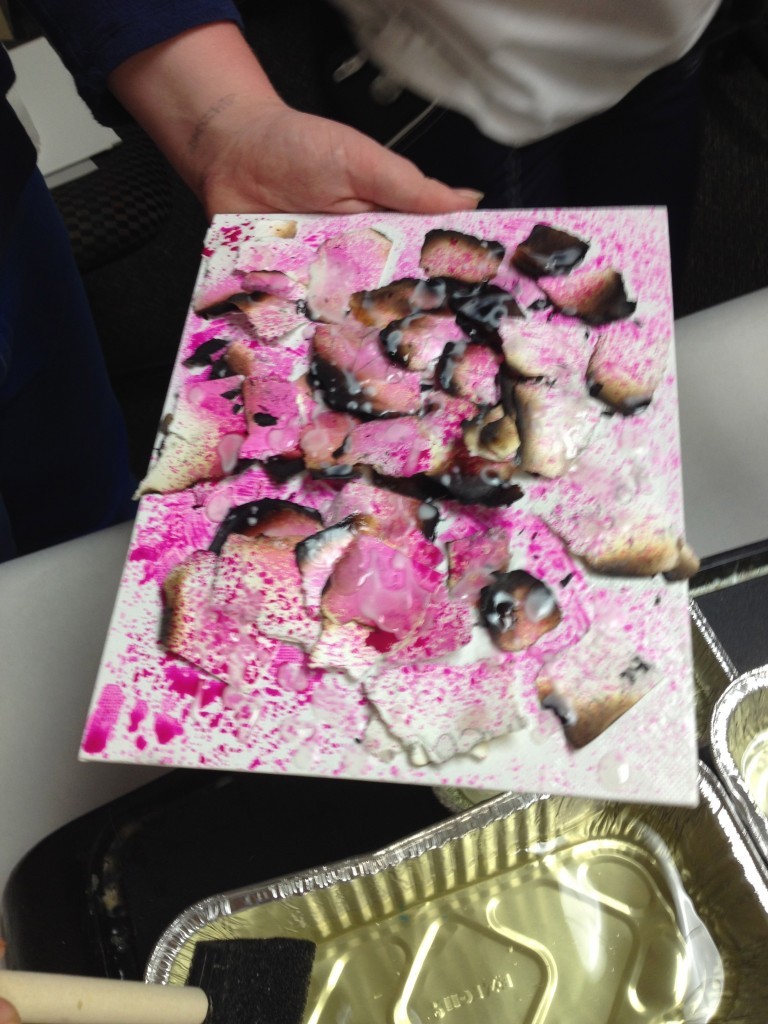
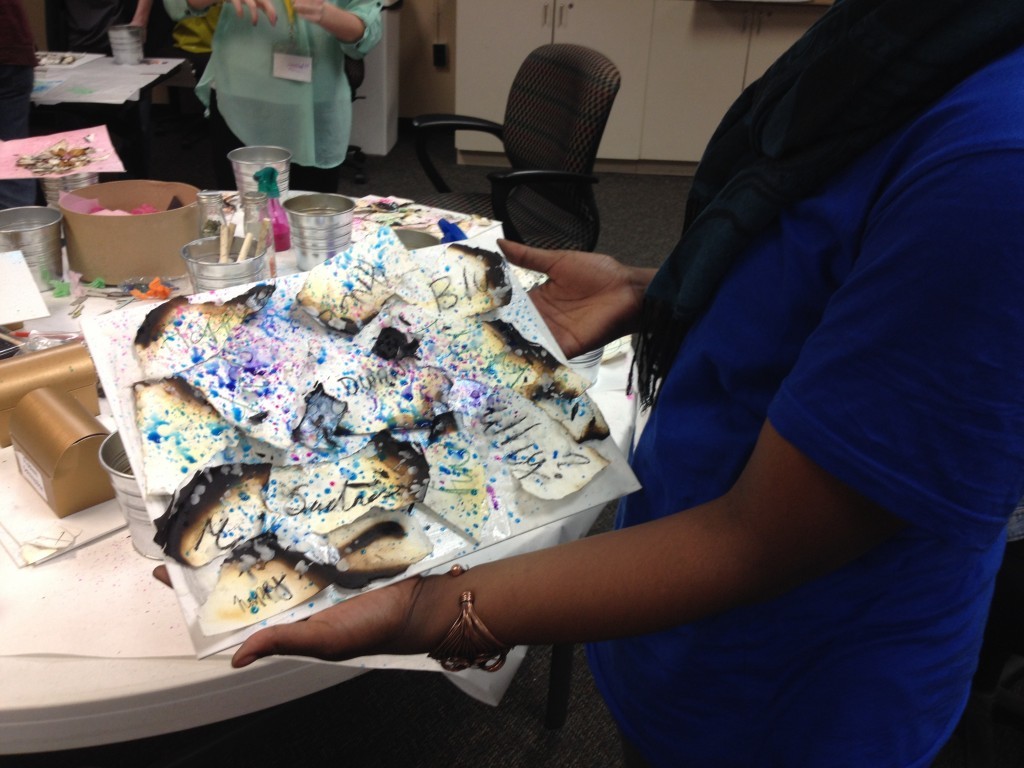
The students started to get a lot of interesting ideas for the melted wax…one being a deceptively waxy glazed donut. : ) We loved that they could have fun, create, and be themselves during our workshop. And we promise, no one ate the "glazed" donut. 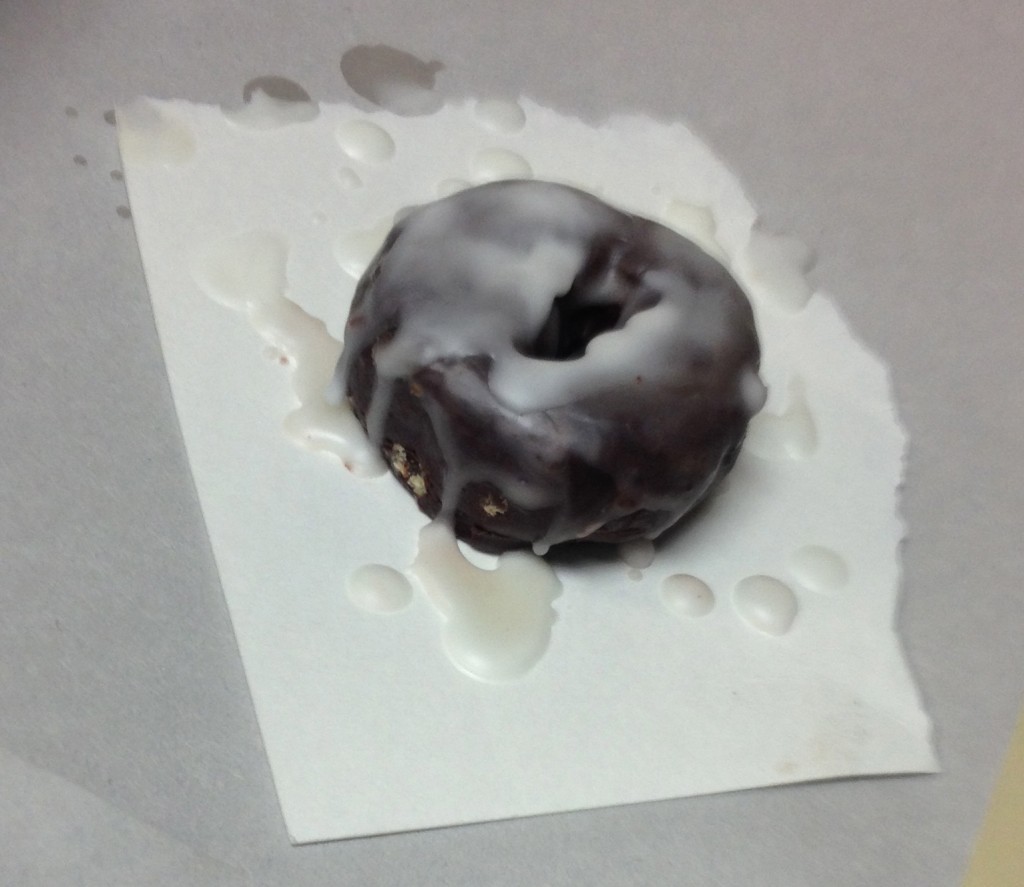
Project Two: Emotion Color Study by Melting Crayons
The second project was led by Kim McGill Stuart. In preparation for her project, Kim researched the relationship of emotions and color. (We SERIOUSLY cannot be more PROUD of the work and time these artists put in to making this event so meaningful!)
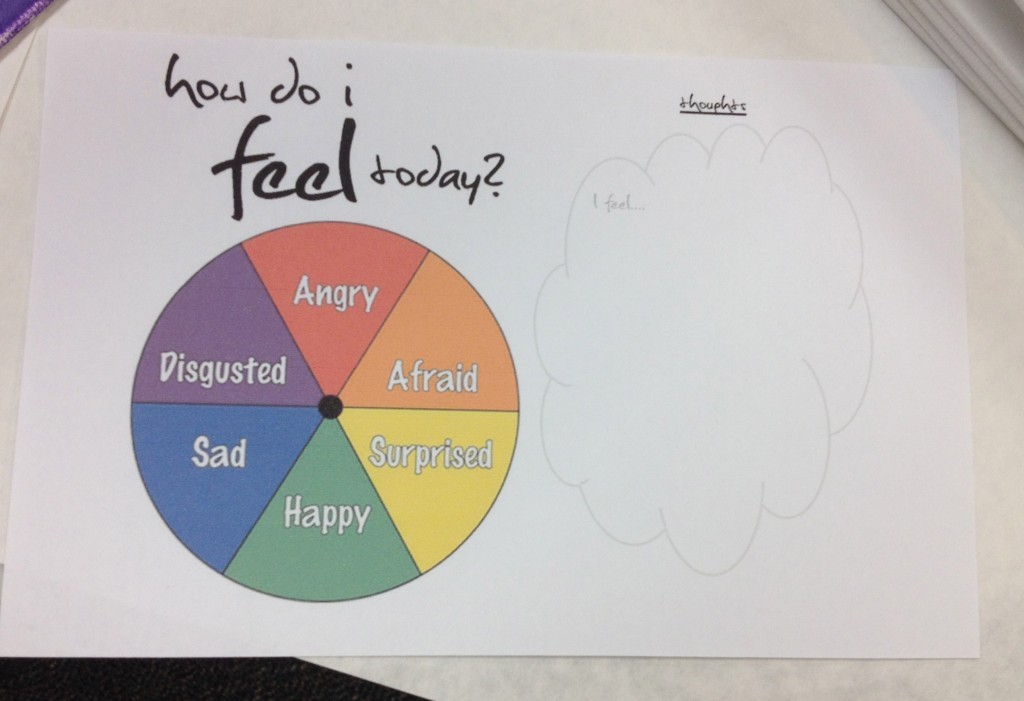
Kim created worksheets to get the students to start thinking about how certain colors can evoke emotions.
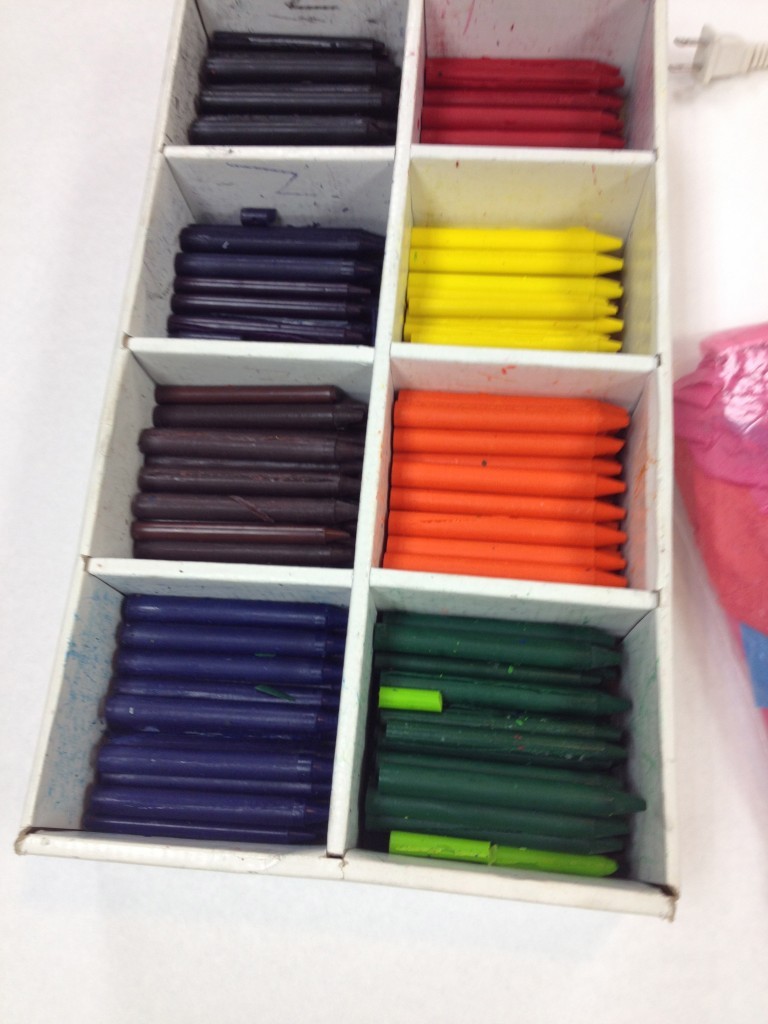
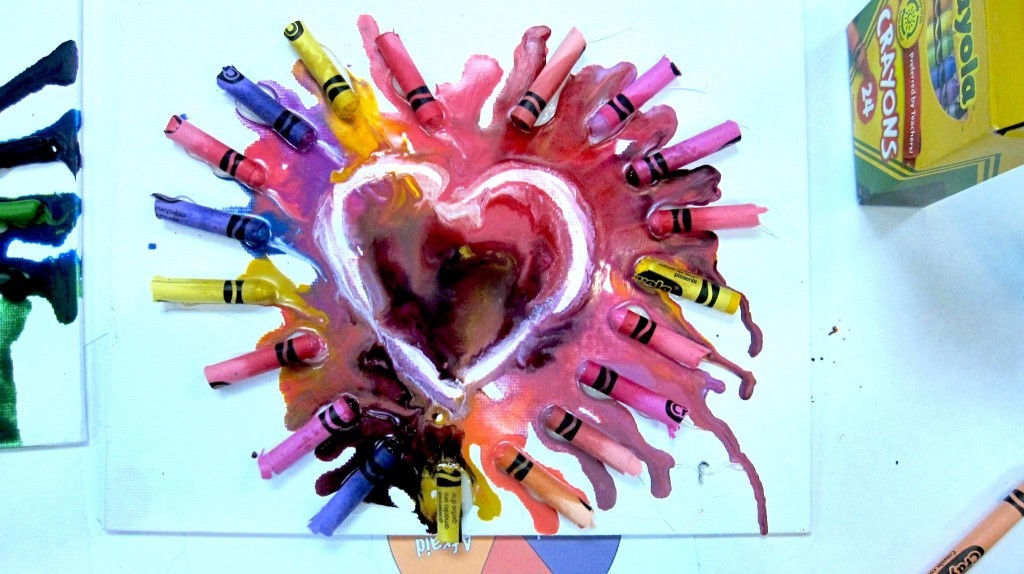
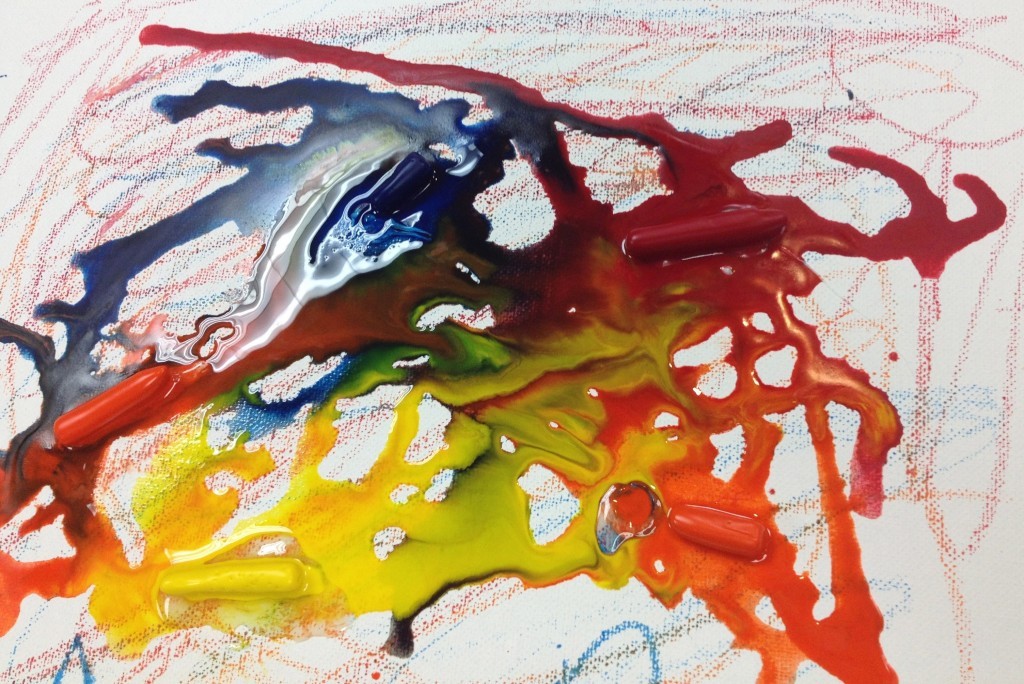
The students used hot glue, heat guns, crayons, and other collage items to create works of art.
Kim demonstrated several different techniques the students could use from heating their canvas first, then rubbing the crayons on to hot gluing crayons on the canvas and allowing the heat gun to melt the crayons.
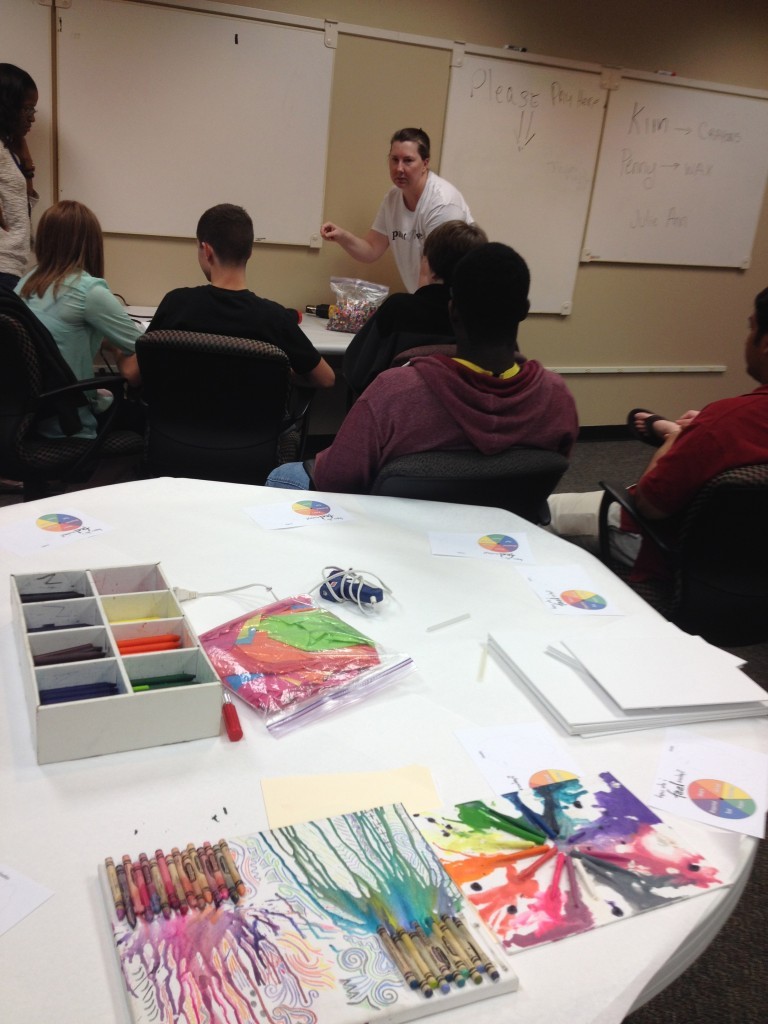 After the demonstration was the over, the students hurried to start their projects. The ideas and works of art they created were incredibly unique. Both Penny and Kim, commented on the fact that, though they were the instructors, they learned so much from watching the students use and create artworks with the materials. The students let go of their fears and enjoyed the process.
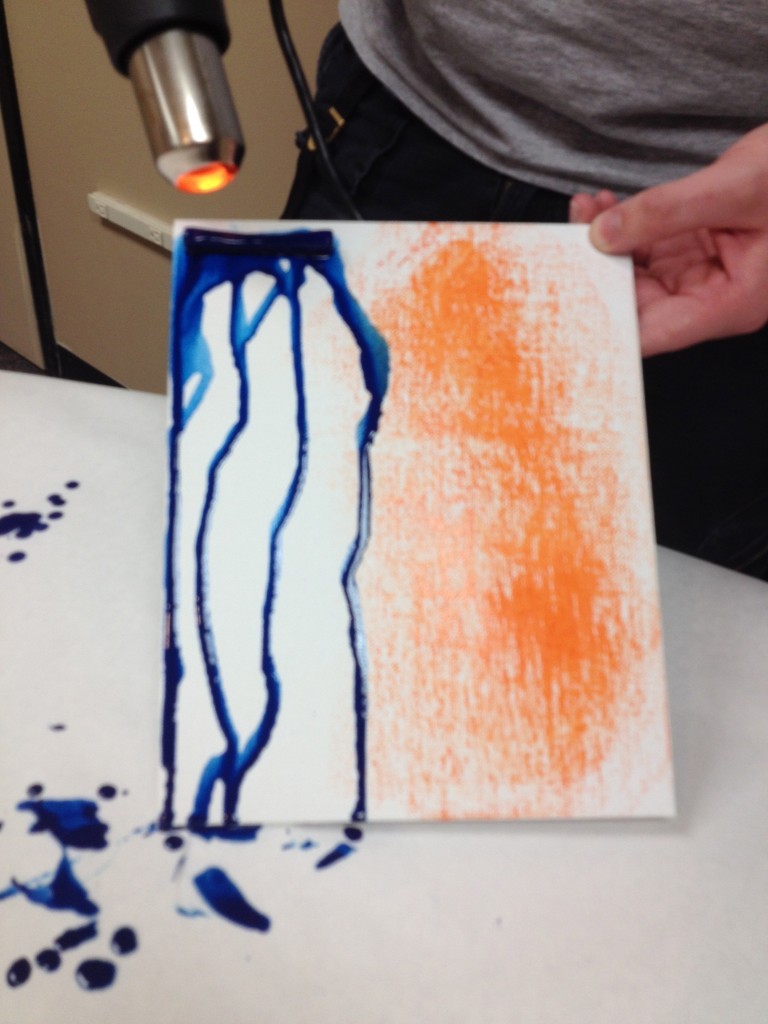
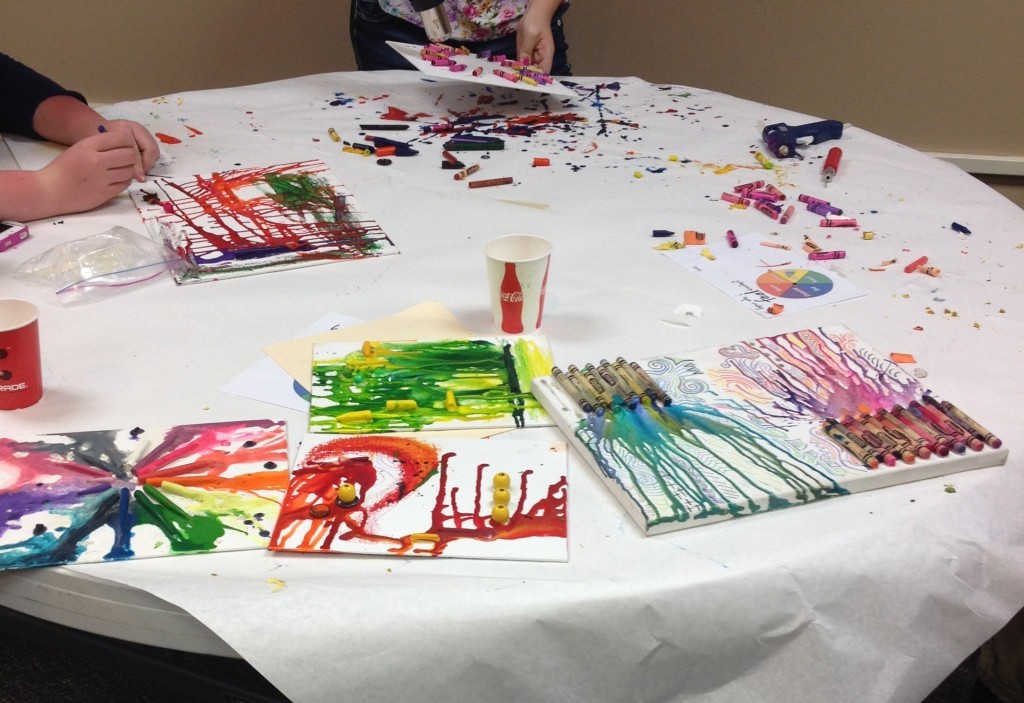
It was fascinating to watch the process of the students. Some of them had a clear vision while other students allowed the heat to help mold and dictate what their final product would be. Once again, there was no right or wrong with these projects! And like the first project, these pieces turned out beautiful!! Pictured below are a few of the amazing finished canvases.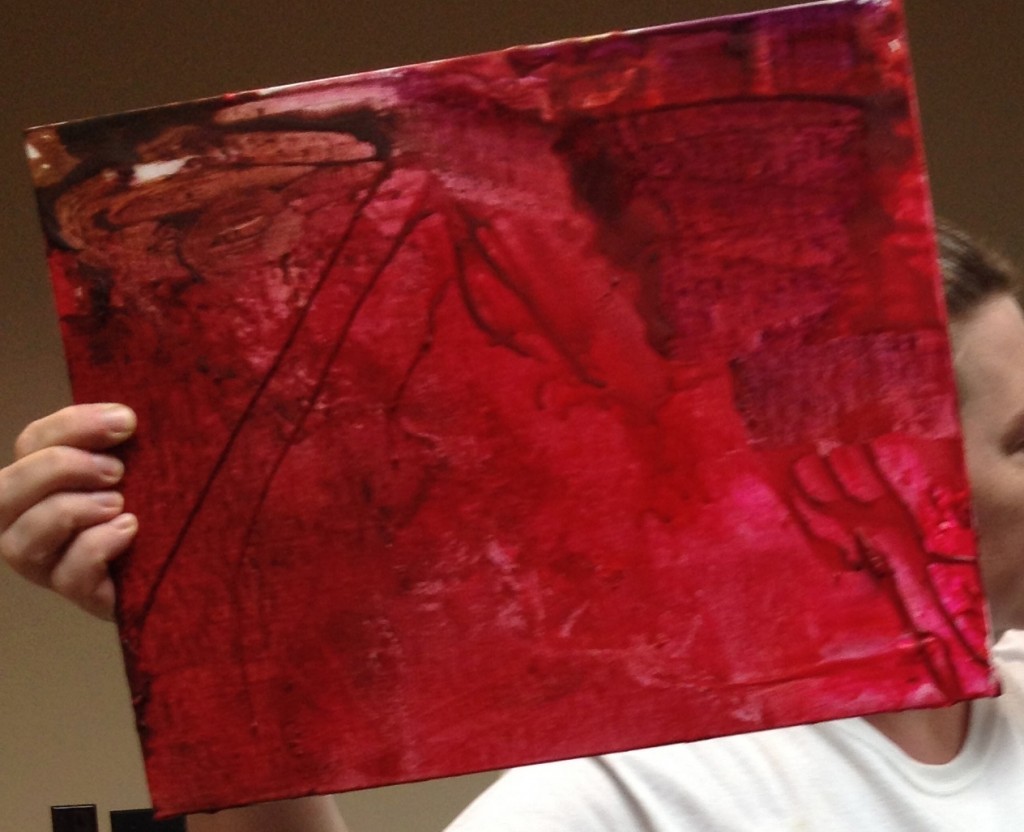
Discussion
The discussion we had at the end of the session was by far one of our favorite parts of the project, and it wasn't even planned! We had some time after both projects were complete, so we opened up the floor for discussion. We allowed the students to describe their work and talk about what was going through their minds during the creative process. They were so open and honest about their feelings and their artwork. It was an incredible moment for our team!
We loved when Penny and Kim had the opportunity to speak into the projects as well. They pointed out some of the unique features of each of the students' work. It was an incredible way to wrap-up a day full of creativity and emotion.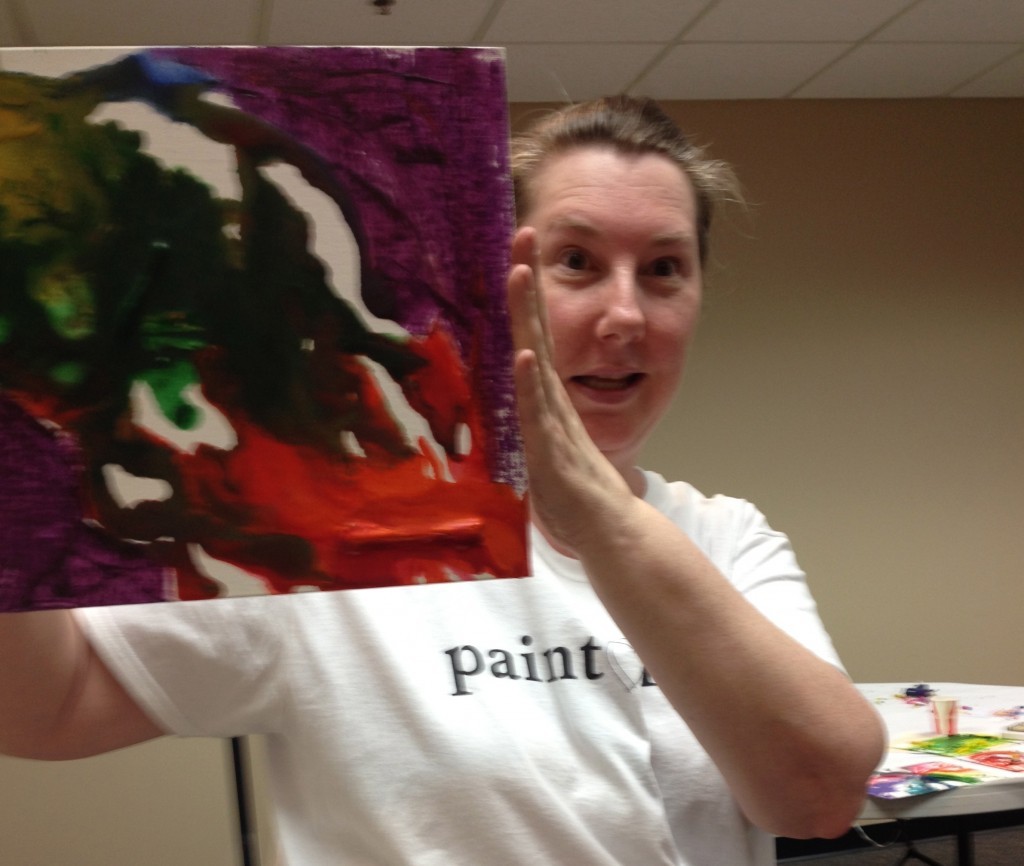
We loved hearing the student's perspectives on the projects and having more time to get to know each of them.
It was a wonderful day for Paint Love and we can't wait to do this again!!

