Creating Custom Flower Paintings
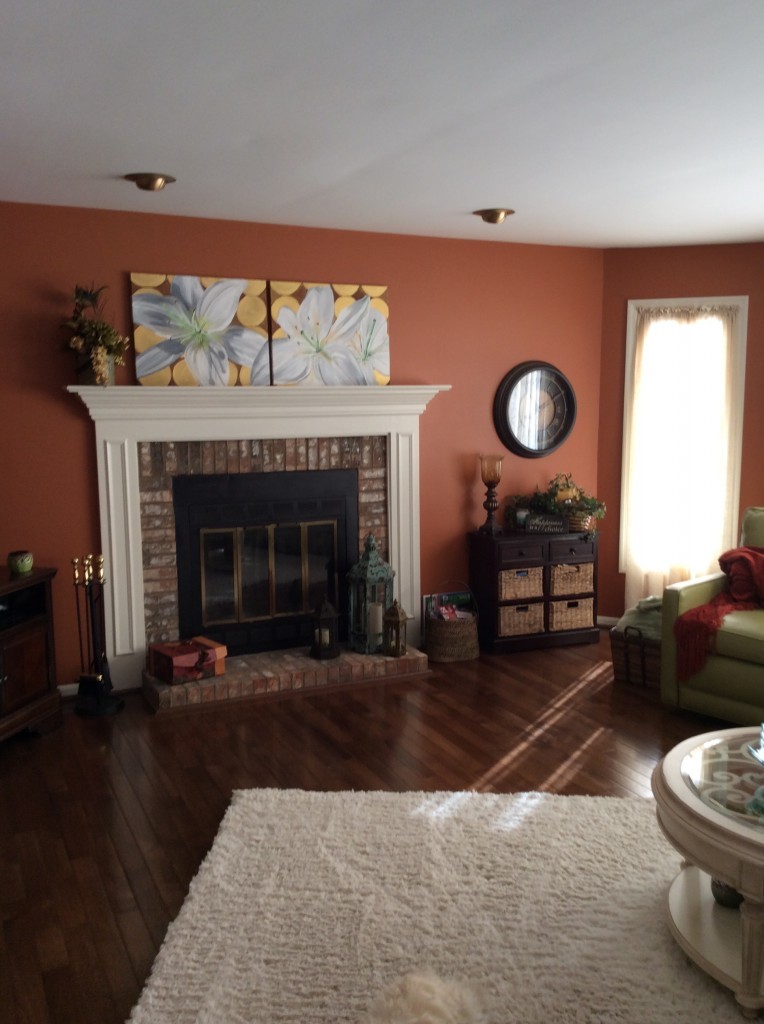
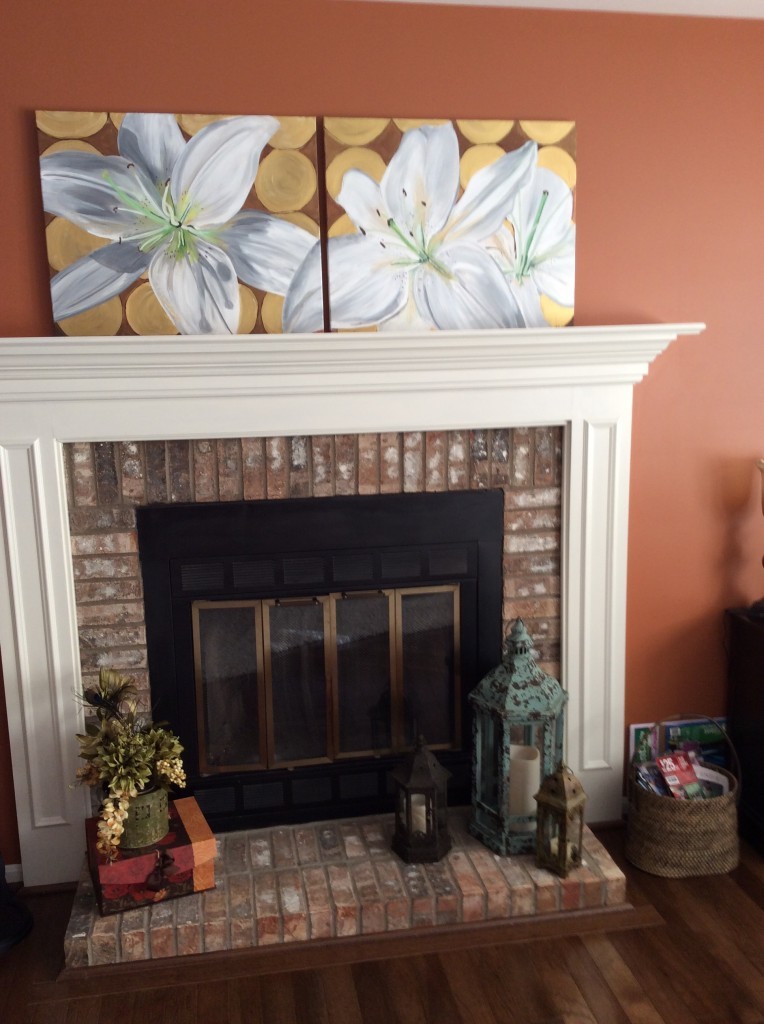
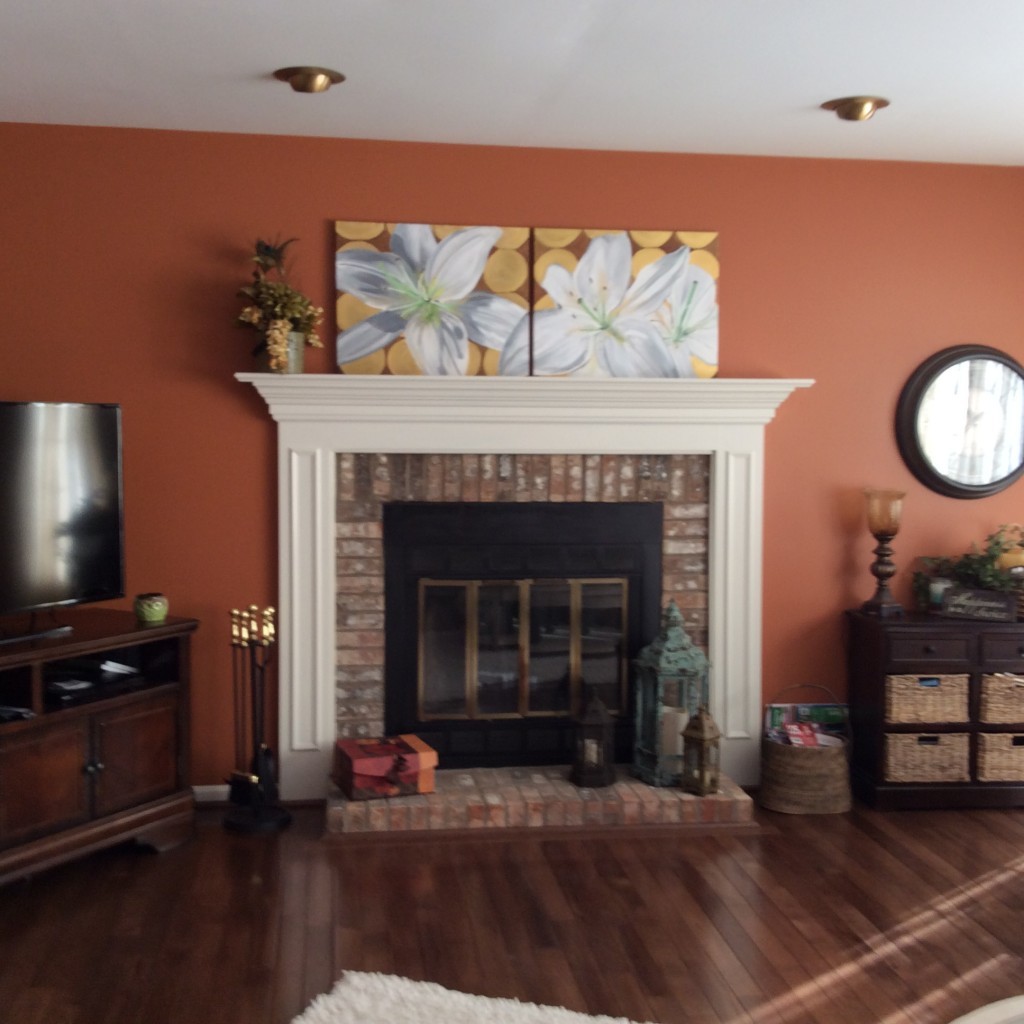
I love creating one of a kind custom artwork for my clients! A recent client asked me to do a large flower painting to go over her fireplace. Together, we created a piece that fit her space, style, and needs perfectly. She loved the paintings and I love how they look in her house! Following are some of the steps I took in painting "White Lilies" for her, including how it looks over her fireplace. To Start: She gave me the measurements of the area above her fireplace along with some inspiration pictures and color choices she preferred. We discussed the different canvas options and sizes that would fit in her space best. She choose to do a joining image across two canvases. My client's inspiration pictures had some modern geometric shapes in them, so I choose to place circles in the background. She choose white lilies for the subject. Taking the size and shape of the canvases into account, I decided to do multiple lilies across the canvases.
Going Digital: When I am able, I love to create a digital image of the piece I will be working on. I can zoom in and focus my eye on the details as well as get a good idea of what the final product will look like.
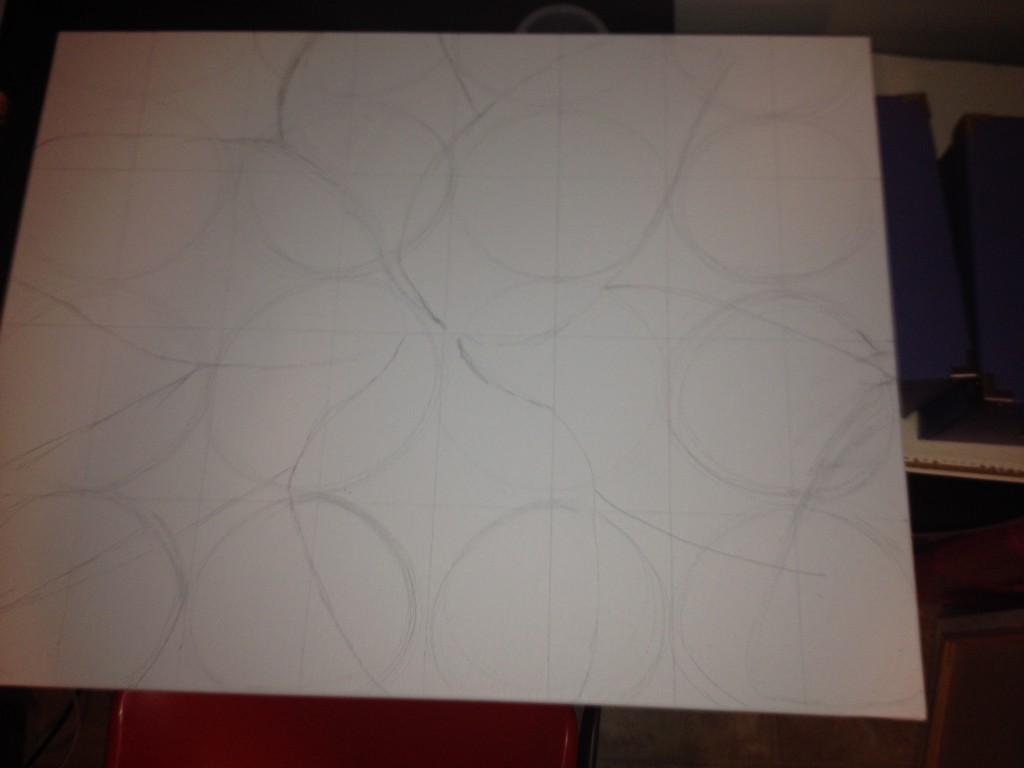
Sketch It Out: Next, I sketched out the design onto the two canvases. This is a sketch of canvas #1.
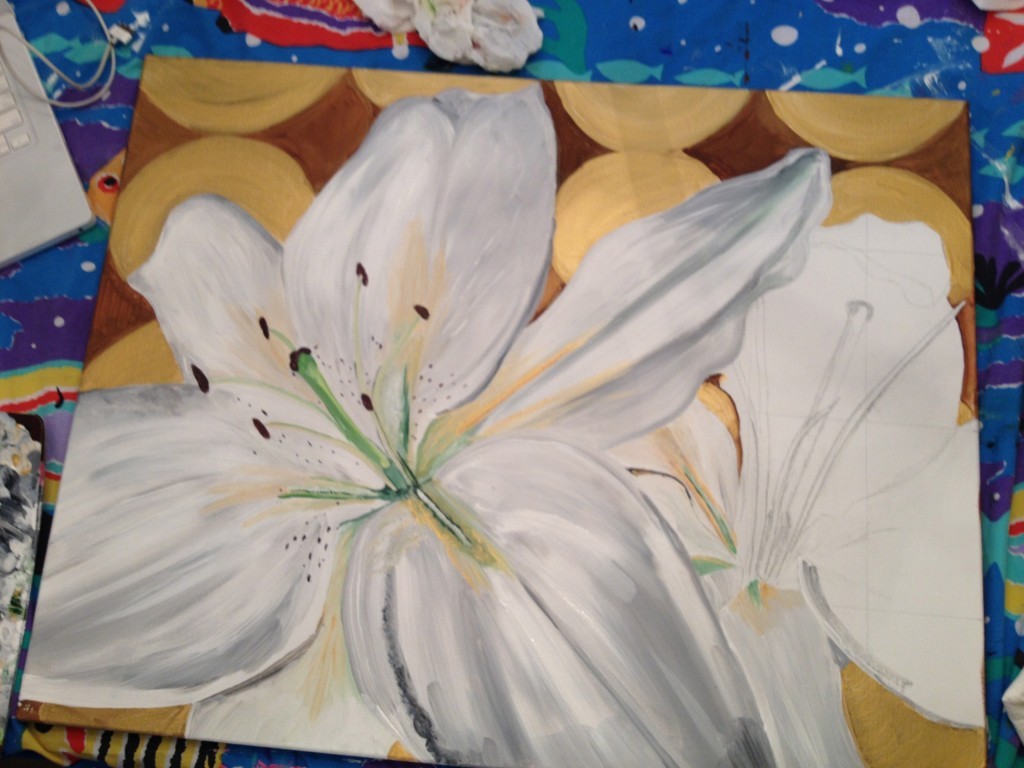
Paint: Once the sketch is done, it is time to paint, aka…the fun part! Gold was one of the colors from her inspiration photos, and I had just used this great new gold paint on a previous flower painting (you can read about the modern white carpet flowers here; scroll down to step #4 for the paint info), so I decided to add it into this one as well. This is an almost-finished canvas #2.
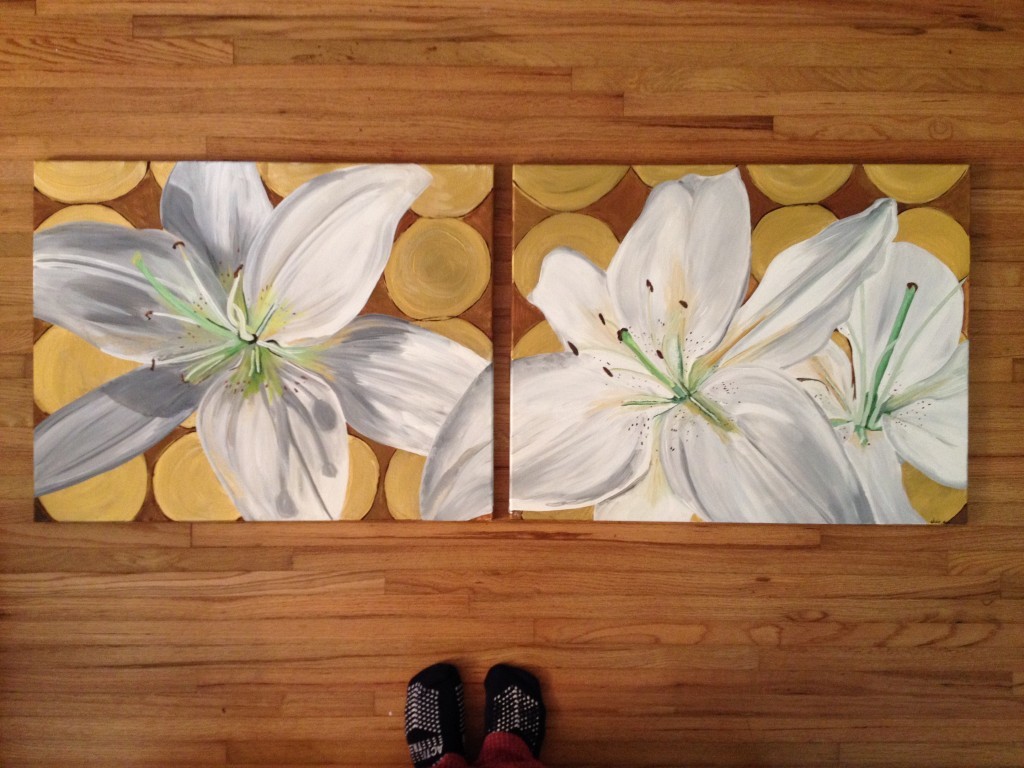
Putting it all together: When the paintings are finished, they are ready to be together! It is really a fun moment for me when I get to set them side by side and see the whole completed look.
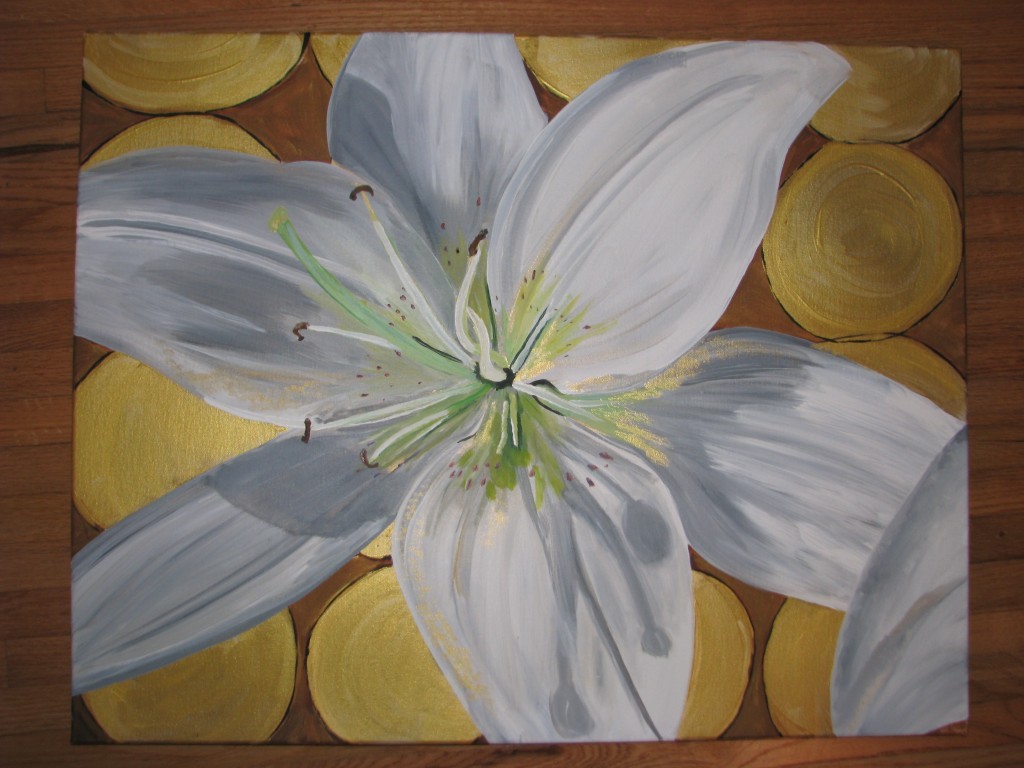
Here is canvas #1 finished:
Here is canvas #2 finished:
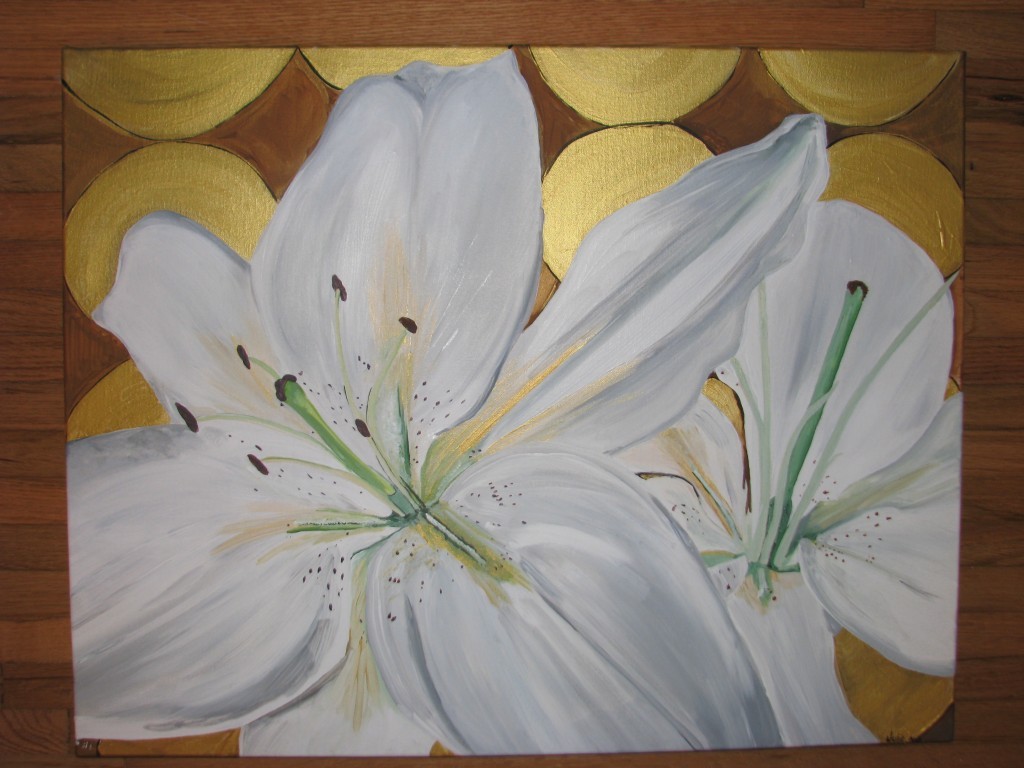 Here they are together (and my feet make an appearance as well):
Send them off: So, far I have packaged all of my finished paintings myself. I go through a lot of bubble wrap, and a whole lot of tape, but all of my paintings arrive safe and sound!! They may not look pretty at this point in the process, but they are definitely secure! : D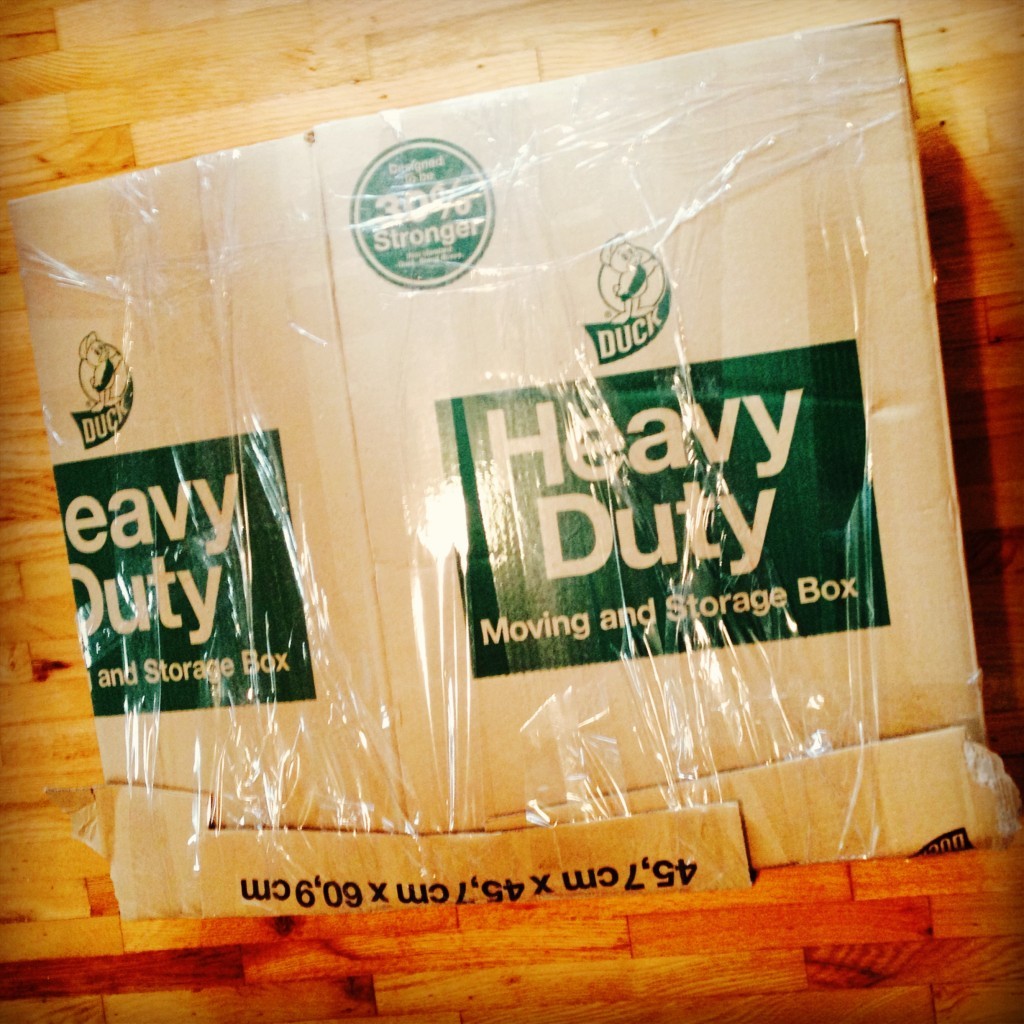
Hanging in the Client's House: My favorite part..by far!!! I love getting feedback from my clients and seeing where their artwork is hanging! My client was so happy with her piece, and that is the perfect ending to any creation process for me!!
Downloadable Valentine's Day Cards
I'm so excited for this one! You can now purchase my downloadable Valentine's Day Cards on Etsy for 50 Cents!! Check out the listing here!


Flower for Wellspring Auction
Shortly after I had the privilege of teaching at Wellspring Living (you can read about my teaching experience here), I was asked to donate a painting for WL's Field Feast Supper fundraising event. With Jennie McGregor's permission I painted a photograph from her gallery for the event. I have painted one piece of hers before, you can check it out in my first blog post. Field Feast Supper was a huge success and they were able to raise almost $50,000 for Wellspring Living. My painting was auctioned off, but it was donated back to Wellspring Living to hang in the new building for the girls. I am thrilled and honored the young women will be able to look at my work on a daily basis. I hope it brings them joy and inspiration to continue to let their creativity bloom. Below is a step by step of my painting process:
 I divided up Jennie's photograph in sections and drew them onto the canvas.
 I focused on painting one petal at a time.

Some knee action: I generally just paint on the floor.

The painting is almost done. Up to this point I have painted it upside down.

It is finished and right side up!

