Creating Custom Flower Paintings
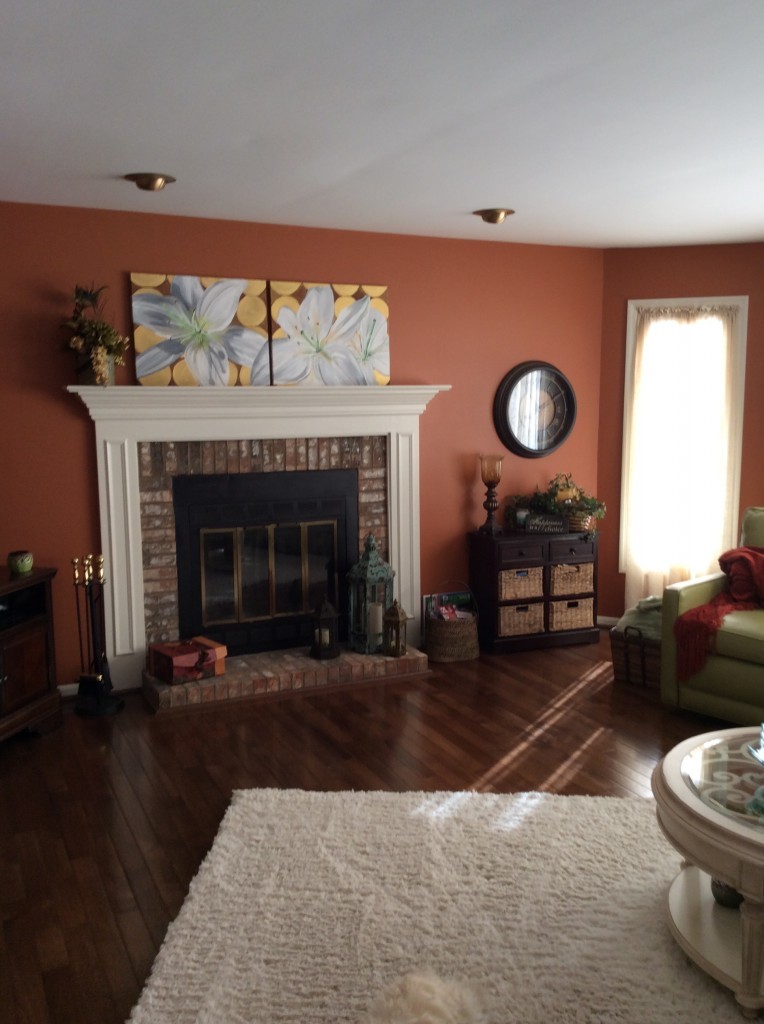
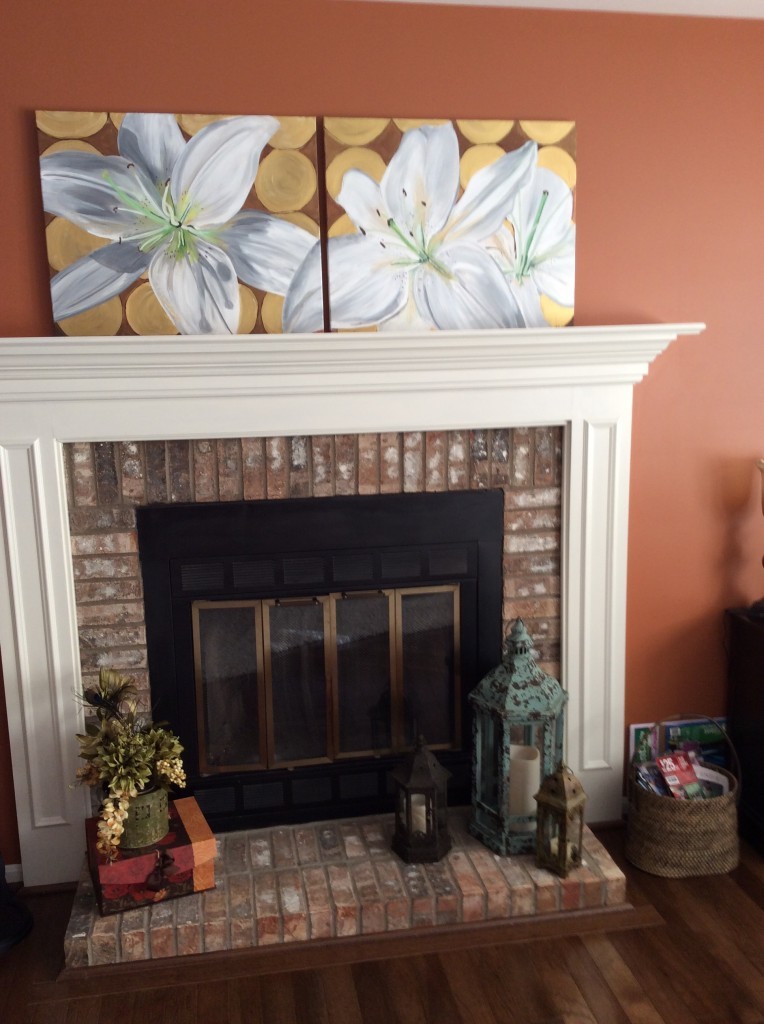
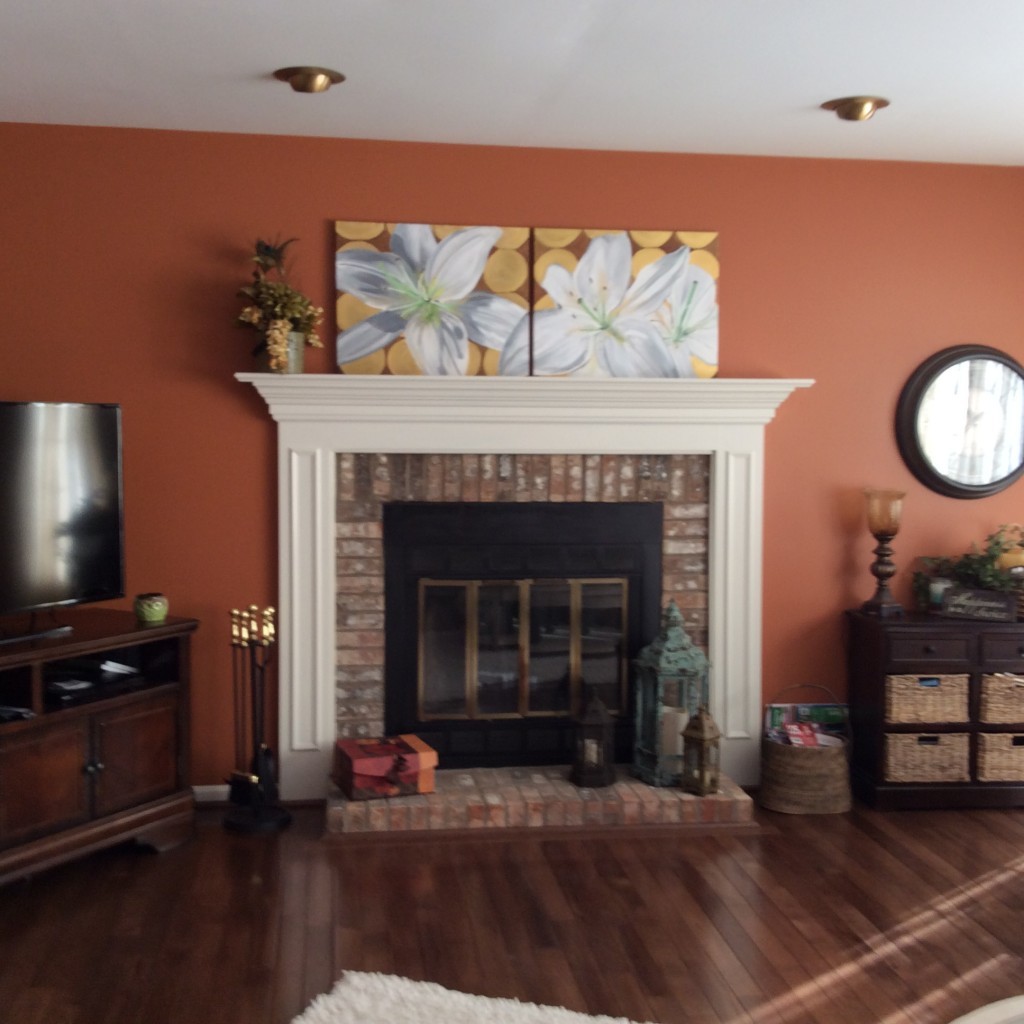
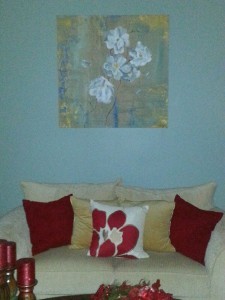
I love creating one of a kind custom artwork for my clients! A recent client asked me to do a large flower painting to go over her fireplace. Together, we created a piece that fit her space, style, and needs perfectly. She loved the paintings and I love how they look in her house! Following are some of the steps I took in painting "White Lilies" for her, including how it looks over her fireplace. To Start: She gave me the measurements of the area above her fireplace along with some inspiration pictures and color choices she preferred. We discussed the different canvas options and sizes that would fit in her space best. She choose to do a joining image across two canvases. My client's inspiration pictures had some modern geometric shapes in them, so I choose to place circles in the background. She choose white lilies for the subject. Taking the size and shape of the canvases into account, I decided to do multiple lilies across the canvases.
Going Digital: When I am able, I love to create a digital image of the piece I will be working on. I can zoom in and focus my eye on the details as well as get a good idea of what the final product will look like.
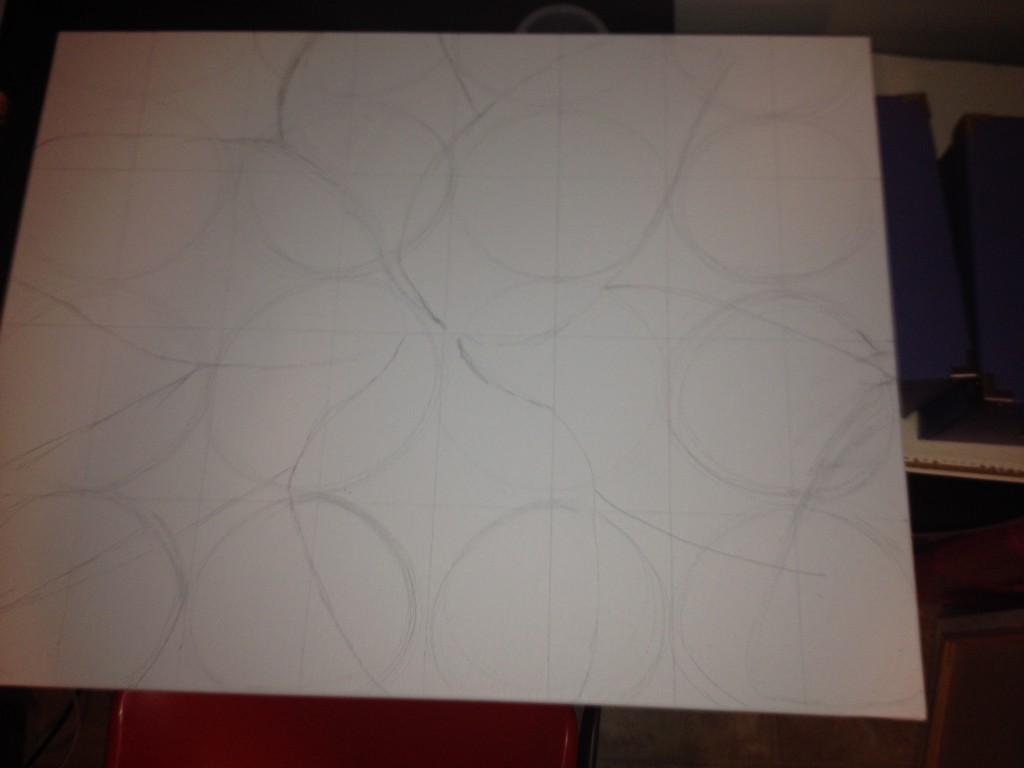
Sketch It Out: Next, I sketched out the design onto the two canvases. This is a sketch of canvas #1.
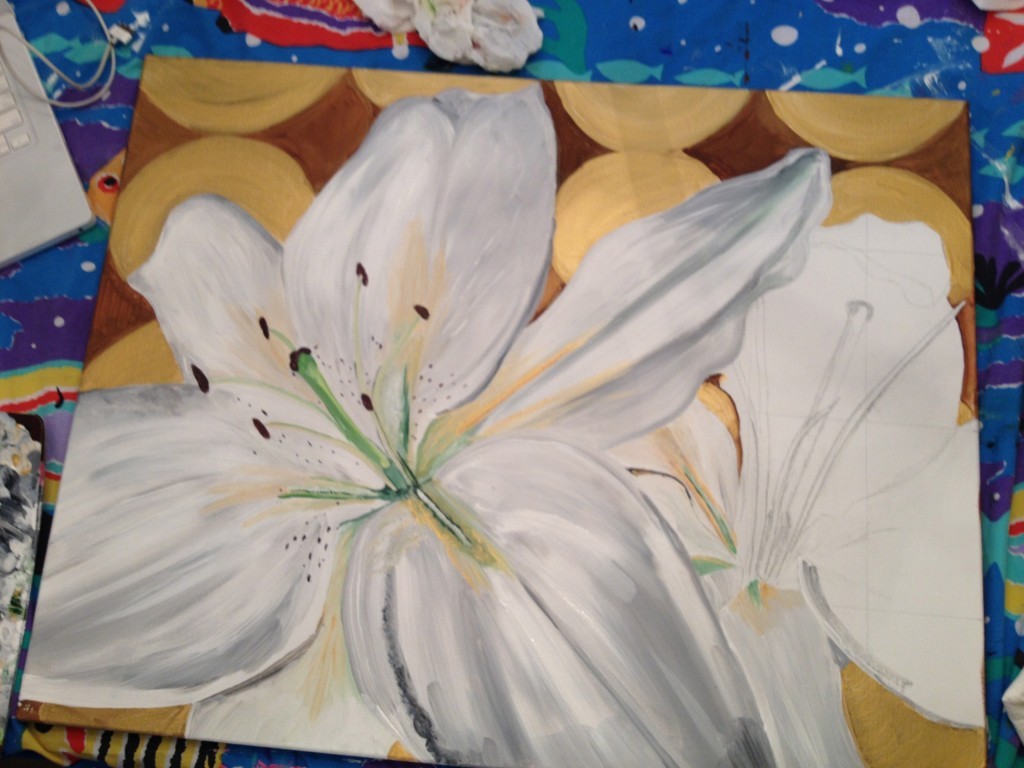
Paint: Once the sketch is done, it is time to paint, aka…the fun part! Gold was one of the colors from her inspiration photos, and I had just used this great new gold paint on a previous flower painting (you can read about the modern white carpet flowers here; scroll down to step #4 for the paint info), so I decided to add it into this one as well. This is an almost-finished canvas #2.
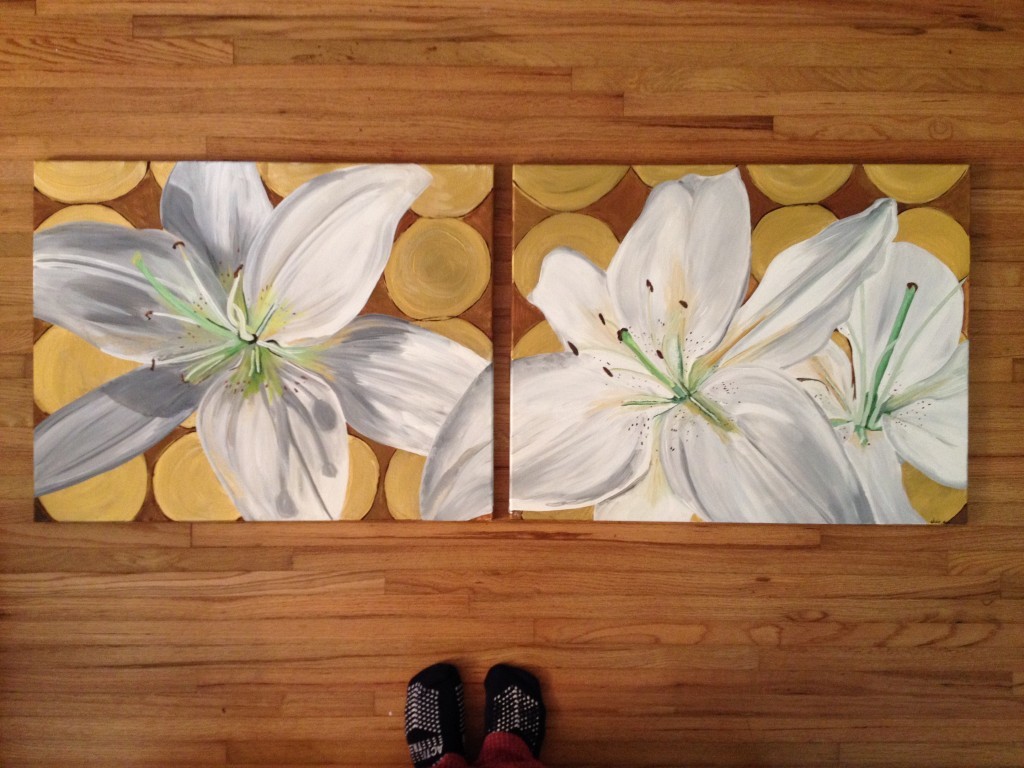
Putting it all together: When the paintings are finished, they are ready to be together! It is really a fun moment for me when I get to set them side by side and see the whole completed look.
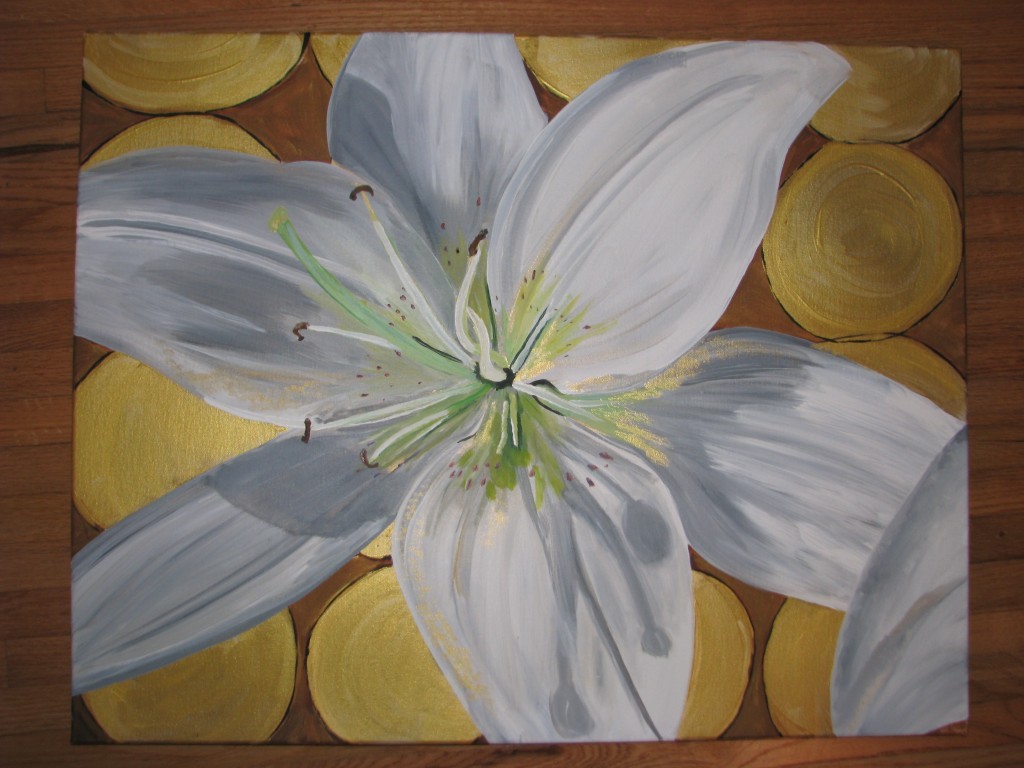
Here is canvas #1 finished:
Here is canvas #2 finished:
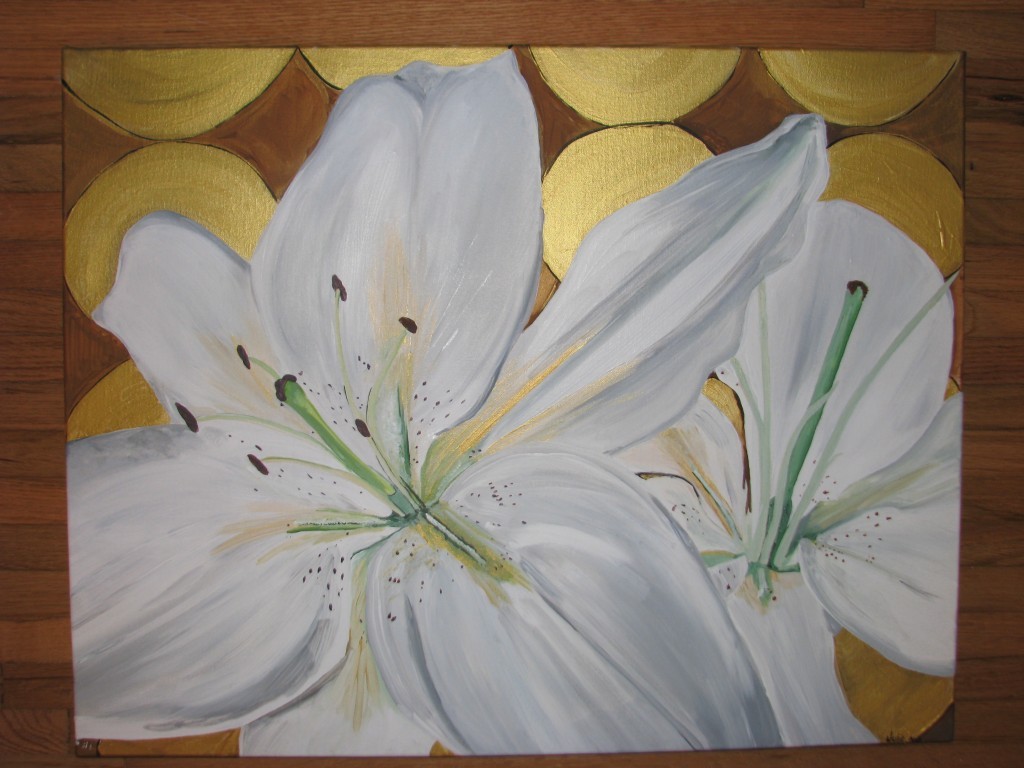 Here they are together (and my feet make an appearance as well):
Send them off: So, far I have packaged all of my finished paintings myself. I go through a lot of bubble wrap, and a whole lot of tape, but all of my paintings arrive safe and sound!! They may not look pretty at this point in the process, but they are definitely secure! : D
Hanging in the Client's House: My favorite part..by far!!! I love getting feedback from my clients and seeing where their artwork is hanging! My client was so happy with her piece, and that is the perfect ending to any creation process for me!!
A Modern Flower Painting in 10 Simple Steps
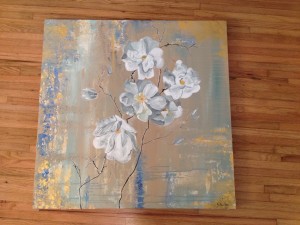
If you know me, you know I LOVE painting flowers. They are beautiful, colorful, full of texture, pattern, and come in every shape and size imaginable. They are also extremely versatile for design. Flowers don't just have to be for your grandmother anymore (though my grandmother has two very lovely floral print couches). In this day and age of thrift store boutiques and eccelectic style, flowers find a perfect place in the homes of hipsters, fashionistas, young couples, and interior designers.
Flowers can add a calming touch or a bold statement depending on their painted style. So, join me, and let's reclaim the flower for the modern age and create a piece that will stand out, add beauty, and perfectly compliment your style-no matter how modern or traditional your home may be.
Step 1: Get an adorable puppy. Place in front of canvas.

Step 2: Ward off puppy from trying to take over the studio.
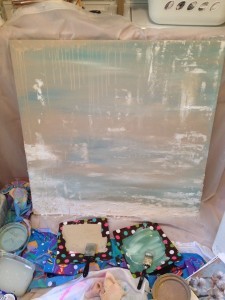
Step 3: Let your background set the mood! I suggest picking two dominant colors. I choose khaki and sea foam green below. Fade the colors into each other with a couple of big brushes. See what happens when you add water and let the paint drip down the canvas. Let dry, turn the canvas, and drip again. Patience is key so it dries properly (I'm bad at this..but luckily I have laundry to amuse me while it dries).
Add in variants of your two dominant colors. I started putting in a darker blue (part of my green mixture).
I also added texture with spackling paste. I love this stuff and you probably have some lying around the house somewhere. It really creates depth and a rich modern look. You can simply use a palette knife (or even a butter knife) to spread it on the canvas.
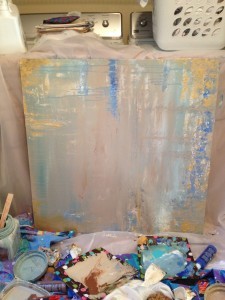
Step 4: Frame in your picture (with paint). Use paint to draw the eye to the center of your piece. I used an Iridescent Bright Gold by Liquitex. It came in a small bottle, but a little goes a long way.
You don't want this "frame" to be a perfect border. You just want to draw the eye in and add some more texture and depth to the painting. In the picture below you can see I added 'veins' of colors dripping and reaching towards the center.
Step 5: Take a close look at your canvas. Grady is demonstrating below. Unfortunately after the paint brush take over I had to put him out of the studio.
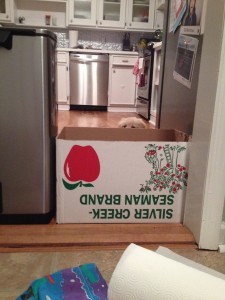
But seriously, take a close look at your canvas and choose which way you want the canvas to go. I turned mine sideways a lot to get drip effects. I didn't start painting with an up or down in mind. Once I finished with the background, I decided which way I liked the best. This obviously is easier with a square canvas. If you have a rectangular canvas you may be more restricted to either a horizontal or a vertical hanging situation.

Step 6: Choose your flower (and/or subject matter). This doesn't have to be a modern flower painting. You could paint a bicycle, an animal, or just about anything! I choose white carpet roses (I have also heard them called Flower Carpet White Groundcover Rose--that's a mouth full). I had taken some pictures at Pike Nurseries, a garden center in Cumming, GA. I used the pictures as my models.
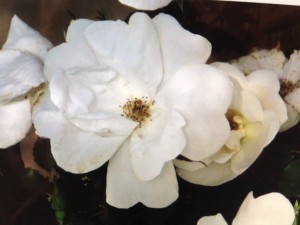
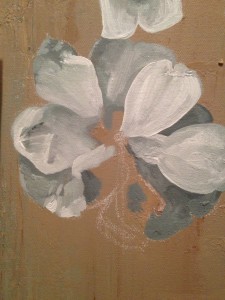
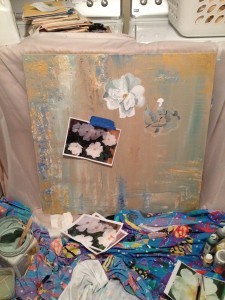
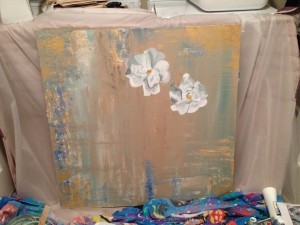
Step 7: Layout your picture. This step happens very close to step 6. Because the type of subject you choose will lend itself to a particular layout. This is the interior design portion of the painting world. It's like creating a really eye appealing bookshelf display. I knew I wanted several flowers, but I needed to put them in a way that was pleasing to the eye and drew the viewers to the painting and not away from it.
You have to find a balance of the right number of flowers and the right amount of white space between them. Look at nature for inspiration! God is the most talented painter!! : ) I use white chalk to help me layout my pictures. It is easier to erase than pencil marks and it really helps me get a good visual on my layout.
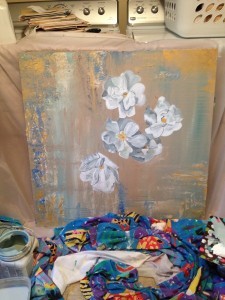
Step 8: Connect your flowers. I laid out the modern vine in chalk below. This vine is not what the flower branches look like in real life..but that's the joy of painting! Once you are happy with the vine, go ahead and paint it.
I used a simple thin black line because I wanted to keep the flowers the focus and maintain a clean modern look. 

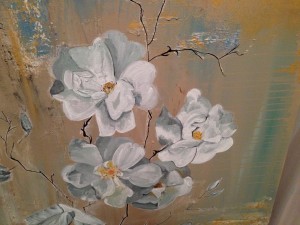
Step 9: Sign your name! Your painting is complete.
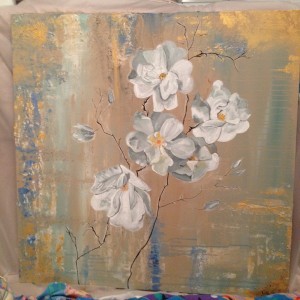
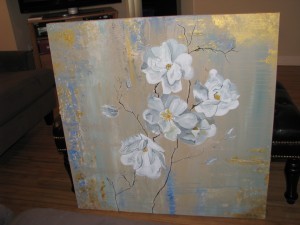
Step 10: Deliver your painting. This was a painting for my clients' living room. I love seeing it hanging up!
An Artist's Home
As an artist, it is my dream to "decorate" your home. I would love every wall in your house to be covered in something painted by me! Haha! For that matter, I would love to paint all of your furniture and dishes too. (Why, yes, in fact I do paint furniture and place placesettings...insert shameless plug here and here!) But, as much as I enjoy seeing my own work, I would have to be the first to admit, it might be a little Julie Ann overkill to have it spread across every crevice of your living space. Even in my own home, I know my artwork's limitations.
So, with my new project I must take a more edited approach. I have recently been asked to help with the redecorating of a home. Who? Me? When I said I could paint, I didn't mean with a roller! However, if you know me, you know when it comes to paint, I don't discriminate. Whether it's a solid color on a wall or a tiny brush stoke on a canvas, color is my world!
I am thrilled that my style has been inspiring enough for someone to ask for my opinion!
Now, I assure you this is not my new line of work, and in fact I have several canvas projects in the pipelines!! (Yay! Keep em coming, friends!) But this is an amazing opportunity to expand my reach and flex my decorator's muscle.
Therefore in honor of my new project, I thought I would share some pictures from my own home with you. This is especially timely as we are about to depart north Georgia to live closer to Atlanta in Decatur. So, soon all of the pictures will be taken down and the holes filled and painted over. Bittersweet! We will be moving NEXT WEEK! EEk!!
So, enjoy the pictures, as I need to go flex my real muscles and start hauling some boxes!
Pictured below is what you see when you enter the place my husband and I have called home for the past year and a half!


Above is a close up of the entrance wall and our bench.
To the left we have our staircase with this painting at the bottom:
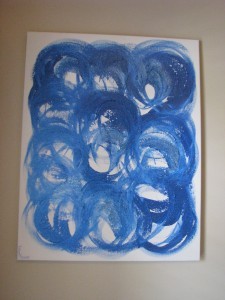
This was painted by my Aunt Karen. She was painting in a friend's art studio and had left over paint she had mixed and didn't want to waste. So she grabbed a canvas, cleaned off her brush, and created this awesome modern piece. While we were staying at her house in Seattle, my husband fell in love with it and we boldly asked to take it home with us! She obliged!
If you keep walking down the hall, instead of going up the stairs, you see the picture wall to your left. I found the quickest and best way for me to design the picture collage was to lay it out on the floor in front until I liked how all the shapes and sizes fit together.
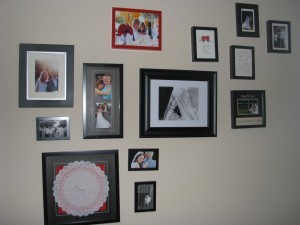
To create a theme among the pictures I put in a splash of red in three areas of the collage:
1: We had one of our favorite pictures framed in red. 2: I matted a doily from our wedding in red. My Aunt Ele has beautiful penmanship and hand wrote scriptures on doiles for each of our placesettings at our wedding! What a treat for us! (We had clear glass plates and guests could read the verses about love once they finished with their meal!)

3. That same aunt also handmade a card with birds and a red heart for us. I framed that as part of the collage. The red added a perfect accent.
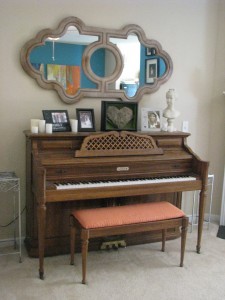
The hallway takes you into the living space! On the left is the piano. On top of the piano you can see our "love rock." My husband and I found a heart shaped rock on one of our hikes and I had it framed. The framing experts thought I was a little nutty! I have it sitting on the piano now, but once we move into our new house, I will hang it up then! The funky mirror gives us a fun preview of the color across the room.
Next to the piano is the fireplace. Hanging in the center is one of the first items my husband and I purchased together for our home.
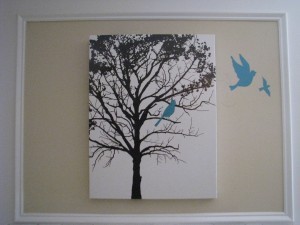
The painting had a modern tree with a green bird on it. I thought it would be fun to paint birds on the wall as if they had flow from the painting. To save myself time and energy color matching the bird, I just repainted the bird with my wall color (from the living room accent walls) and painted the wall birds to match!
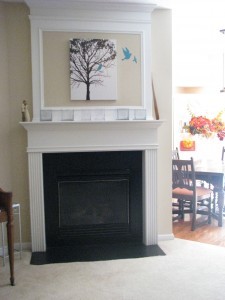
To the right of the piano and fireplace is the living room area.

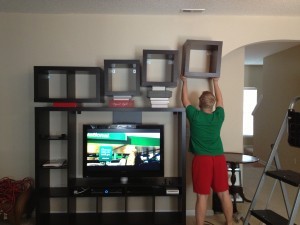
You can take a closer look at my "LOVE" painting here. And let me know if you can find the word love in it! Turn around and you can see our media stand and box shelves.
I thought straight boxes might be a little too..boxy? boring? So, I decided to have some fun with them. I was able to position the boxes on books in order to screw them into place, but it was the last box I needed a little visual help with.

My patient husband kindly volunteered to help complete my visual aid (see image).
Behind the couch is one of my favorite pieces. This was a wedding gift. It originally came in one piece. The canvas was painted by a child in Africa. The purchase of the canvas by our friends ensured that the child would be fed for an entire year. I loved it! What an incredibly thoughtful gift! Yes, I cut up my favorite wedding gift! I loved how the brown looked against the teal wall. My husband had these empty frames hanging (that's right, they were empty and hanging on the wall when I met him). It was a perfect fit.
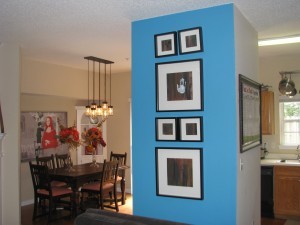
I cut up the canvas and was able to preserve the whole piece and stretch it out into a bigger focal point of the room. I love how it turned out and I did receive approval from the friends who gifted it.
Right around the corner is the dining room with my 1920's Country Club of the South garage sale find! I love this unique table.
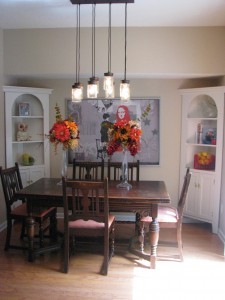
I recovered the chairs when I lived in my previous home (so you can see a hint of girl in it). The leaves pull out and there is an extra chair with arms that also goes with the set. We purchased the light fixture from Lowes (I used to be only a Home Depot girl, but Lowes does lighting and wallpaper really well!). I created two flower centerpieces using vases from my wedding. The centerpieces were made for Thanksgiving dinner, but I liked them so much I kept them out.
Hidden in the nooks of the built in shelves are some lemons and an owl cookie jar set from my great grandmother.
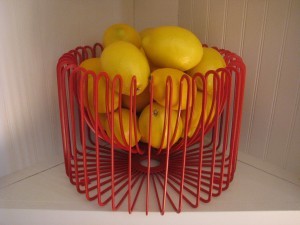
Owls are back in style now, but this was the original!

Across from our table, in our dining room is our chalkboard wall. Everyone needs one of these! The possibilities with chalk are endless (check some out here). My lovely friend Sarah is modeling the Christmas chalkboard for you. 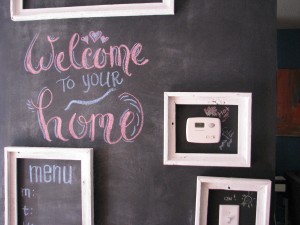


I am going to skip over the kitchen and do a few quick pictures from upstairs. Here are some pictures from our master bedroom: The "Love is..." picture is actually our wedding guest book. With the help of my bridesmaids I taped out the words "love is.." with blue painters tape on white fabric and had guests sign their names and write what they believed "love is." I also love the shelving unit we have filled with fun items and our favorite books! 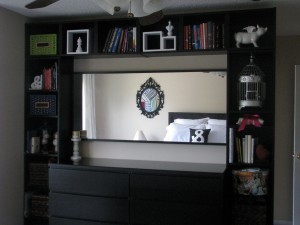
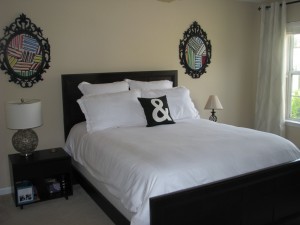

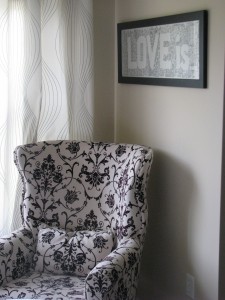
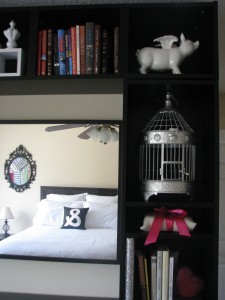
I do have a few more pieces of my artwork sprinkled about the house. This piece I created for one of my lessons with Wellspring Living is hanging in our downstairs bathroom: 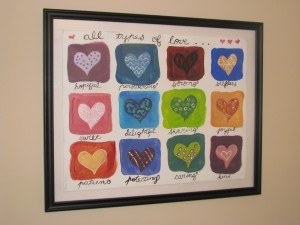
In my hallway upstairs is a group of modern paintings I created. Here are some close ups: 

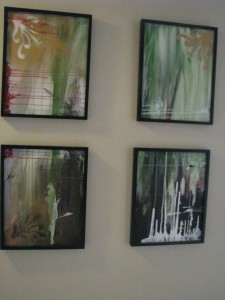
Thanks for checking out my house! We will see how everything comes together in our new home!!

